Import data to MongoDB
Last Updated :
19 Mar, 2021
MongoDB provides a special tool that is used to import data in the MongoDB and the tool is known as mongoimport. Using this tool you are allowed to import the files like JSON, CSV, or TSV in the MongoDB database. Generally, the mongoimport utility is present in the bin folder of mongodb but if it is not present in your system then you can install using the following steps:
Step 1: To use mongoimport tool we have to first download the MongoDB database tools .zip file from here. Here, we are going to download it for windows.

Step 2: After downloading the zip file and unzip the downloaded folder.
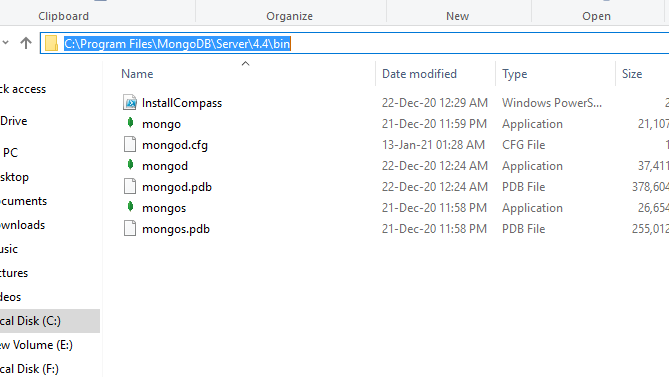
Step 3: Goto MongoDB bin folder and copy-paste the bin folders all .exe files into the MongoDB bin folder[C:\Program Files\MongoDB\Server\4.4\bin].

And now we are ready to use mongoimport tool.
Import JSON file
In MongoDB, you can import JSON files using mongoimport tool.
Syntax:
mongoimport –jsonArray –db database_name –collection collection_name –file file_location
To import JSON file you need to follow the following steps:
Step 1: Open a command prompt and give command mongod to connect with MongoDB server and don’t close this cmd to stay connected to the server.

Step 2: Open another command prompt and run the mongo shell. Using the mongo command.
Step 3: Open one more command prompt window and direct it to bin folder[C:\Program Files\MongoDB\Server\4.4\bin] and now you are ready to import files in mongoDB database.

Example:
In this example, we have a JSON file, which we are going to import:

Before import data:

After creating mongod server open another command prompt and direct it to bin folder[C:\Program Files\MongoDB\Server\4.4\bin] and now you can import files in the MongoDB. Here, in this example, we are going to import the JSON file in the student collection of gfg database:
mongoimport --jsonArray --db gfg --collection student --file H:\students.json

Now, open the mongo shell window and check for the imported data:

Note: If the collection name is not specified then the collection name is created based on the first name of the file. Using these steps you can also import TSV files, simply using –type tsv.
Import CSV file in MongoDB
In MongoDB, we can also import csv file into two ways:
- With header row
- Without header row
1. With header row: We can import data with header row with the help of –header that shows the name of the fields will use the first line of the CSV file.
Syntax:
mongoimport –db database_name –collection collection_name –type csv –file file_location –header
Example:
We have the following CSV file called student.csv:

Import data from CSV file:
mongoimport –db gfg –collection student –type csv –file H:\students.csv –header

After import data:

2. Without header row: We can import data without header row by excluding –header. But in the place of the header, we have to put –fields that show the name of the field that we want to give. Field names are separated by a comma.
Syntax:
mongoimport –db database_name –collection collection_name –type csv –fields field_names –file file_location
Example:
We have the following CSV file called student.csv:
Import data from CSV file:
mongoimport –db gfg –collection student –type csv –fields name,age –file H:\students.csv

After import data:

Share your thoughts in the comments
Please Login to comment...