How To Solve Telnet Connection Refused By Remote Host In Linux
Last Updated :
05 Mar, 2024
Wanted to access a remote server over Telnet but got “connection refused” errors? This is a common problem that can leave you stranded when trying to handle Linux systems from afar. Failure to initiate a Telnet session locks you out of administrating and diagnosing problems on servers, networking equipment and other devices.
The good news is that often these “connection refused” errors are easy to resolve with just some basic checks. In this simple, step-by-step guide, we will get to know how to quickly get Telnet working again. By tweaking firewall rules, fixing network/port settings, and checking for connectivity issues one can have Telnet sessions up in no time. The above couple of small changes will take care of the irritating connection-related difficulties and allow remote reentry into your Linux-based gadgets in an effortless way.
Telnet Connection Refused by Remote Host – Errors & their Fixes
1. The telnet service is not running
The telnet service not running is one of the most likely causes of the “connection refused” error.
Telnetd is the server program that allows Telnet connections. So for Telnet to work properly, the telnet service needs to be installed on the machine you are trying to connect to.
If Telnetd is not installed, there is no server program to respond to the Telnet connection request from your computer. This results in the “connection refused” error.
Error :
telnet localhost 1181
Trying 127.0.0.1...
telnet: Unable to connect to remote host: Connection refused
How to Fix This Error :
Check if Telnet is actually installed on the machine they want to connect to. If Telnetd is not installed, we need to install the Telnet server program.
Command :
apt-get install telnetd
Output :
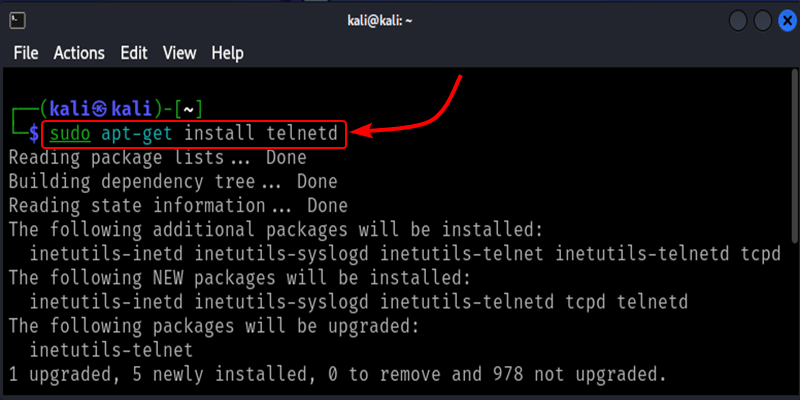
Installation of Telnet
Next, we needed to restart the Telnet server program to do that follow the Below Command.
Command :
/etc/initd/inetd restart
Output :
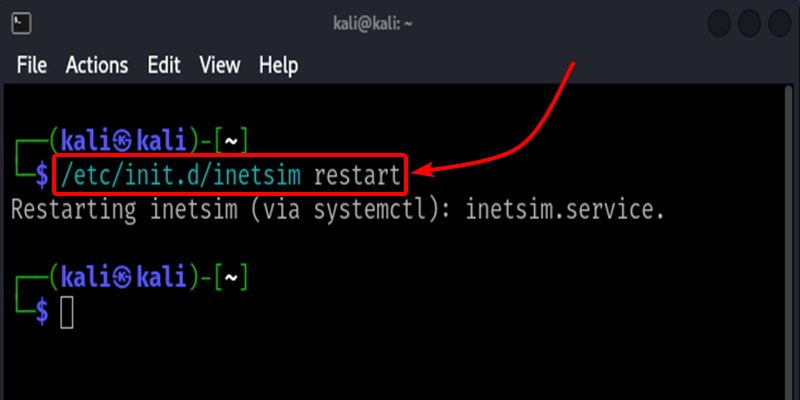
Restart the Telnet server
2. Telnet is disabled in the configuration file
This error can also happen if the Telnet service is disabled in its configuration file.
In Linux, the xinetd service controls Telnet. The “disable” parameter in the Telnet xinetd config file “/etc/xinetd.d/telnet” controls whether Telnet is enabled or disabled.
We have seen cases where users accidentally leave Telnet disabled by setting “disable = yes”. This prevents Telnet connections.
Error :
service telnet
{
flags = REUSE
socket_type = stream
wait = no
user = root
server = /usr/sbin/in.telnetd
log_on_failure += USERID
disable = yes
}
How to Fix This Error :
Open the terminal on your Linux machine and log in as root or a user with sudo privileges. After, that Open the Telnet file for editing with any editor you have like nano, vi, gedit etc by using the below Command.
Command :
sudo gedit /etc/xinetd.d/telnet
Output :
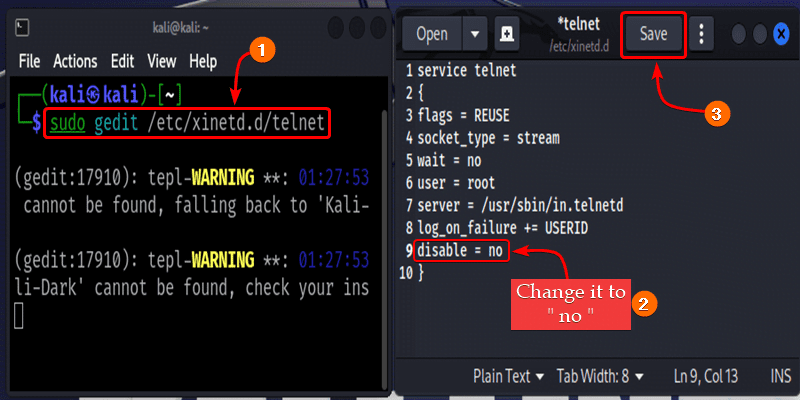
Open the xinetd Telnet file in Available Editor and make Changes
After, that Restart the xinetd service so the new configuration takes effect to do this use the Below Command.
Command :
sudo systemctl restart xinetd
Output :

Restart the xinetd Telnet Server
3. Service is not running
Another reason for the “connection refused” error is that there is no service listening on the port you are trying to connect to.
For example, web servers typically listen for connections on port 80 for HTTP. If you try to connect to port 80 with Telnet, but the web server program is not running, you will get the error.
Error :
telnet xx.xx.xxx.xxx 80
Trying xx.xx.xxx.xxx...
telnet: Unable to connect to remote host: Connection refused
How to Fix This Error :
First check if the service you want to connect to is actually running on the server. On Linux, we can check if the HTTP service is running with the Below Command.
Command :
ps aux | grep HTTP
Output :
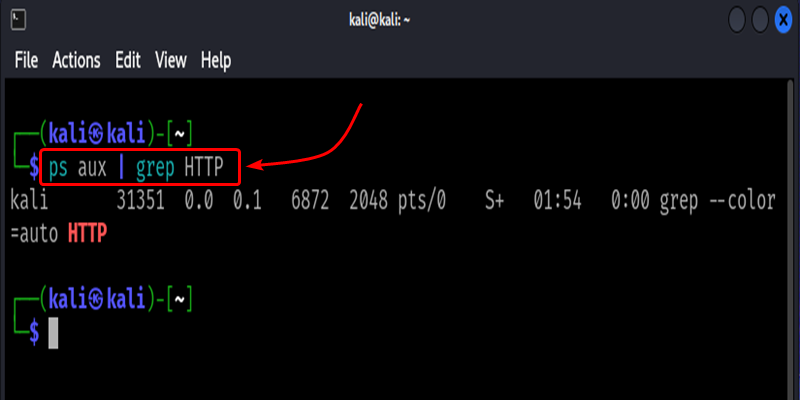
Check for the Running Server
We also verify which port the service is listening to. The “netstat“ command shows which ports programs on the server are listening on.
Command :
sudo netstat -lnpt | grep :80
Output :
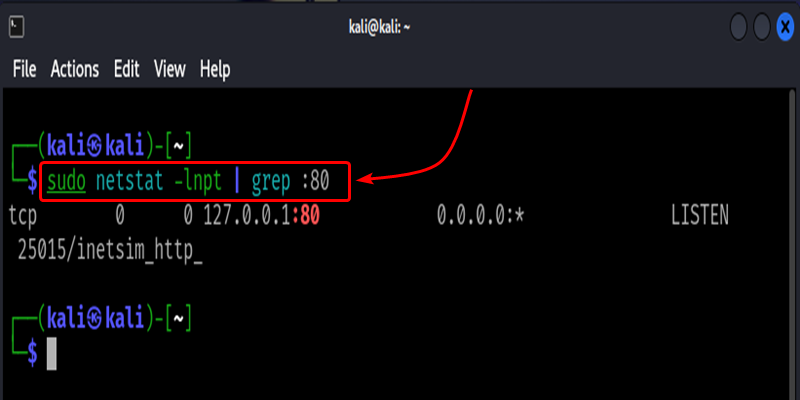
Verify the Listening Port
This tells us the exact port and IP address the HTTP service is bound to. If the customer is using the wrong port number or IP address in their Telnet command, we provide the correct details to connect to the running service. Using the working port and IP will fix the “connection refused” error.
Conclusion
The “Telnet connection refused” error often happens when the Telnet service is not installed or running on the remote machine you are trying to connect to; it means no Telnet server program listens for incoming connections from your computer. Another cause of this error is if the destination port number specified in the Telnet command is closed or blocked by a firewall, and your connection request will be refused if the intended service is not actually running or listening on that port.
The main things to bear in mind are that telnet has been configured on the remote machine appropriately, all required ports have been opened and services properly started and bound to their respective ports. By verifying these basic connectivity and service settings will help in diagnosing why “connection refused” message occurs in Linux.
Share your thoughts in the comments
Please Login to comment...