How to run Selenium Running Test on Chrome using WebDriver
Last Updated :
18 Sep, 2023
Selenium is a popular open-source tool for automating web browser interactions. It works with different web browsers like Chrome, Firefox, and more, and different programming languages like Python or Java to write tests.
What is a Selenium ChromeDriver?
ChromeDriver is a separate executable that Selenium WebDriver uses to launch and control Chrome. It implements the WebDriver protocol, which is a set of RESTful HTTP endpoints used to communicate between the test script and the browser.
Prerequisites
1. Install Java on your system.
2. After installing Java on your system or already installing, verify the installation by opening a command prompt and typing:
java -version
3. Install Eclipse IDE on your system. Eclipse is a popular IDE for developing Java applications.
4. Install Selenium WebDriver for Java on your system. Selenium WebDriver is a library that allows you to control web browsers programmatically.
Running Test on Chrome
Step 1: Install ChromeDriver
- ChromeDriver is a driver that allows Selenium WebDriver to communicate with the Chrome browser. Download the latest version of ChromeDriver from here.
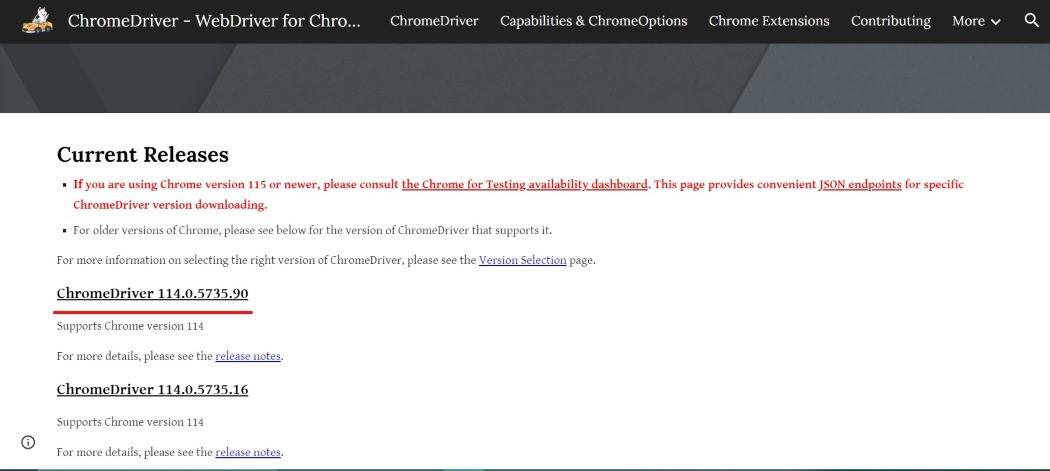
- Select the link which is compatible with your operating system. Download and extract the (e.g., chomredriver_win32.zip).

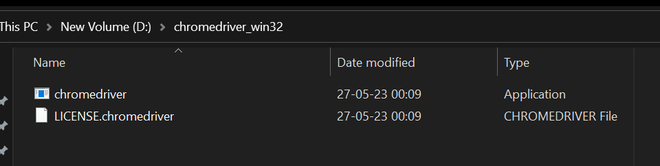
- After downloading the zip file, extract the zip file and copy the path of the chromedriver.exe
(e.g., D:\chromedriver_win32\chromedriver.exe).
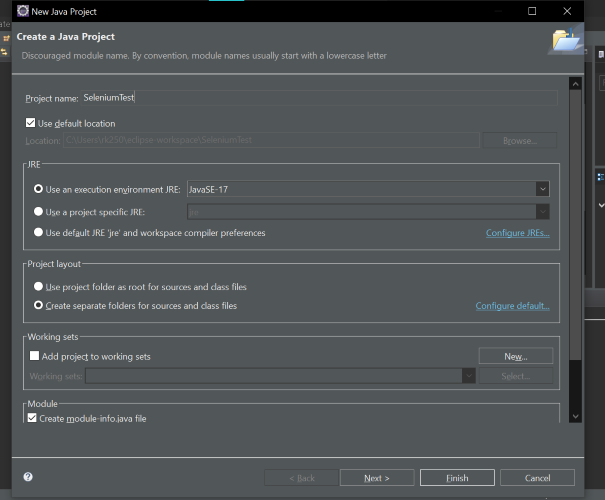
Step 2: Create a new Java project in Eclipse IDE
- In Eclipse, go to File > New > Java Project.
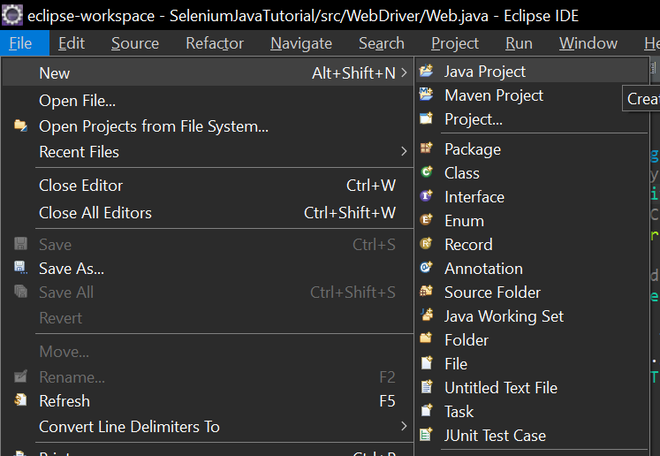
- Next, a pop-window appears Give a name to your project, such as (SeleniumTest), and click Finish.
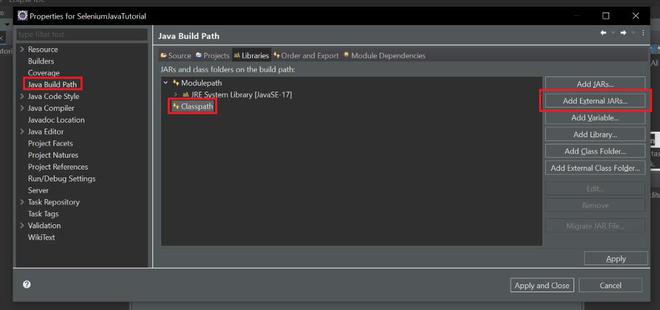
Step 3: Add Selenium WebDriver jar files to your Project Classpath
- In Eclipse, right-click on your project name and select Properties.
- In the Properties window, select Java Build Path from the left panel and click on the Libraries tab from the right panel.
- Click on the Add External JARs button and browse to the location where you saved the Selenium WebDriver files, select all the jar files (inside the lib folder also), and click Open. Click Appy and close the Properties window.
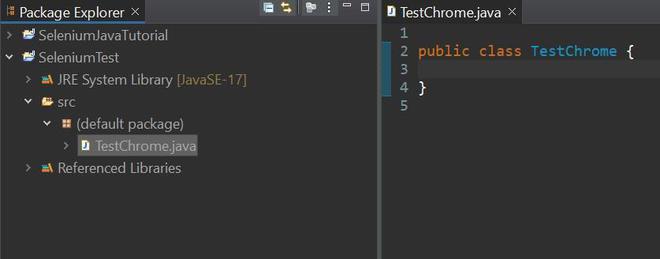
Step 4: Create a new Java class in your Project
- In Eclipse, right-click on the src folder under your project name and select New > Class. Give a name to your class, such as TestChrome, and click Finish.
Example
Below is the Java program to retrieve title of the website:
Java
import org.openqa.selenium.WebDriver;
import org.openqa.selenium.chrome.ChromeDriver;
public class TestChrome {
public static void main(String[] args)
{
System.setProperty(
"webdriver.chrome.driver",
"D:/chromedriver_win32/chromedriver.exe");
WebDriver driver = new ChromeDriver();
String title = driver.getTitle();
System.out.println("Page Title: " + title);
driver.quit();
}
}
|
Explanation:
- The above program opens a Chrome web browser using Selenium WebDriver, navigates to the GeeksforGeeks homepage (https://www.geeksforgeeks.org/).
- It retrieves the title of the page, and prints the title to the console.
- Then, it closes the browser and ends the WebDriver session.
Output:

Share your thoughts in the comments
Please Login to comment...