In Linux, there are two types of users namely root and non-root users. System privileges are given to the root user to perform more severe configurations as compared to non-root users. Nginx Web Server is one of the most important utilities to host the static contents on the server, running this configuration is the core task. In this article, we will see the entire steps to run Nginx Web Server for root & non-root users.
What is an Nginx Web Server?
Nginx is a powerful and widely used open-source web server and reverse proxy server. Initially created to address the C10k problem (handling 10,000 simultaneous connections), Nginx has grown into a versatile solution for various web-serving needs. It excels at efficiently serving static content, handling dynamic content through FastCGI, and acting as a reverse proxy to distribute incoming traffic across multiple servers. Known for its high performance, low resource consumption, and scalability, Nginx is a popular choice for improving the speed and reliability of websites and web applications. Its modular architecture, ease of configuration, and robust features make it a go-to option for developers and system administrators.
How to Install Nginx on Different Linux Distributions?
In this section, we will see the installation guide for Nginx on various Linux distributions. Follow the commands of the respective distribution to install Nginx without any issues.
1. Debian/Ubuntu
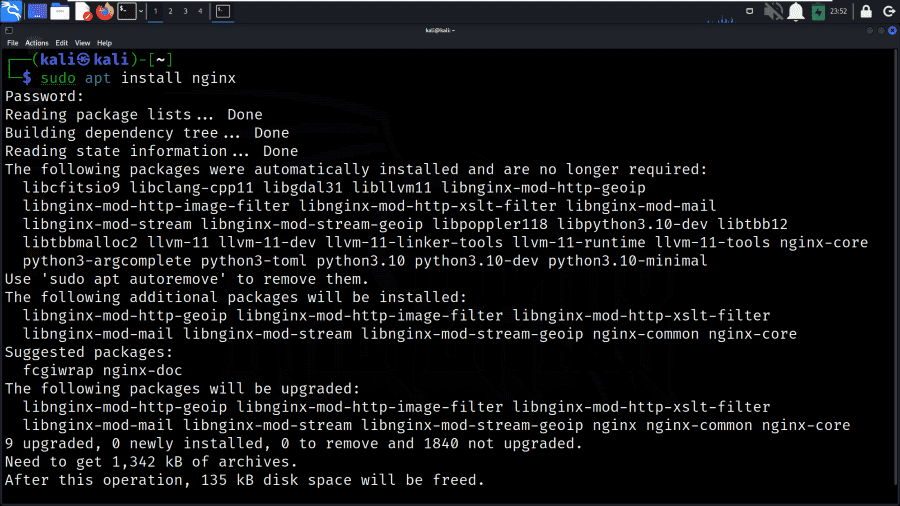
On Debian-based systems, such as Ubuntu, the apt package manager is used to update package information and install Nginx, a popular and efficient web server.
sudo apt update
sudo apt install nginx
2. Red Hat/CentOS
For Red Hat and CentOS, the yum package manager installs the EPEL repository first, then installs Nginx, a high-performance web server.
sudo yum install epel-release
sudo yum install nginx
3. Fedora
On Fedora, the dnf package manager is used to install Nginx, a versatile and lightweight web server.
sudo dnf install nginx
4. Arch Linux
Arch Linux users can use pacman to install Nginx, a flexible and extensible web server.
sudo pacman -S nginx
5. openSUSE
openSUSE users can use the zypper package manager to install Nginx, a robust and scalable web server.
sudo zypper install nginx
6. FreeBSD
On FreeBSD, the pkg package manager installs Nginx, a high-performance and feature-rich web server.
sudo pkg install nginx
How to run NGINX for root?
In this section, we will see the detailed steps to run NGINX for root users in the Kali Linux operating system environment. So, follow the below steps along with the commands specified.
Step 1: Edit Nginx Configuration File
Open the Nginx configuration file in a text editor. The default location for the main configuration file is often /etc/nginx/nginx.conf. Use the following command to open the file with a text editor.
sudo nano /etc/nginx/nginx.conf
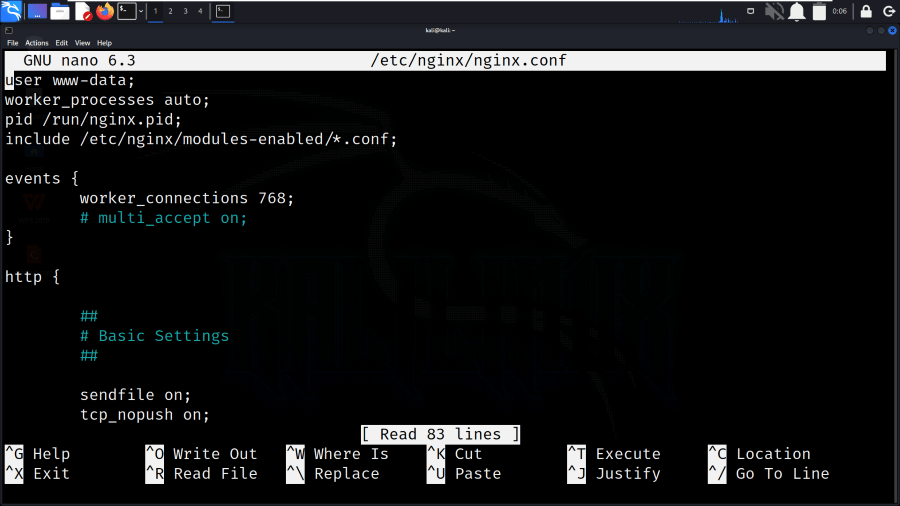
Edit Nginx Configuration File
Step 2: Specify Root User in Nginx Configuration
Within the configuration file, locate the user directive, and set it to root. This instructs Nginx to run as the root user.
user root;
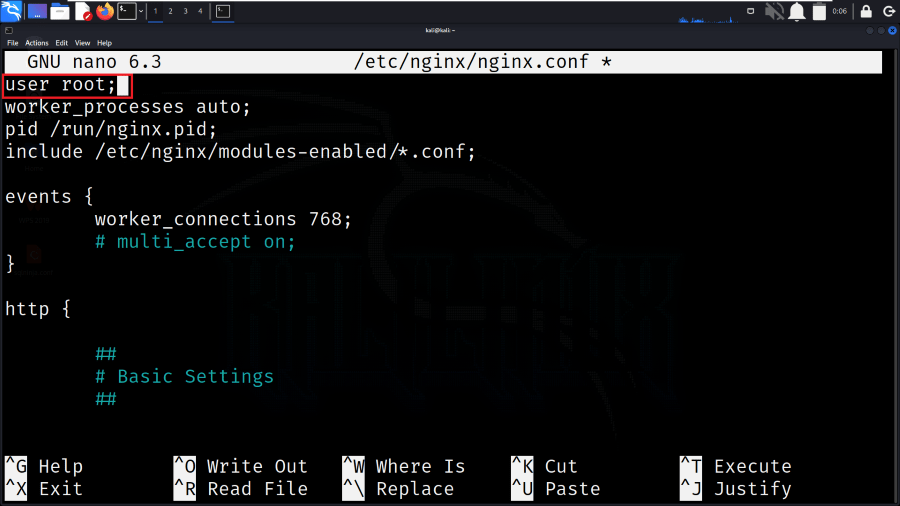
Specify Root User in Nginx Configuration
Step 3: Save and Exit
Save the changes to the configuration file. In Nano, you can do this by pressing Ctrl+O, then press Enter, and finally, press Ctrl+X to exit.
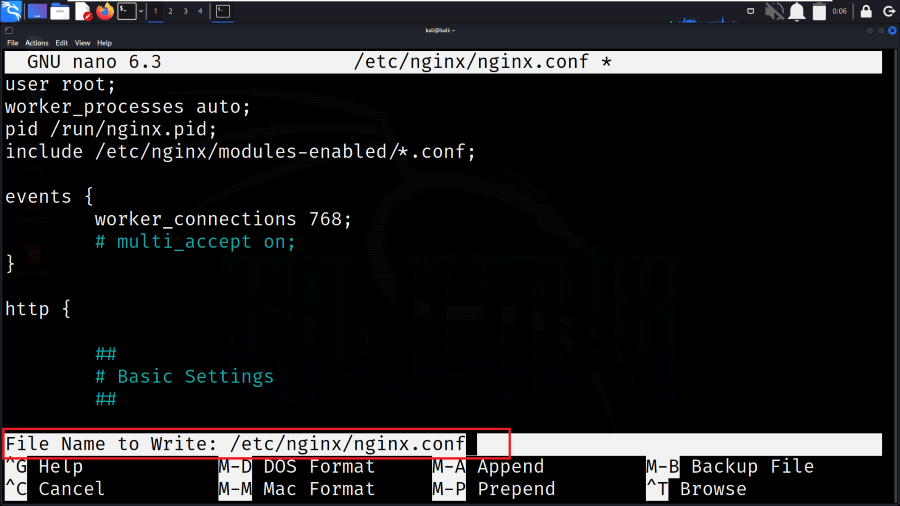
Save and Exit
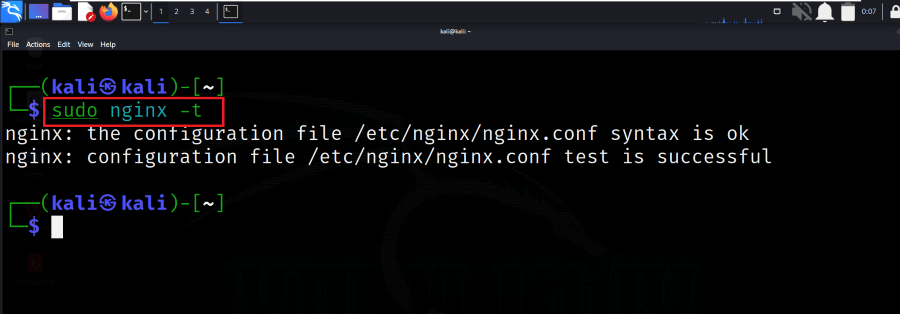
Step 4: Test the Configuration
Before applying the changes, it’s a good practice to test the Nginx configuration for syntax errors. If there are no errors, you should see a message indicating that the configuration file test is successful.
sudo nginx -t
Test the Configuration
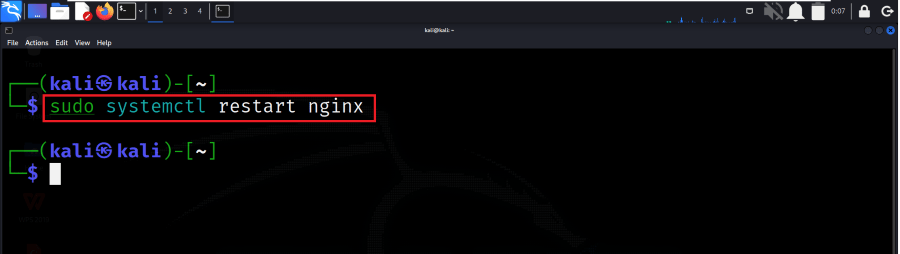
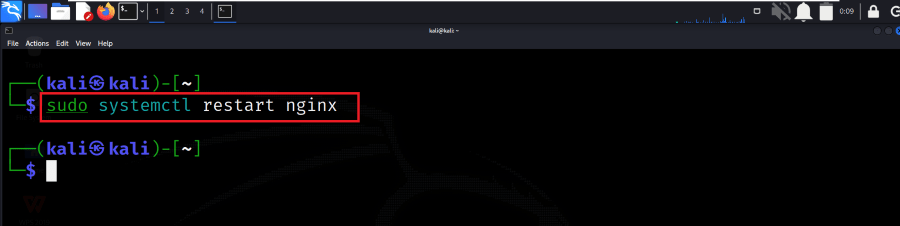
Step 5: Restart Nginx
Apply the changes by restarting the Nginx service. The below command restarts the Nginx service to apply the new configuration with root privileges.
sudo systemctl restart nginx
Restart Nginx
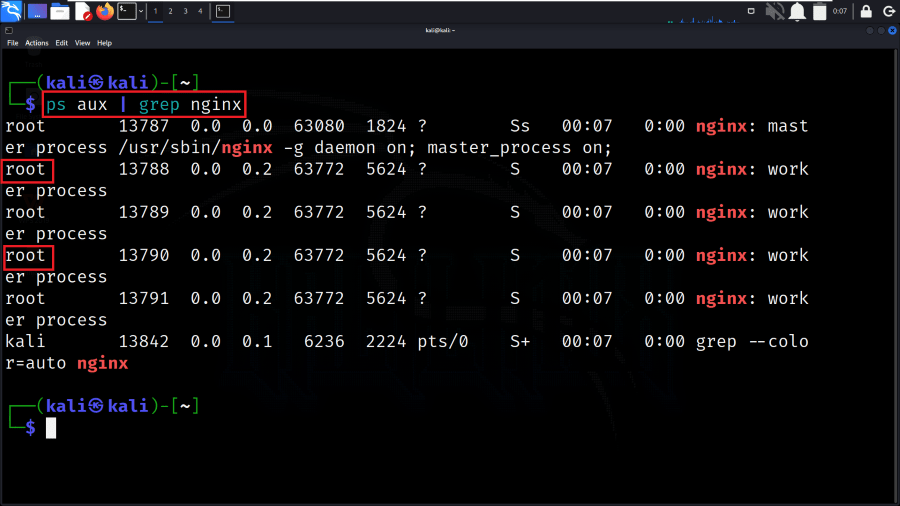
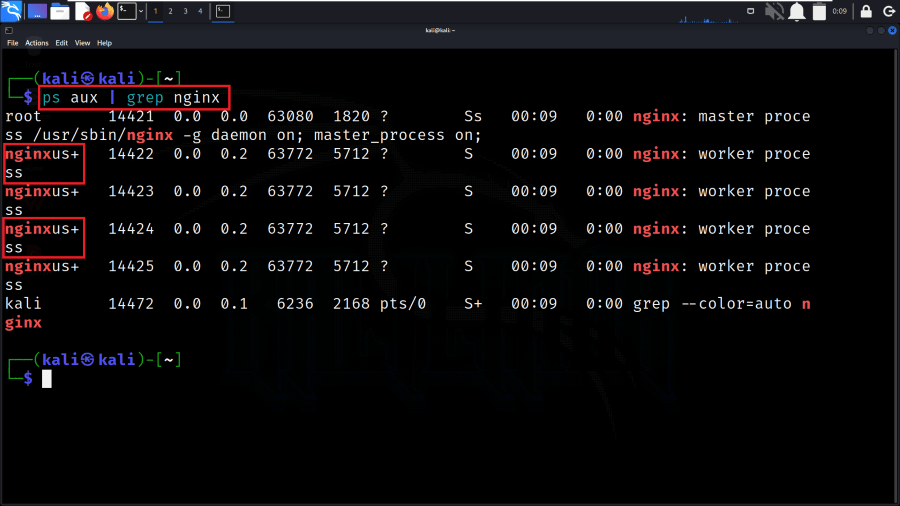
Step 6: Verify the Configuration
To ensure that Nginx is running as the root user, you can check the process using the following command.
ps aux | grep nginx
Look for the nginx process, and it should indicate that it is running as the root user
Verify the Configuration (root)
How to run NGINX for non-root?
In this section, we will see the detailed steps to run NGINX for non-root users in the Kali Linux operating system environment. So, follow the below steps along with the commands specified.
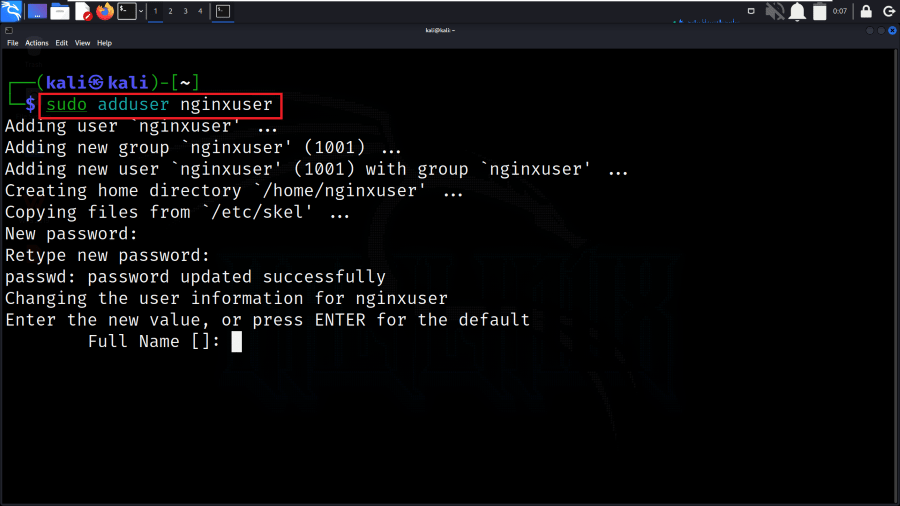
Step 1: Create a Non-Root User
Before changing the Nginx configuration, create a dedicated non-root user. You can do this using the adduser command. Follow the prompts to set a password and additional information for the new user.
sudo adduser nginxuser
Create a Non-Root User
Step 2: Grant Necessary Permissions
Grant the necessary permissions to the non-root user for the Nginx directories. The below commands ensure that the user has ownership of the Nginx log and library directories.
sudo chown -R nginxuser:nginxuser /var/log/nginx
sudo chown -R nginxuser:nginxuser /var/lib/nginx
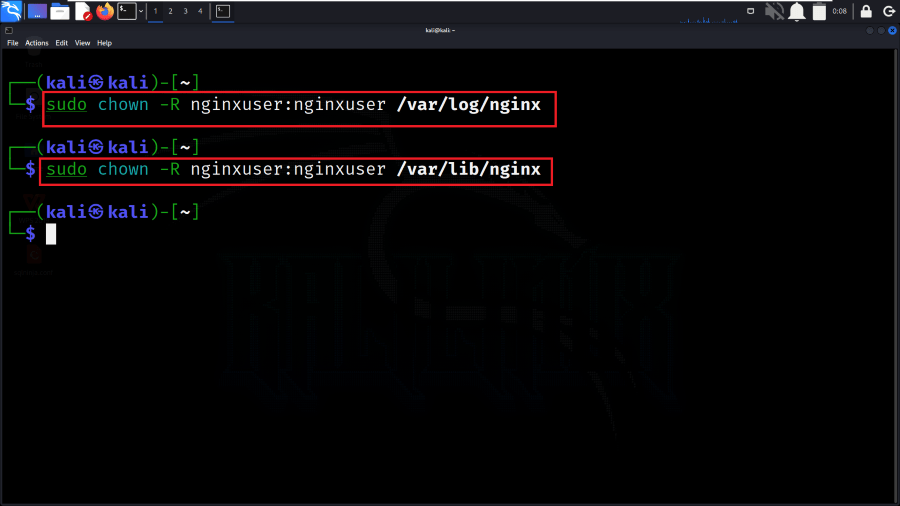
Grant Necessary Permissions
Step 3: Edit Nginx Configuration File
Now, Open the Nginx configuration file in a text editor.
sudo nano /etc/nginx/nginx.conf
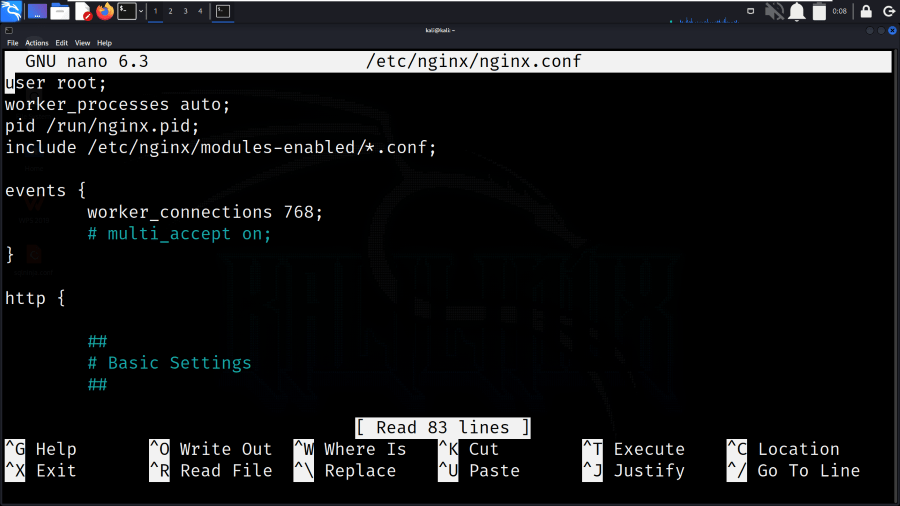
Edit Nginx Configuration File
Step 4: Specify Non-Root User in Nginx Configuration
Within the configuration file, locate the user directive, and set it to the non-root user you created.
user nginxuser;
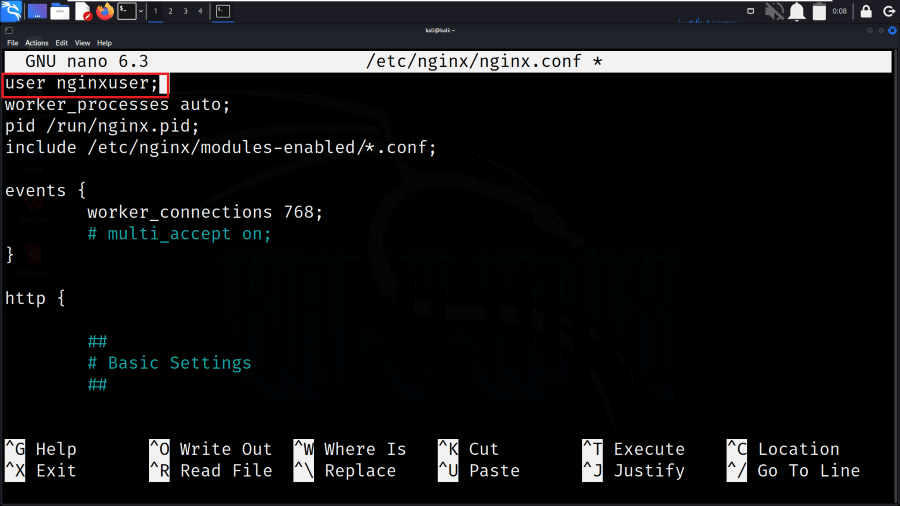
Specify Non-Root User in Nginx Configuration
Step 5: Save and Exit
Save the changes to the configuration file. In Nano, you can do this by pressing Ctrl+O, then press Enter, and finally, press Ctrl+X to exit.

Save and Exit
Step 6: Test the Configuration
Before applying the changes, test the Nginx configuration for syntax errors. If there are no errors, you should see a message indicating that the configuration file test is successful.
sudo nginx -t
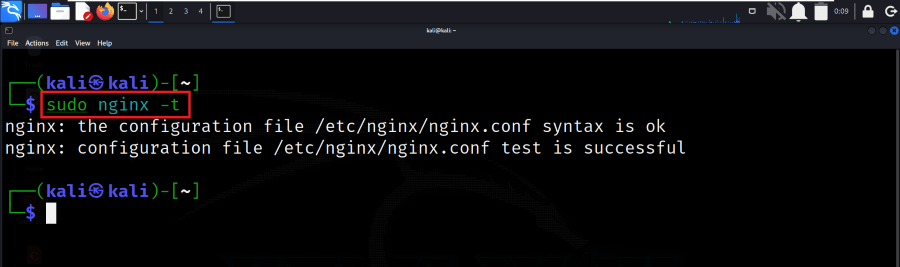
Test the Configuration
Step 7: Restart Nginx
Apply the changes by restarting the Nginx service. The below command restarts the Nginx service to apply the new configuration with non-root user privileges.
sudo systemctl restart nginx
Restart Nginx
Step 8: Verify the Configuration
Check the process using the following command to ensure that Nginx is running with the non-root user.
ps aux | grep nginx
Look for the nginx process, and it should indicate that it is running as a non-root user.
Verify the Configuration (non-root)
Conclusion
In conclusion, running Nginx for both root and non-root users involves configuring the webserver to meet specific security and operational requirements. For scenarios where elevated privileges are necessary, such as binding to privileged ports, running Nginx as root is an option. However, for enhanced security and best practices, configuring Nginx to run with non-root privileges is recommended. Whether utilizing root or non-root configurations, careful consideration of user permissions, configuration testing, and service restarting ensures a well-proper setup, balancing performance and security by the specific needs of the environment.
Share your thoughts in the comments
Please Login to comment...