How to replace container class in react-bootstrap?
Last Updated :
06 Nov, 2023
The container class provides a responsive fixed-width container. In this article, we will learn How to replace container class in react-bootstrap. We will wrap the outermost content so that the page has margins.
Steps to create React Application And Installing Module:
Step 1: Create a React application using the following command:
npx create-react-app foldername
Step 2: After creating your project folder i.e. folder name, move to it using the following command:
cd foldername
Step 3: After creating the ReactJS application, Install the required module using the following command:
npm install react-bootstrap --save
npm install --save bootstrap@latest
Step 4: Import the CSS by
import 'bootstrap/dist/css/bootstrap.css';
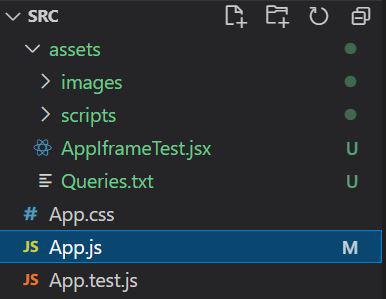
Project Structure:
The updated dependencies in package.json file will look like
Approach 1: Using React Bootstrap Container
Using React Bootstrap Container: In this approach, we will use Container class from react-bootstrap/Container. we will create a Navbar within a container
Javascript
import Container from 'react-bootstrap/Container';
import Nav from 'react-bootstrap/Nav';
import Navbar from 'react-bootstrap/Navbar';
import NavDropdown from 'react-bootstrap/NavDropdown';
export default function App() {
return (
<div>
<h2 style={{color:'green'}}>GeeksforGeeks</h2>
<h2>
How to replace container class in react-bootstrap?
</h2>
<Navbar expand="lg" bg="warning" >
<Container>
<Navbar.Brand href="#home">GeeksforGeeks</Navbar.Brand>
<Navbar.Toggle aria-controls="basic-navbar-nav" />
<Navbar.Collapse id="basic-navbar-nav">
<Nav className="me-auto">
<Nav.Link href="#home">Java</Nav.Link>
<Nav.Link href="#c++">C++</Nav.Link>
<Nav.Link href="#android">Android</Nav.Link>
<Nav.Link href="#spring">Springboot</Nav.Link>
<Nav.Link href="#python">Python</Nav.Link>
<NavDropdown title="Web Technology" id="collasible-nav-dropdown">
<NavDropdown.Item href="#web/3.1">React</NavDropdown.Item>
<NavDropdown.Item href="#web/3.2">
Angular
</NavDropdown.Item>
<NavDropdown.Item href="#web/3.3">HTML</NavDropdown.Item>
<NavDropdown.Item href="#web/3.3">CSS</NavDropdown.Item>
<NavDropdown.Item href="#web/3.3">Javascript</NavDropdown.Item>
</NavDropdown>
</Nav>
</Navbar.Collapse>
</Container>
</Navbar>
</div>
);
}
|
Output:

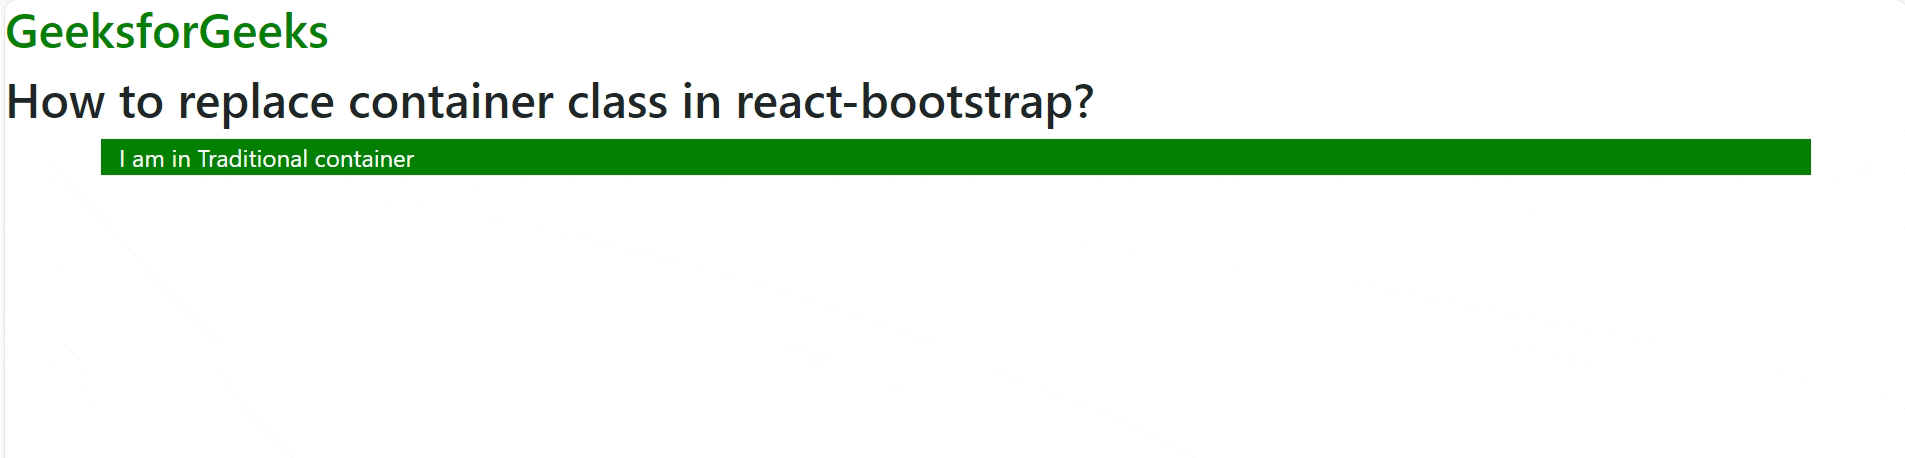
Approach 2: Using Traditional Bootstrap
Using Traditional bootstrap: In this approach we will add a container class by importing bootstrap from ‘import ‘bootstrap/dist/css/bootstrap.css’
Javascript
import 'bootstrap/dist/css/bootstrap.css';
export default function App() {
return (
<div>
<h2 style={{color:'green'}}>GeeksforGeeks</h2>
<h2>
How to replace container class in react-bootstrap?
</h2>
<div className="container" style={{background:'green',color:'white'}}>
I am in Traditional container
</div>
</div>
);
}
|
Output:
.
Share your thoughts in the comments
Please Login to comment...