How to Install Tix on MacOS?
Last Updated :
14 Jun, 2023
Tix is basically a powerful toolkit for creating graphical user interfaces (GUIs) in Python. It is built on top of the Tkinter module and provides additional widgets and features so in this article, we will understand the step-by-step process of installing Tix on MacOS.
Key Terminologies
- Tix: It is a toolkit for creating GUIs in Python.
- MacOS: A series of operating systems developed by Apple Inc. for their Macintosh line of computers.
- Homebrew: It is a package manager for MacOS that simply allows you to install and manage software packages.
Steps to Install Tix on MacOS
There are several different methods to install Tix on a MacOS. In this article, we will cover the two most common methods:
Method 1: Using Homebrew
Homebrew is a package manager for the MacOS which allows you to easily install and manage software packages. Using Homebrew to install Tix is a straightforward process.
Step 1: Open the Terminal app on your MacOS.
First, open the terminal app to perform the further operation in it.
Step 2: Install Homebrew by entering the following command:
With the help of this command, we can download the required packages from the terminal easily.
/bin/bash -c “$(curl -fsSL https://raw.githubusercontent.com/Homebrew/install/HEAD/install.sh)”
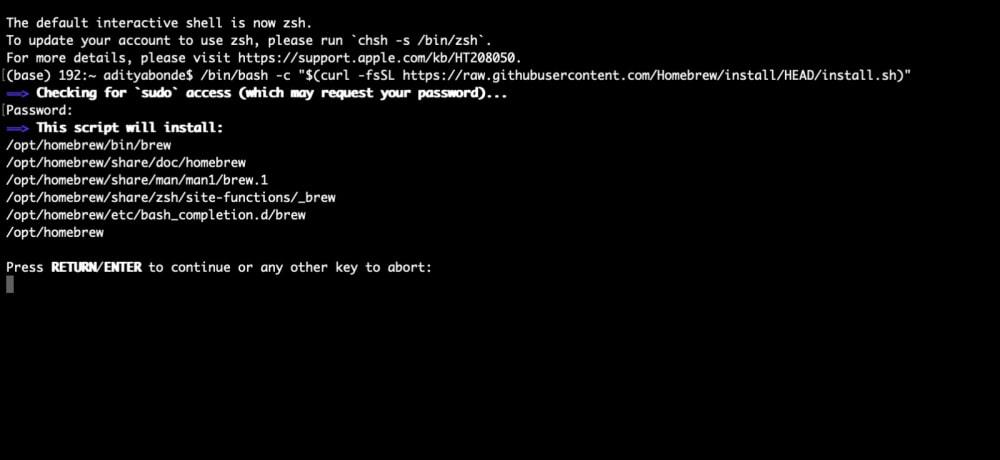
Command line
Step 3: Update Homebrew by entering the following command:
For the purpose of updating all packages, we use this command to do so in the terminal.
brew update
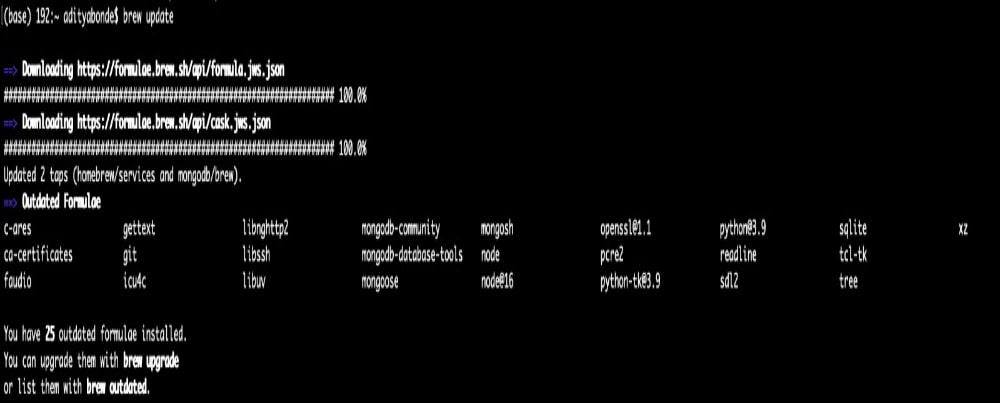
brew update
Step 4: Install Tix by entering the following command:
To install the Tix package in our system we use this command to do that while installing the complete package of Tix to work with.
brew install tix

brew install tix
Step 5: Verify the installation by entering the following command:
For verification purposes, we can use the following command which makes sure that the package is installed or not.
wish

wish
This should open the Tcl/Tk shell. Then type the following command in the Tcl/Tk shell:
package require Tix
Package Configuration
This will configure the installation.
Method 2: Using the Source Code
If you prefer to install Tix from the source code, you can follow these steps:
Step 1: Download the source code of Tix from the following link:
https://sourceforge.net/projects/tix/files/tix/8.4.3/tix8.4.3-src.tar.gz/download
This will simply download the source code of Tix to your Downloads folder.
Step 2: Extract the source code by using the following command:
This command helps in the extraction of the file downloaded before for further operations.
tar -zxvf tix8.4.3-src.tar.gz
Extraction of file
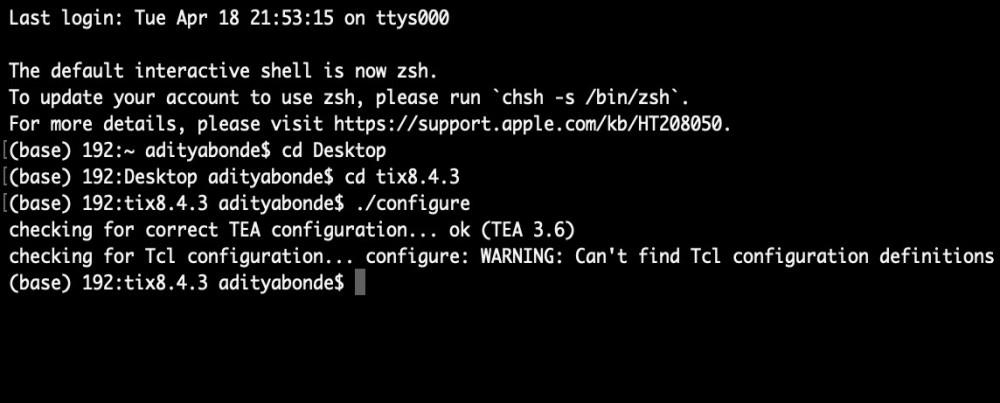
Step 3: Change the directory to the extracted source code by using the following command:
To install the tix we need to be in the directory to the tix8.4.3
cd tix8.4.3

Dir change
Step 4: Configure the installation by using the following command:
this command helps in the configuration of packages.
./configure

Configuration
Step 5: Compile the source code by using the following command:
The process of compilation is done using the following command in the terminal.
make

Compilation
Step 6: Install Tix by using the following command:
For the tix installation, we use this command to do so.
sudo make install

Installation of tix
Step 7: Verify the installation by entering the following command:
For verification purposes, we can use the following command which makes sure that the package is installed or not.
wish
Verification of tix
This should open the Tcl/Tk shell. Then type the following command in the Tcl/Tk shell:
package require Tix
Package Configuration
Tix is a powerful toolkit for creating graphical user interfaces in Python. For this article, we have covered the two common methods of installing Tix on MacOS. For verification of the installation, open the Tcl/Tk shell and enter the command “package require Tix“. If the installation was successful, you should see the version number of Tix printed on the screen.
Share your thoughts in the comments
Please Login to comment...