Nessus is a vulnerability management tool that helps organizations and network environments identify and address network security issues. It helps in identifying vulnerabilities, potential threats, and irregularities. It plays an important role in maintaining a strong cybersecurity posture.
Features of Nessus:
- Vulnerability Scanning: Nessus scans network resources, systems, and applications for vulnerabilities such as configuration issues, known software vulnerabilities, and weak passwords.
- Comprehensive Coverage: Nessus has a wide variety of operating systems, databases, applications, and networking devices, which make it suitable for a variety of IT environments.
- Regular Updates: Nessus regularly updates its vulnerability database to keep up with the latest security threats, ensuring that organizations can identify emerging vulnerabilities.
- Customizable Scans: Nessus allows users to create custom scan schedules, define target hosts, and tailor the scanning process to specific security requirements.
- Real-Time Reporting: Nessus provides detailed and actionable reports highlighting identified vulnerabilities, risk levels, and suggested corrective action steps. This information helps organizations prioritize and address the most important issues.
Advantages of Nessus:
- Proactive Defense: Nessus helps organizations identify vulnerabilities before attackers can exploit them, enabling them to take proactive security measures.
- Comprehensive Vulnerability Detection: Nessus covers a wide range of vulnerabilities, ensuring a thorough scan and detection of potential threats.
- Customization: Users can customize the scans to their specific needs, allowing Nessus to adapt to different networks.
- Real-Time Reporting: Detailed and real-time reporting helps organizations understand security status and prioritize mitigation actions.
- Support for Authenticated Scans: The certified scan provides accurate and detailed results by analyzing systems from the occupant’s perspective.
Disadvantages of Nessus:
- Cost: Nessus offers limited free versions, but advanced features are available through paid subscriptions, which can be costly for smaller organizations.
- Complexity: Nessus may require some expertise to properly configure and manage it, especially for larger and more complex networks.
- False Positives: As with any vulnerability detection tool, Nessus can sometimes generate false positives, thus requiring manual verification of the findings.
- Resource Intensive: Analyzing large networks can be resource-intensive, which affects network performance during scanning.
- Continuous Monitoring: Nessus provides an analysis of temporal vulnerability. To maintain an up-to-date security status, organizations should conduct regular scans.
How to Install Nessus on Linux?
The below process involves downloading and installing the Nessus package on a Linux system.
Prerequisites:
Steps to Install Nessus on Linux
Step 1. Download Nessus:
Visit the Tenable Nessus website and sign up for a Nessus Home edition account (if you don’t have one):
After signing up, you’ll receive a link to download the Nessus package and also receive an activation code. Download the appropriate package for your Linux distribution.
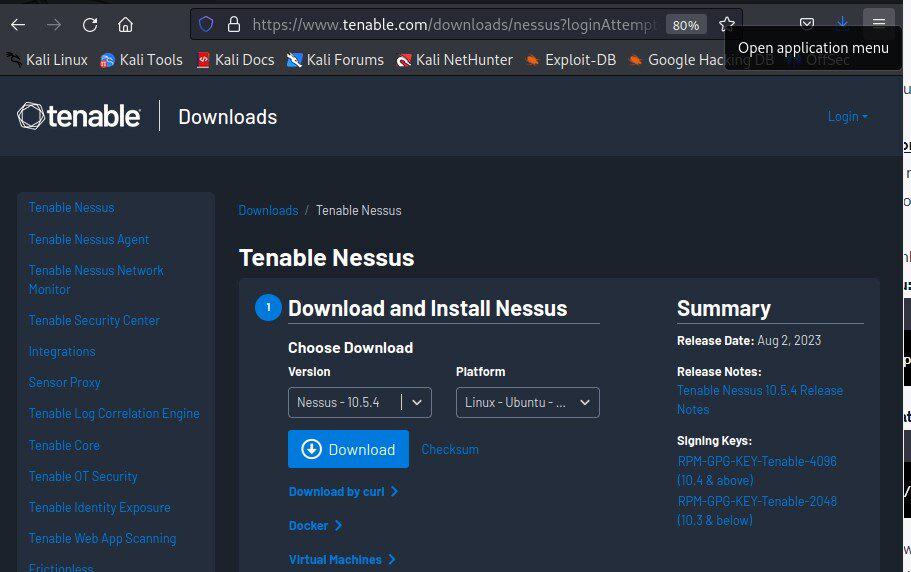
Download the appropriate package for your Linux distribution
Step 2. Install Nessus:
After downloading the Nessus package to your Downloads directory:
sudo dpkg -i /path/to/Nessus-<version>-<platform>.deb
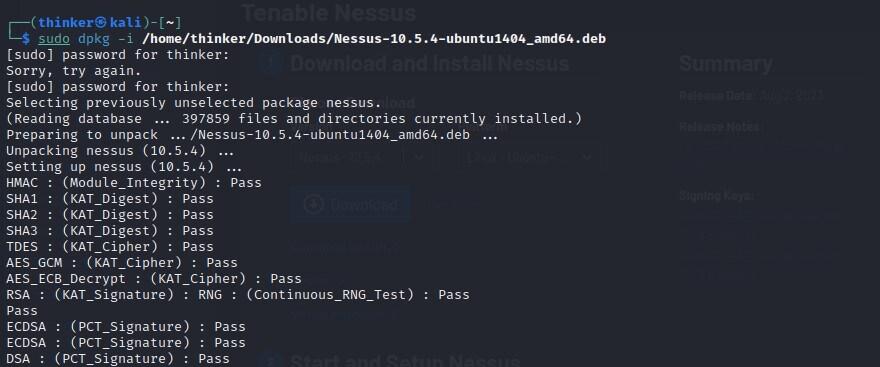
Debian Installation
sudo rpm -ivh /path/to/Nessus-<version>-<platform>.rpm
Note: Replace ‘<version>’ with the version number you downloaded, and ‘<platform>’ with the appropriate platform identifier.
Step 3. Start the Nessus Service:
After installation, start the Nessus service:
sudo systemctl start nessusd
Verify that the service is running by running the following command.
sudo systemctl status nessusd
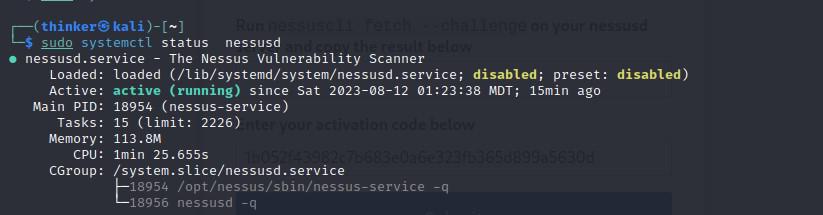
Running State-Disabled
If it is disabled then run the following command to enable it.
sudo systemctl enable nessusd

Now check whether it is enabled or not.
sudo systemctl status nessusd
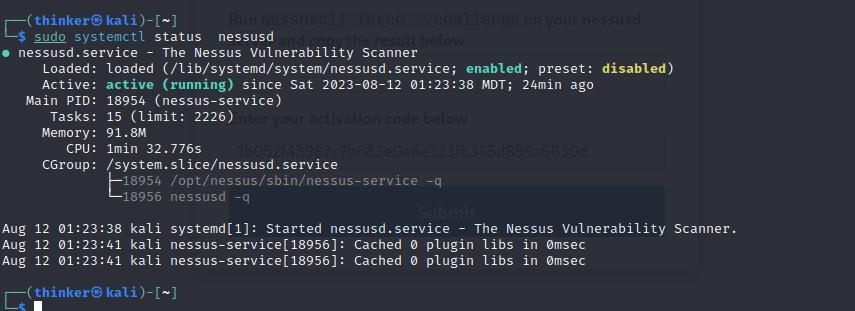
Running State-Enabled
Step 4. Access the Nessus Web Interface:
Open a web browser and navigate to ‘https://localhost:8834‘.
You might encounter a security warning due to the default self-signed SSL certificate used by Nessus. Accept the security risk and proceed.
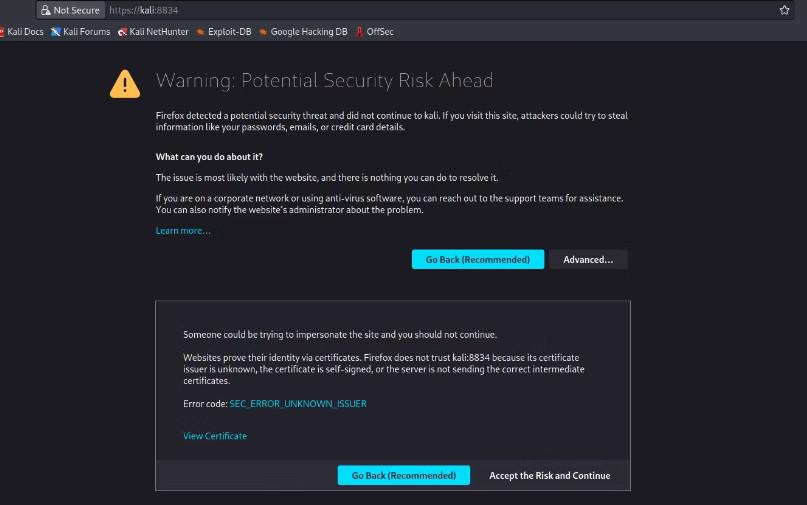
Security Warning – accept the risk and proceed
Step 5. Activate Nessus:
On the Welcome to Nessus screen, select the product version, Nessus Essentials.
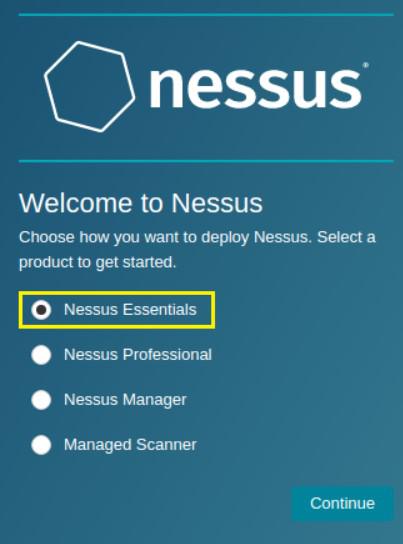
Product Version
On the Get an activation code screen select skip, as you have previously obtained the activation code.
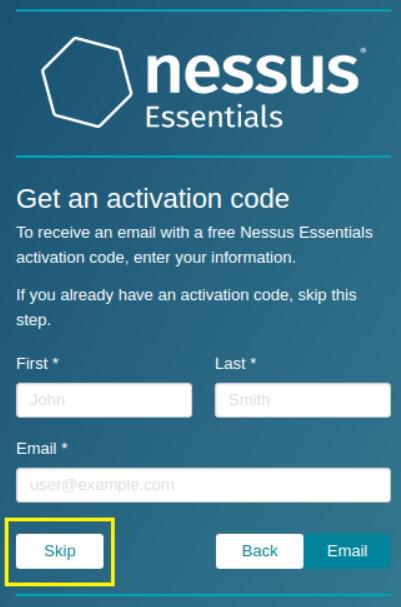
activation code
Enter the code to activate Nessus.
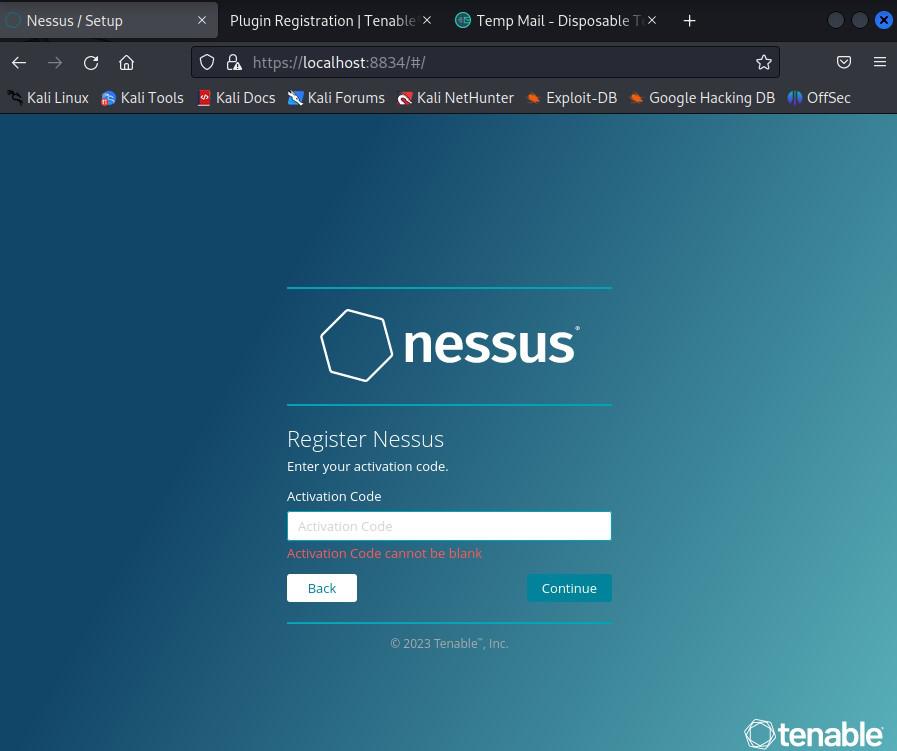
Enter the activation code
Step 6. Set Up a Username and Password:
After activation, Create a Nessus user account (username and password). This account will be used to access the Nessus web interface.
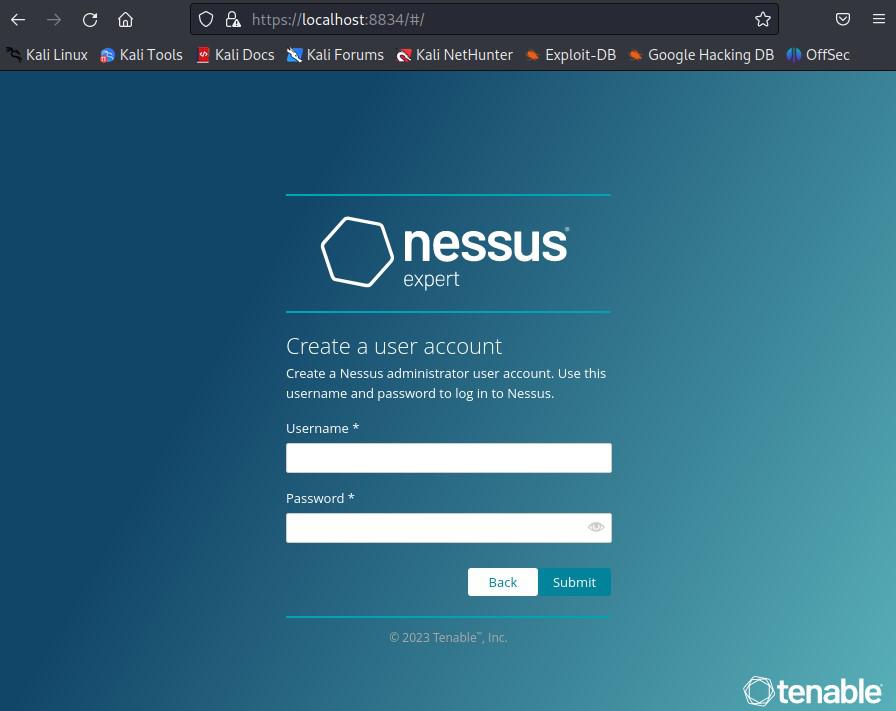
Setup Nessus User Account
Step 7. Log in to Nessus:
Log in to the Nessus web interface using the account you just created.
Step 8. Finish the Setup:
That’s it! You now have Nessus installed and running on your Linux system. You can use the Nessus web interface to start scanning your network for vulnerabilities.
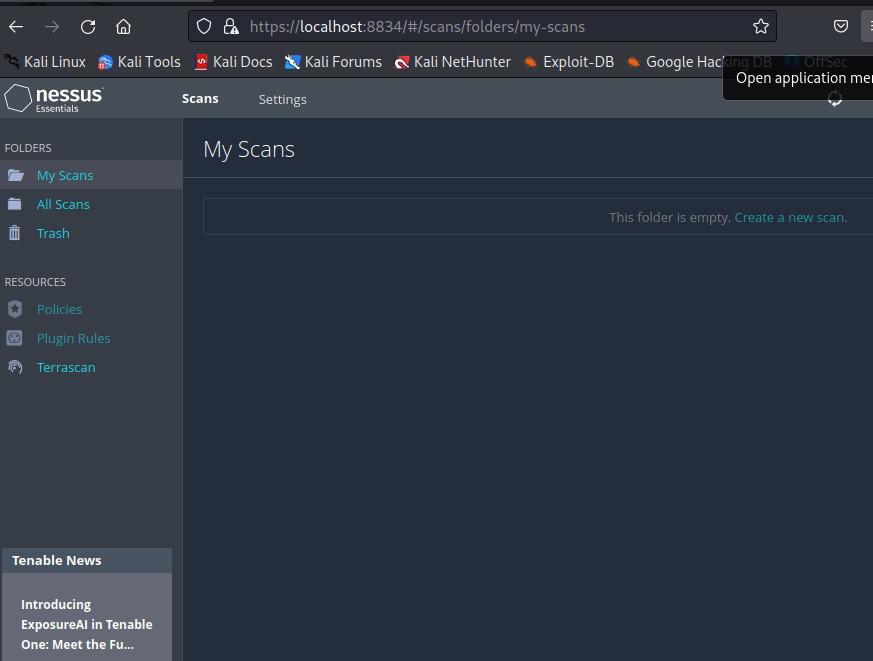
Nessus Web Interface
Let’s go over two practical examples of using Nessus for vulnerability scanning.
How to Use Nessus on Linux?
Example 1: Basic scan
In this example, we will perform an initial vulnerability scan on the target system using Nessus.
Step 1: Start Nessus
Verify that you have turned on the Nessus service with the following command:
sudo systemctl start nessusd
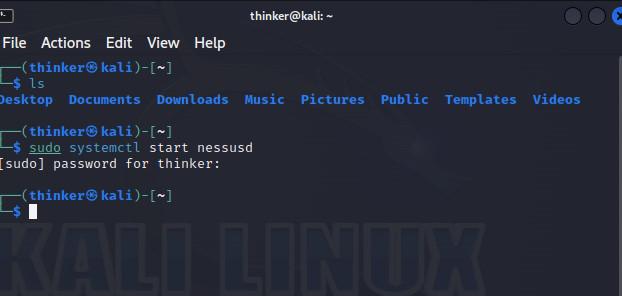
Start Nessus
Step 2: Go to the Nessus Web Connection
Open a web browser and navigate to https://localhost:8834. Log in with your Nessus username and password.
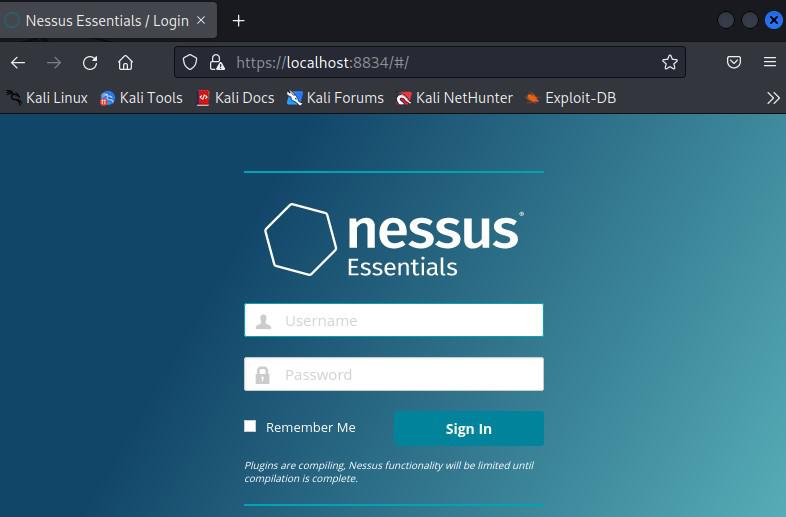
Log In Page
Step 3: Create a New Scan
1. Click on the “Scans” tab in the top navigation bar.
Scan Tab
2. Click the “New Scan” button.
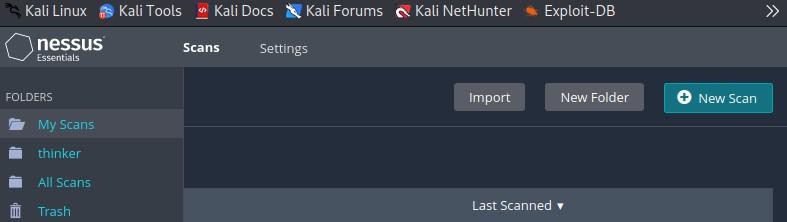
Click on New Scan
3. Select the “Basic Network Scan” template.
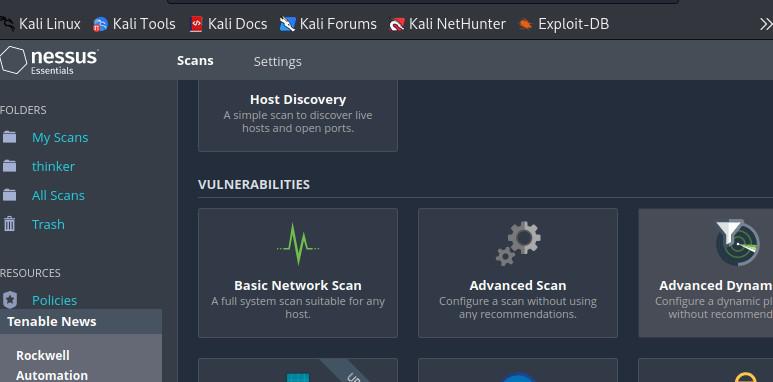
Templates
Step 4: Configure the Scan
In the “Targets” section, enter the IP address or hostname of the target system you want to scan. You can leave other settings at their default values for this basic example.
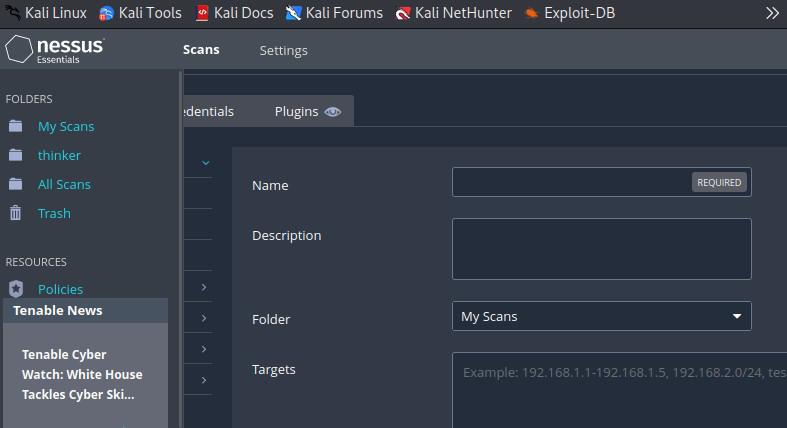
Enter the scan name and target IP address
Step 5: Start the Scan
Click the “Save” button to save the scan configuration, then click the “Launch” button to start the scan.
Click on launch button
In this example, we started a basic network scan using Nessus. We provided the target’s IP address or hostname and used the “Basic Network Scan” template. This scan looks for common vulnerabilities in the target system.
Example 2: Create a Report
In this example, we will create a report from the results of a previous scan.
Step 1: Wait for the scan to complete
Wait for the scan to complete. Depending on the size of the target network, this can take some time.
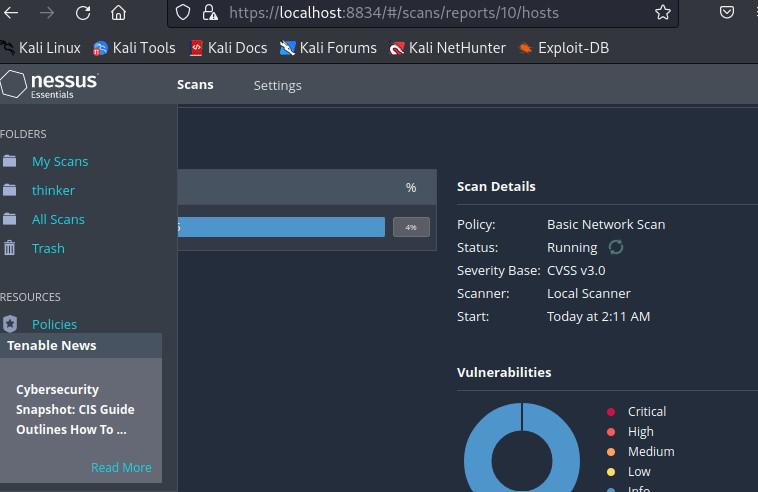
Running Scan
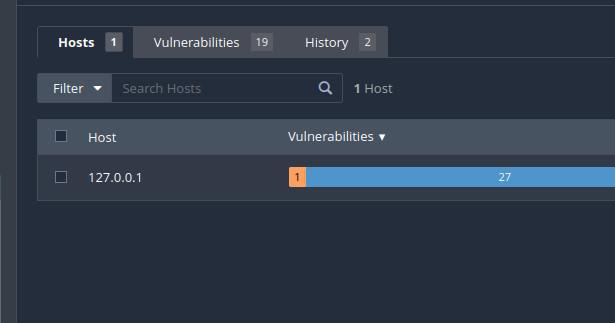
Step 2: Access Scan Results
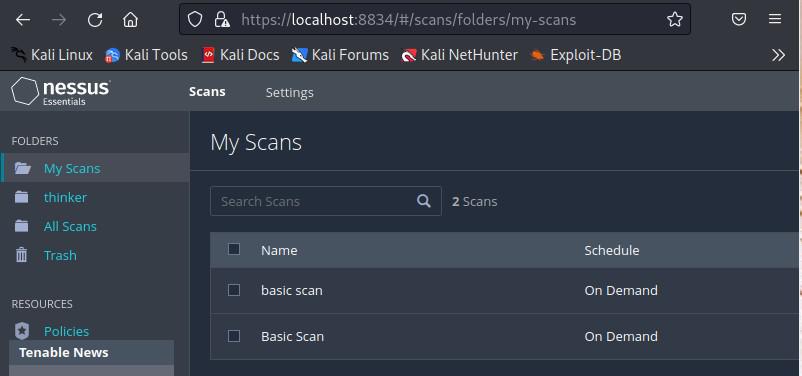
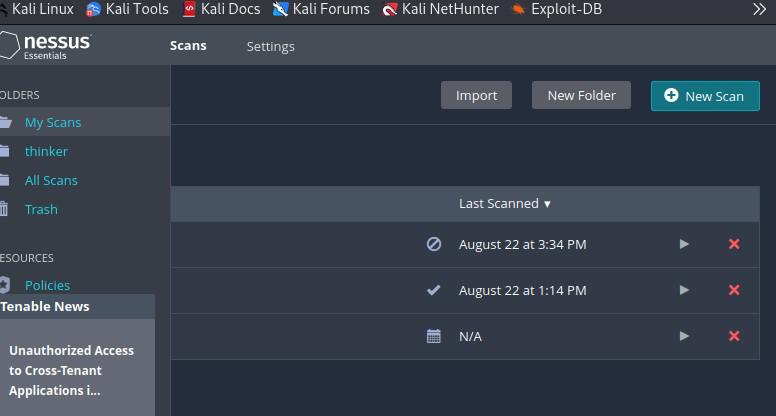
Once the scan is complete, go to the “Scans” tab. Click on the scan you performed earlier (“Basic Scan“).
Scan tab
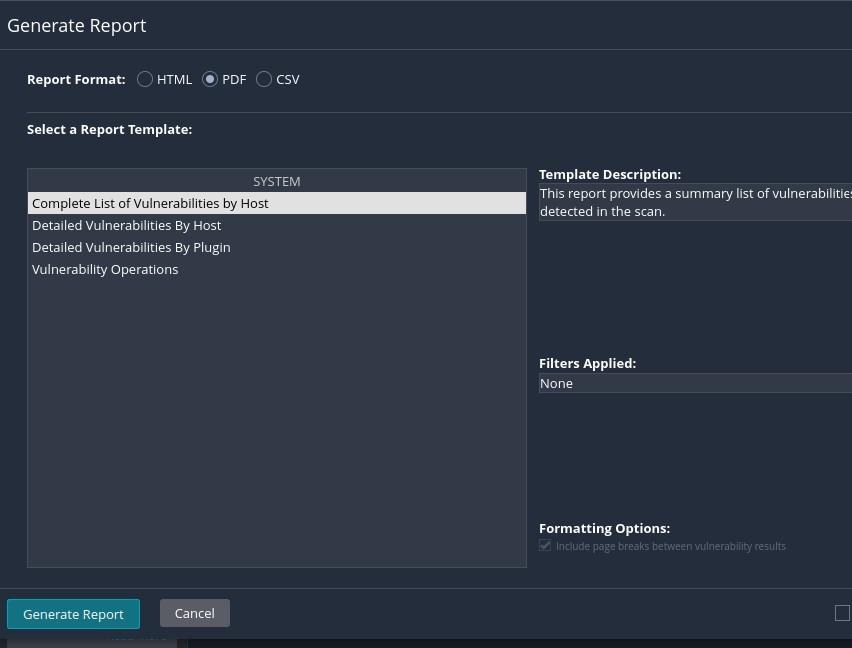
Step 3: Generate a Report
- In the scan details page, click the “Export” button.
- Select the format for the report (e.g., PDF, HTML).
- Choose the report template (e.g., “Executive Summary“).
- Click the “Generate” button.
Generate a Report
Step 4: Download the Report
Once the report is generated, you’ll see a link to download it. Click the link to download the report in the selected format.
Report PDF
In this example, we get the scan results and generate a report. Nessus offers a variety of report templates, such as “Executive Summary” and “Full Audit”.
Conclusion
In conclusion, Nessus is a powerful vulnerability management tool that can be installed on Linux systems to proactively identify and address security issues in network environments. By following the installation steps, users can set up Nessus and access its web interface to conduct vulnerability scans. It offers flexibility in scan customization, real-time reporting, and a wide range of features, making it a valuable asset for maintaining strong cybersecurity. Users can perform basic scans and generate reports to gain insights into potential vulnerabilities, thereby bolstering their organization’s security posture. However, it’s essential to be aware of its cost for advanced features, potential complexity in configuration, and the need for continuous monitoring to ensure up-to-date security status.
Share your thoughts in the comments
Please Login to comment...