How To Install Maven On Linux?
Last Updated :
05 Mar, 2024
Maven is your software program development sidekick! Maven, crafted using the Apache Software Foundation, is the go-to device for simplifying the complex international of build automation and task management. It’s designed to permit you to be conscious of coding while effortlessly managing obligations like constructing, checking out, and deploying initiatives.
Think of Maven as your task agency wizard. With its XML-based configuration, Maven makes mission management a breeze, thanks to the usage of conventions that assist you in diving instantly into improvement without getting slowed down through construction process intricacies.
Steps to install Maven on Linux
Note: We are installing Maven on Ubuntu Linux (20.04 LTS)
Step 1: Update local packages
- sudo apt update: This command is used to update the local package index on your machine.
- sudo apt upgrade: This command is used to upgrade the installed packages on your system to the latest available versions.
sudo apt update && sudo apt upgrade -y
-(8).png) Step 2: Install JDK
Step 2: Install JDK
Since Maven is primarily built using Java. Install JDK. You need the Java Development Kit (JDK) in addition to the JRE in order to compile and run Java-based software. To install the JDK, execute the following command, which will also install the JRE:
sudo apt install openjdk-11-jdk

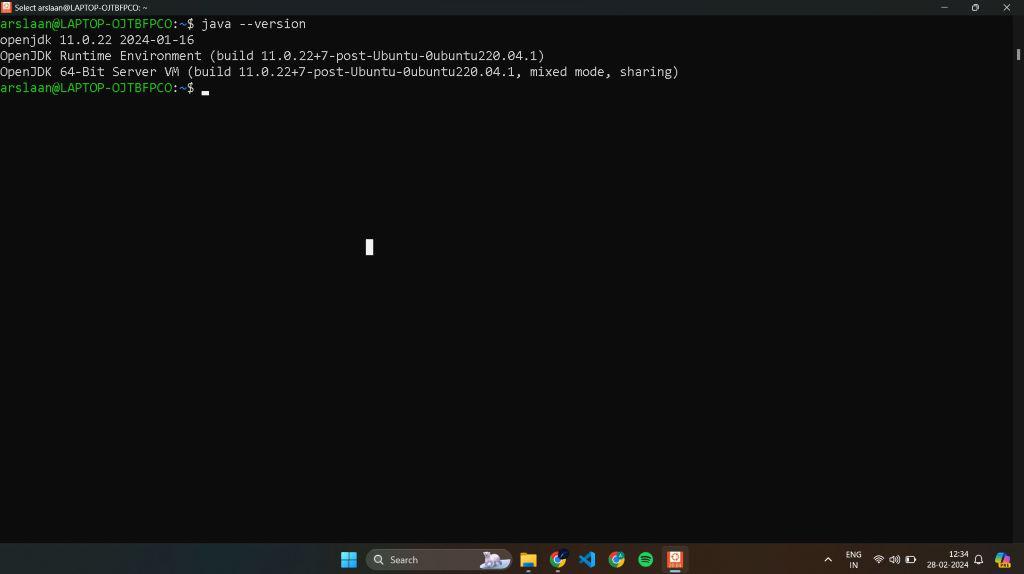
Step 3: Verify Installation
java --version
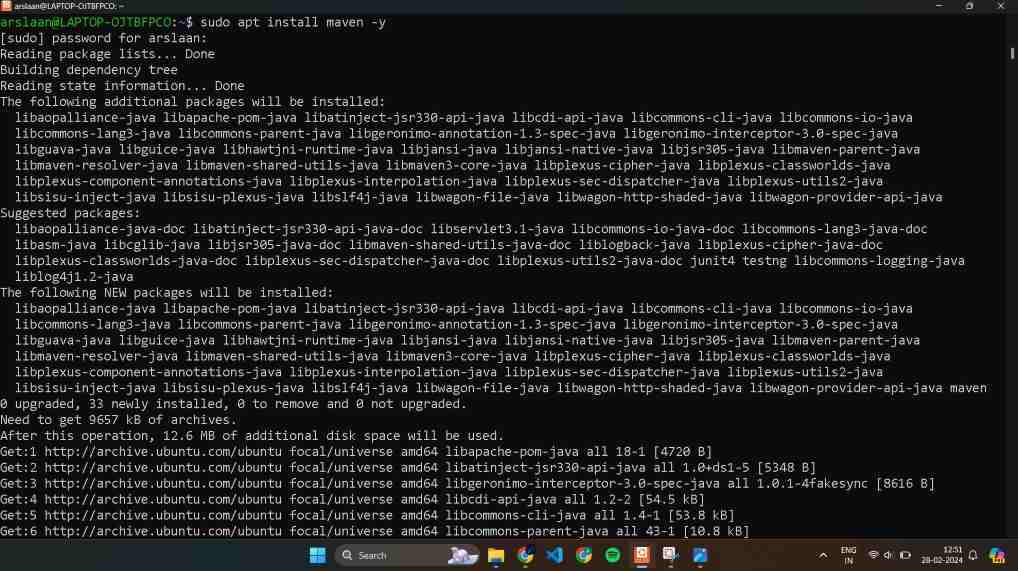
Step 4: Install Maven.
sudo apt install maven -y
Step 5: Verify Installation
mvn --version

Manual Installation
Step 1: This command is used to update the local package index on your machine.
sudo apt update

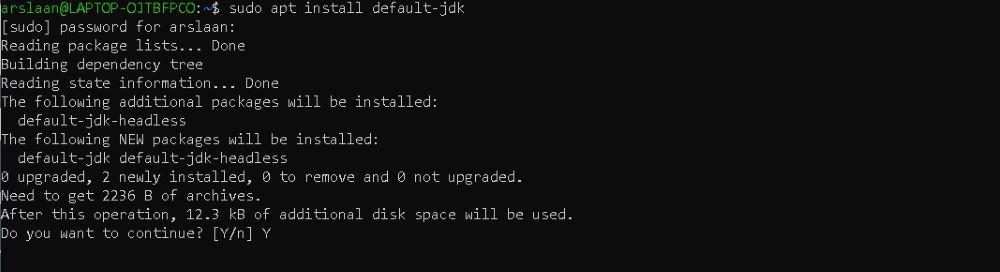
Step 2: Since Maven is primarily built using Java. Install JDK. You need the Java Development Kit (JDK) in addition to the JRE in order to compile and run Java-based software. To install the JDK, execute the following command, which will also install the JRE:
sudo apt install default-jdk
Step 3: Installing the java on linux machine
sudo wget http://www-eu.apache.org/dist/maven/maven-3/3.5.3/binaries/apache-maven-3.5.3-bin.tar.gz

Step 4: Extracting the maven on linux
sudo tar -zxvf apache-maven-3.5.3-bin.tar.gz

Step 5: Move the extracted Maven directory to the desired location. Example, we move it to /opt/:
sudo mv apache-maven-3.5.3 /opt/maven

Step 6: The command nano ~/.bashrc is used to open and edit the user-specific Bash configuration file.
nano ~/.bashrc

Step 7: Add following to /.bashrc
export M2_HOME=/opt/maven
export MAVEN_HOME=/opt/maven
export PATH=${M2_HOME}/bin:${PATH}

Step 8: The command source ~/.bashrc is used to apply the changes made in the ~/.bashrc file immediately to the current Bash session.
source ~/.bashrc

Step 9: Verify Installation
mvn --version
Install Maven on linux – FAQ’s
Does Maven require Java to be installed on my system?
Yes, Maven requires Java to run. Make sure Java is installed, and the JAVA_HOME variable is set before installing Maven.
How can I check if Maven is already installed on my Linux system?
Run ‘mvn -v’ in the terminal. If Maven is installed, it will show the version. If not, consider installing it.
What’s the recommended way to install Maven on Linux?
Use your package manager, like sudo apt install maven on Debian-based systems (Ubuntu).
How do I configure Maven after installation?
Customize Maven settings in the settings.xml file. Set MAVEN_HOME and update your PATH to include Maven binaries.
Can I install Maven without root or sudo privileges?
Yes, download and extract Maven to a directory you have write access to. Update your shell profile (e.g., .bashrc) to include Maven in your PATH.
Share your thoughts in the comments
Please Login to comment...