How to Install conda in Windows?
Last Updated :
20 Apr, 2022
Anaconda is open-source software that contains Jupyter, spyder, etc that is used for large data processing, data analytics, heavy scientific computing.
Conda is a package and environment management system that is available across Windows, Linux, and MacOS, similar to PIP. It helps in the installation of packages and dependencies associated with a specific language like python, C++, Java, Scala, etc. Conda is also an environment manager and helps to switch between different environments with just a few commands.
Installing Conda on Windows:
Follow the below steps to install conda on windows:
Step 1: Visit this website and download the Anaconda installer.

Step 2: Click on the downloaded .exe file and click on Next.

Step 3: Agree to the terms and conditions.

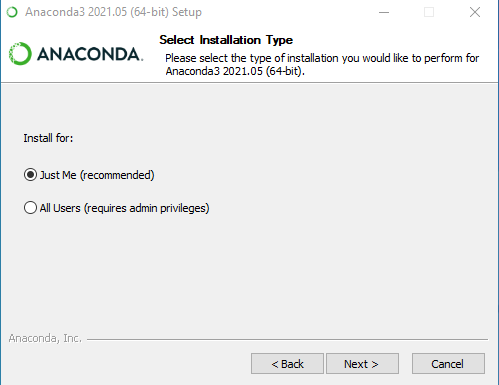
Step 4: Select the installation type.
Step 5: Choose the installation location.

Step 6: Now check the checkbox to add Anaconda to your environment Path and click Install.

This will start the installation.

Step 7: After the installation is complete you’ll get the following message, here click on Next.

Step 8: You’ll get the following screen once the installation is ready to be used. Here click on Finish.

Verifying the installation:
Now open up the Anaconda Power Shell prompt and use the below command to check the conda version:
conda -V
If conda is installed successfully, you will get a message as shown below:

Share your thoughts in the comments
Please Login to comment...