How to in Install Burp Suite Professional for free on Windows?
Last Updated :
21 Mar, 2022
Burp Suite is a very powerful cyber security tool that is used for scanning vulnerabilities from different applications like web applications. It is available for different operating systems like macOS, Windows, Linux, etc. It is available in two versions one is Community edition and the other is Professional. It is available for free only for a time period of 30 days after which the trial period ends and subscription is compulsory.
Installing Burp Suite Professional on Windows:
Follow the below steps to install Burp Suite Professional on Windows:
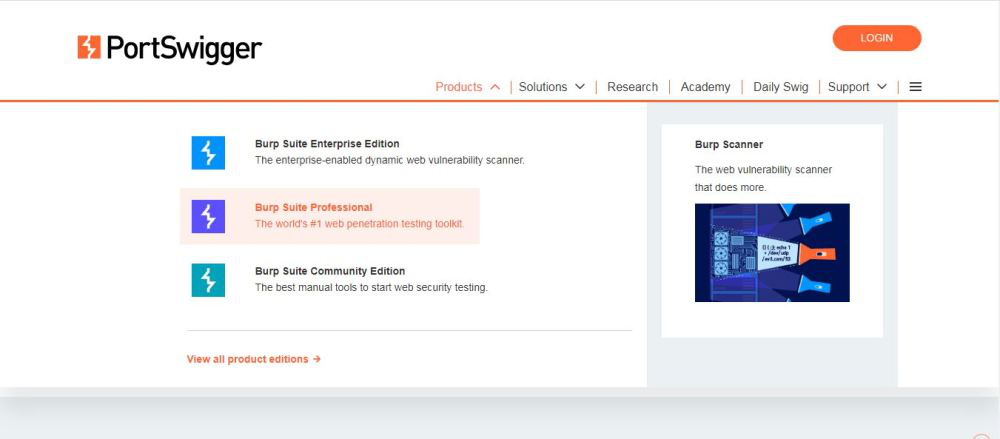
Step 1: Visit the official Burp Suite website using any web browser.

Step 2: Click on Products list choose Burp suite Professional and click on it.
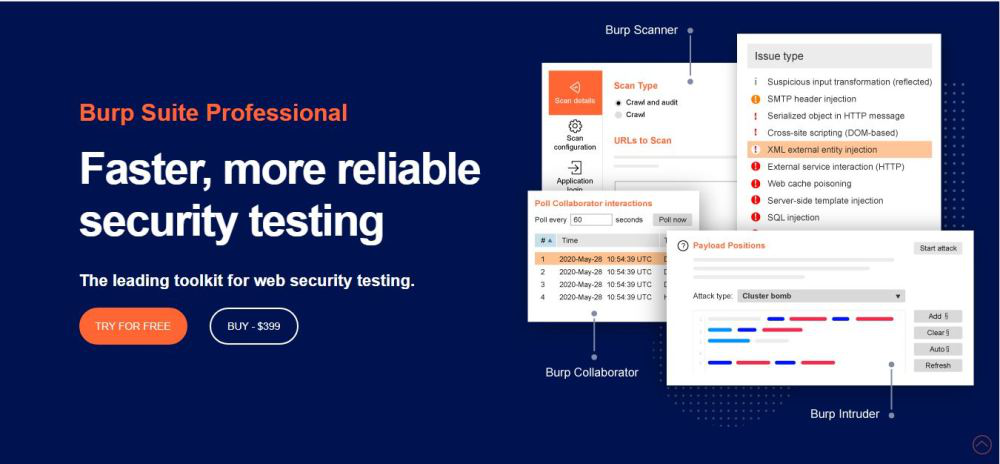
Step 3: On the next web page click on the TRY FOR FREE button.
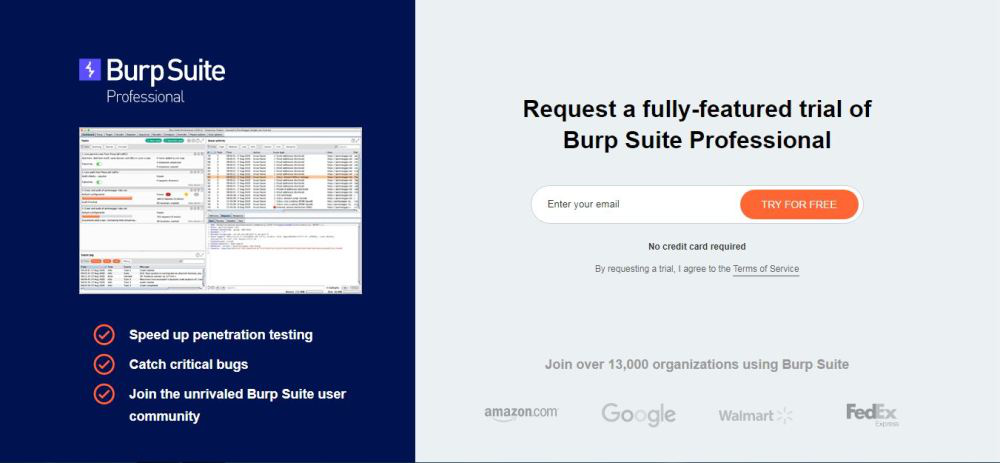
Step 4: New web page will open, which will ask for an email id, fill in the email id, and then click on the TRY FOR FREE button.
Step 5: On the next page click on Download your software now button.

Step 6: Now choose Burp suite Professional along with Windows (64-bit)and then click on the download button, to start downloading the executable file.

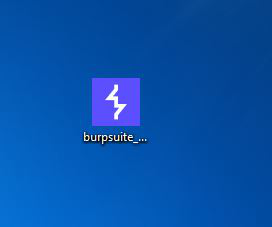
Step 7: Now check for the executable file in downloads in your system and open it.
Step 8: Loading of Installation Wizard will appear which will take a few seconds.

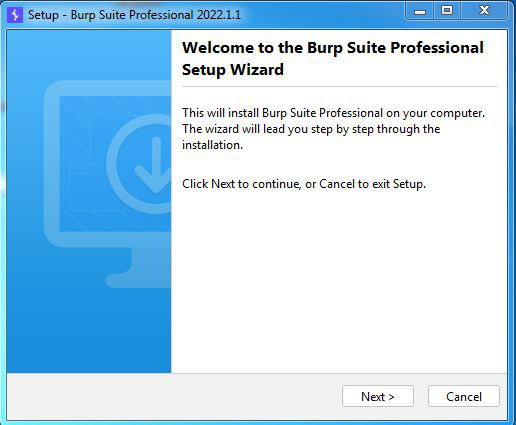
Step 9: After this Setup screen will appear, now click on the Next button.
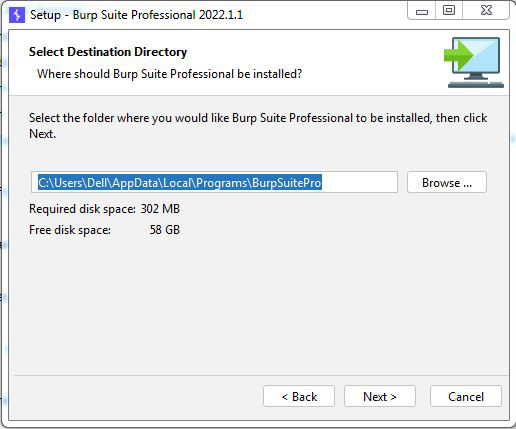
Step 10: The next screen will be of installing location so choose the drive which will have sufficient memory space for installation process.
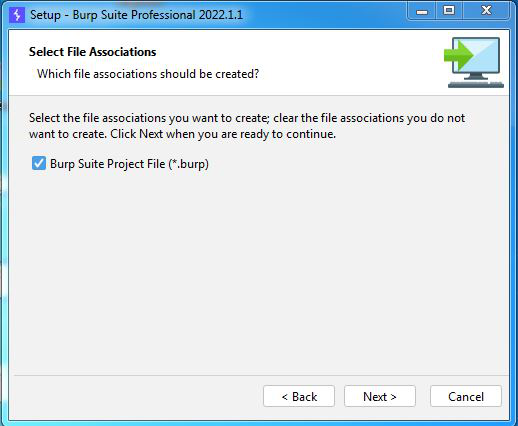
Step 11: Next screen is for selecting associate files so check the box and then press the Next button.
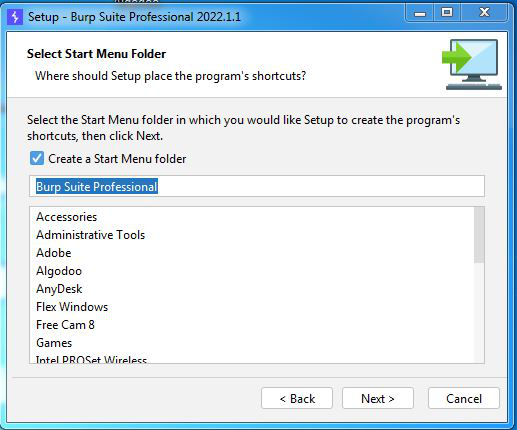
Step 12: Next screen will be of choosing the Start menu folder so don’t do anything just click on the Next Button.
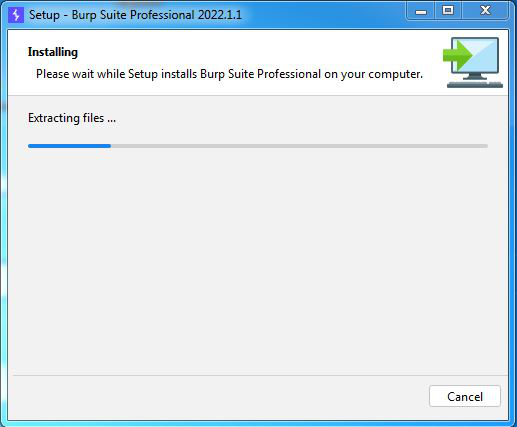
Step 13: After this installation process will start and will hardly take a minute to complete the installation.
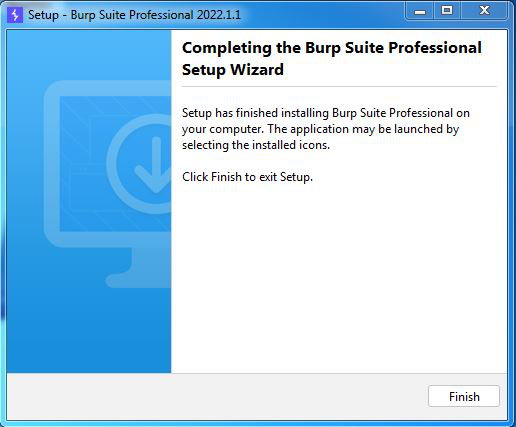
Step 14: Click on the Finish button after the installation process is complete.
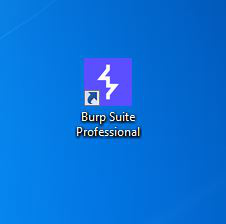
Step 15: Burp suite is successfully installed on the system and an icon is created on the desktop.
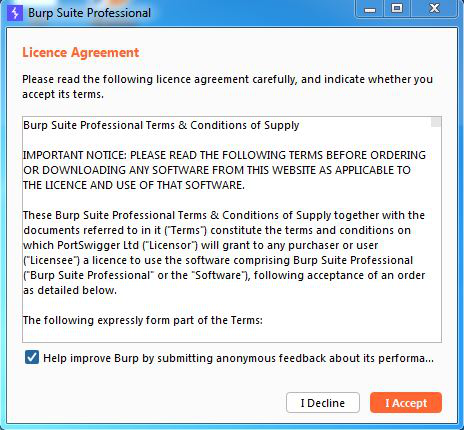
Step 16: Run the software, a screen containing terms and conditions will appear Click on I Accept.
Step 17: Finally the interface will initialize.

Congratulations!! At this point, you have successfully installed Burp Suite Professional on your windows system.
Share your thoughts in the comments
Please Login to comment...