How to Implement Basic Error Handling in Socket Programming in Java?
Last Updated :
08 Apr, 2024
Socket programming is nothing but, a fundamental aspect of network communication that enables the applications to communicate over the network using TCP/IP or UDP protocols. In Java, socket programming is allowed to the developers for creating applications of the client-server, where the data can be transmitted between those endpoints. However, when we deal with communications between the networks, errors are inevitable due to different factors like network issues, server unavailability, or unexpected data.
So, implementing an error-handling mechanism plays an important role in ensuring the robustness and reliability of socket-based applications. Now, we are discussing the process of implementing basic error handling in socket programming in Java. We can resolve the exceptions, that occur during the socket operations, such as connecting failures, I/O errors, and socket closure issues.
Prerequisites:
The following are the prerequisites to implement basic error handling in socket programming in Java.
- Basic understanding of Java programming language
- Knowledge of socket programming concepts
- Eclipse IDE (Optional)
- Access to a server (for testing purposes)
Program to Implement Basic Error Handling in Socket Programming in Java
Below are the steps to implement the program to handle basic errors in socket programming in Java.
Step 1: Set up Environment of Eclipse IDE
- Open Eclipse IDE.
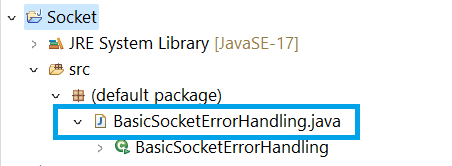
- Create a new Java project, after that create one class file and name it as BasicSocketErrorHandling and check the option main method while creating a class file in a Java project.
Here is the path for the BasicSocketErrorHandling.java class file:
Step 2: Implement the Socket Code
Write the below code in class file to implement the basic error handling in socket programming in Java.
Java
import java.io.BufferedReader;
import java.io.IOException;
import java.io.InputStreamReader;
import java.io.PrintWriter;
import java.net.Socket;
import java.net.UnknownHostException;

public class BasicSocketErrorHandling {
    public static void main(String[] args) {
        Socket socket = null;
        PrintWriter out = null;
        BufferedReader in = null;

        try {
            // Establish connection to the server
            socket = new Socket("localhost", 3307); // Replace "localhost" with your server's hostname

            // Initialize input and output streams
            out = new PrintWriter(socket.getOutputStream(), true);
            in = new BufferedReader(new InputStreamReader(socket.getInputStream()));

            // Perform socket operations
            System.out.println("Hello, server!");
            String response = in.readLine();
            System.out.println("Server response: " + response);
        } catch (UnknownHostException e) {
            System.err.println("Unknown host: localhost"); // Handle unknown host exception
        } catch (IOException e) {
            System.err.println("Error occurred while communicating with the server: " + e.getMessage()); // Handle IO exception
        } finally {
            try {
                // Close resources
                if (out != null)
                    out.close();
                if (in != null)
                    in.close();
                if (socket != null)
                    socket.close();
            } catch (IOException e) {
                System.err.println("Error occurred while closing the socket: " + e.getMessage()); // Handle closing exception
            }
        }
    }
}
Explanation of the above Program:
- In the above example, we catch the UnknownHostException for handle the cases where there is not recognized the specified host.
- We catch the IOException for handling the general I/O errors. It may be occur while doing the socket operations.
- After that, we close the socket, input stream and output stream in the finally block for resources are released properly and handling any potential exceptions that may be occurring while closing the process.
Note: Make sure that you will replace the hostname and portnumber with your server’s hostname and portnumber.
Step 3: Run the Code
- After written the above code, we will be able to run the code as follows.
- Right click on the class file and then select the Run AS > Java Application.
The output will be shown in console window of the Eclipse IDE as shown below:
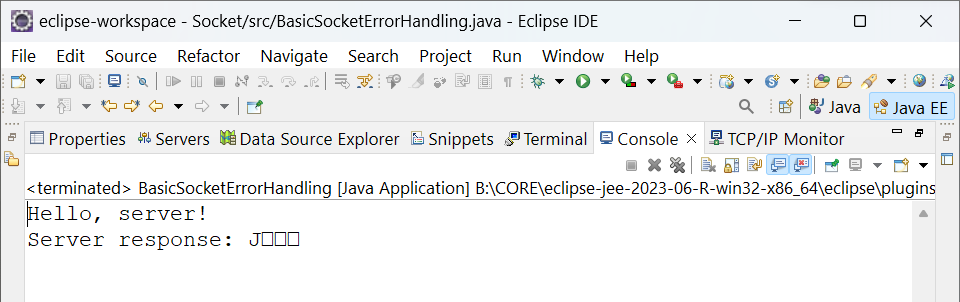
Output:
If the connection is successfully connected to the server, and the server will respond without any error, the output will be shown as below:
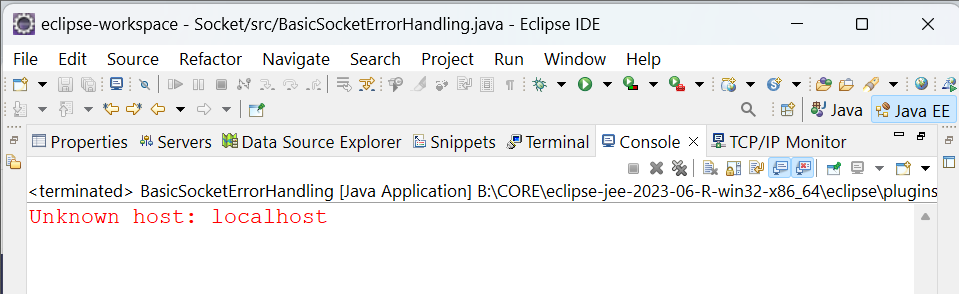
If the given host is not found, the output will be shown as below:
If there is an error while connecting to the server such as network issues, server not responding etc., the output will be shown as below:

Share your thoughts in the comments
Please Login to comment...