How to deploy Node.js app on Netlify ?
Last Updated :
14 Mar, 2024
Netlify is a powerful platform that simplifies the process of deploying and managing web projects. It provides a wide range of features, including continuous deployment, automatic SSL, serverless functions, form handling, and much more. With Netlify, you can deploy static sites, single-page applications (SPAs), and server-side applications with ease.
Steps to create Node.js app and deploy on netlify
Step 1: Create a folder and initialize a node project.
npm init -y
Step 2: Install the required dependencies.
npm i express netlify-cli netlify-lambda serverless-http
Step 3: Add these scripts to the package.json file.
"scripts": {
    "build": "netlify deploy --prod"
}
The dependencies in package.json file will look like:
"dependencies": {
    "express": "^4.18.3",
    "netlify-cli": "^17.17.1",
    "netlify-lambda": "^2.0.16",
    "serverless-http": "^3.2.0"
}
Folder Structure:
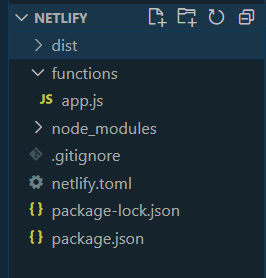
Step 4: Create the files as shown in the folder structure and add the following codes.
Javascript
//app.js

const express = require("express");
const serverless = require("serverless-http");
const app = express();
const router = express.Router();

router.get("/", (req, res) => {
    res.send("App is running..");
});

app.use("/.netlify/functions/app", router);
module.exports.handler = serverless(app);
Step 5: Create netlify.toml in root directory and add the following syntax.
[build]
    functions = "functions"
Remember to keep indentation in second line.
Step-6: Make a .gitignore file and add these files in it.
node_modules/
.netlify
Step 7: Initialize a git repository with command
git init
git add .
git commit -m "changes"
Step 8: Create your account on netlify and come back to project and open your terminal.
netlify init
You will be prompted to a browser window where you need to login and authorize your device to use command line interface after that done terminal will look like this.

logged into netlify account
Now you will be asked questions-
Do you want to create a Netlify site without a git repository? answer Yes, create and deploy site manually, then enter your team name and then site name.

site created
Now enter the command
netlify deploy
After this you will receive draft url

draft url
Step 9: It is not deployed on prod but on draft, you can see if it is working fine. Click on the link of function logs you will be prompted to a tab where you will be able to see your app as given below:
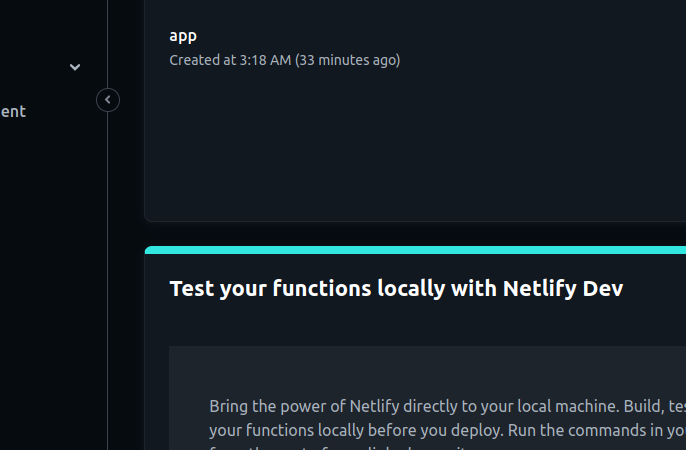
click on app
Step 10: Click on the app and you will be prompted to a page and you will be able to see Endpoint, copy it and enter it in browser.
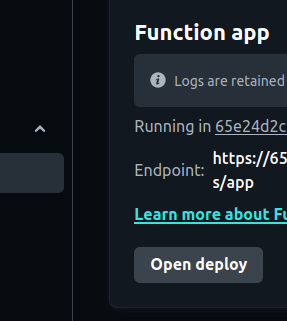
endpoint
After entering end point result will be displayed as given below:

running draft
Step 11: Now you can deploy on prod with command
netlify deploy --prod
and now it should be deployed
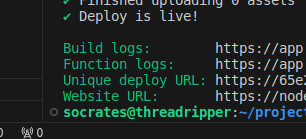
deployed
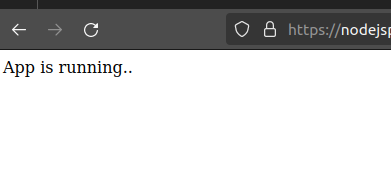
Step 12: Now go same as step-9 to function logs url click on app where you will see endpoint enter it you will get the result of api which is like below:
Output:
Note: Whatever the website url you have after that you have to add this “.netlify/functions/app” cause there was a path we have defiend where our apis will be available or you can do endpoint url : yourwebsiteurl/.netlify/functions/app make sure to replace “yourwebsiteurl” actual url of website you got on terminal after deploying on prod.
Share your thoughts in the comments
Please Login to comment...