How to Deploy React App using Azure Static Web Apps ?
Last Updated :
03 Apr, 2023
Microsoft Azure is a public cloud computing platform. It provides a lot of cloud services to access, manage, and deploy applications. Where as Azure Static Web App is one of the services of Microsoft Azure. It automatically builds and deploys full-stack web apps from the code repository to azure.
In this article, we will learn how to deploy React app in Azure Static Web Apps.
Steps to Deploy React App using Azure Static Web Apps
Requirements:
- GitHub Account
- Microsoft Azure account
- Node.js
- create-react-app package
Step 1: Install Node.js. You can skip this step, if already installed.
node --version
Step 2: Install create-react-app. Run the following command to install the create-react-app package globally on your PC. You can skip this step, if already installed.
npm install -g create-react-app
Step 3: Create React application
- Open the terminal in the folder where you want to create React app.
- Run the following commands one by one to create react app.
create-react-app react-app-static-web-app
cd react-app-static-web-app
npm start
- Here “react-app-static-web-app” is the name of our react application.
- “cd react-app-static-web-app” will navigate the terminal to the newly created “react-app-static-web-app” folder.
- The “npm start” command will start the local server.
- Now, the React app is running at http://localhost:3000/
- Copy and paste the link in the browser to open the React app.
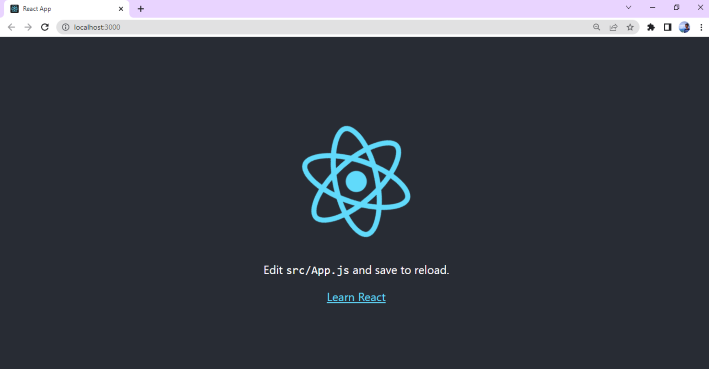
Running on localhost
Step 4: Create a GitHub repository to store the react application
Step 5: Commit local files to the GitHub repository
- Run the following commands to commit files to your GitHub repository.
- Note: Replace <replace with repo> with your repository.
git init
git add .
git commit -m "first commit"
git branch -M main
git remote add origin https://github.com/<replace with repo>.git
git push -u origin main
Note: Make sure you have installed and authorized it on your PC.
Step 6: Open Microsoft Azure Static Web App. Sign in with your login credential.
- Search for ” static web app ” in the search bar of the azure home page.
Step 7: Create a Static Web App
- Select subscription.
- Create a new or select an existing resource group.
- Enter the name of your application.
- Select plan and region.
- Select the repository source. In this case, GitHub is a source.
- Sign in with your GitHub account
- Select the Organization, Repository, and Branch of your React app.
- Select React for Build Presets.
- Leave the rest of the things default.
- Verify the summary and click create.
- Wait for the app to be deployed.
Step 8: Navigate to the GitHub repository
- Click Actions.
- Wait until the progress completion.
Step 9: Return back to azure
- Come back to the Azure Static Web App Deployment page.
- Click Go to resource on the deployment page.
Step 10: Explore the URL (output)
Click on the URL and check the working condition.
Like Article
Suggest improvement
Share your thoughts in the comments
Please Login to comment...