How To Create A Basic CI Workflow Using GitHub Actions?
Last Updated :
15 Mar, 2024
GitHub Actions is a continuous integration and continuous delivery (CI/CD) feature provided by GitHub that allows you to automate your build, test, and deployment pipeline whenever any changes happen in your repo.
Continuous integration (CI) is a software development practice in which you merge/commit your changes to the main branch many times a day. For every change, you have to deploy the whole project again and again to reflect changes in the production environment. This can lead to a decrease in productivity and repetition of tasks.
To eliminate this we have something called CI/CD workflow which allows us to build & deploy our code automatically if any changes happen in a production environment.
In this article, we will create a basic CI workflow where we will make changes to Static HTML and deploy it automatically if we push modified code on GitHub pages. GitHub actions already provide some pre-build workflow for HTML, Node.js, Python, etc.
What Are Github Actions?
GitHub Actions is a platform built into GitHub that automates all the SDLC steps like development, testing, and deployment.
- Event: An event is what gets a GitHub Actions automated pipeline invoked. It can be anything like push, pull, merge, etc
- Workflow: Any of these events can trigger a workflow, this workflow contains all the task you want to perform before deploying your application on your hosted platform.
- A workflow is defined in a YAML file and saved in the .github/workflows directory of your repository.
- Jobs: The things you want the workflow to do are grouped into one or more jobs. Each job is a set of steps that happen in an order that you define.
- Actions: An individual step within a job may consist of a simple shell script, but if you need something more complex, you can also use an action.
What Is Continuous Integration?
Continuous Integration is a development methodology where the developers commit changes to source code in a shared repository. This typically takes place several times a day.
The benefit is that it enables teams to find and resolve issues early in the development process. There are many tools teams can use to implement Continuous Integration. Depending on what they choose, there are also other functions developers can take advantage of such as using test servers and providing teams with test results.
Creating CI Workflow Using GitHub Actions: A Step-By-Step Guide
Step 1: Create an Empty GitHub Repository

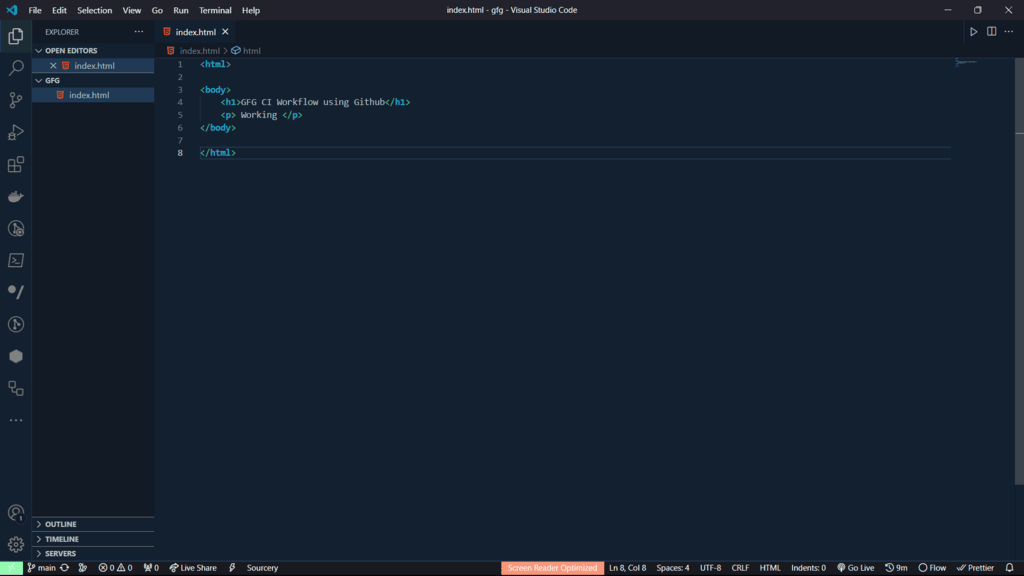
Step 2: Open your project in any text editor. Here I’m taking basic static HTML file with 1 heading and 1 paragraph. You can take anything.
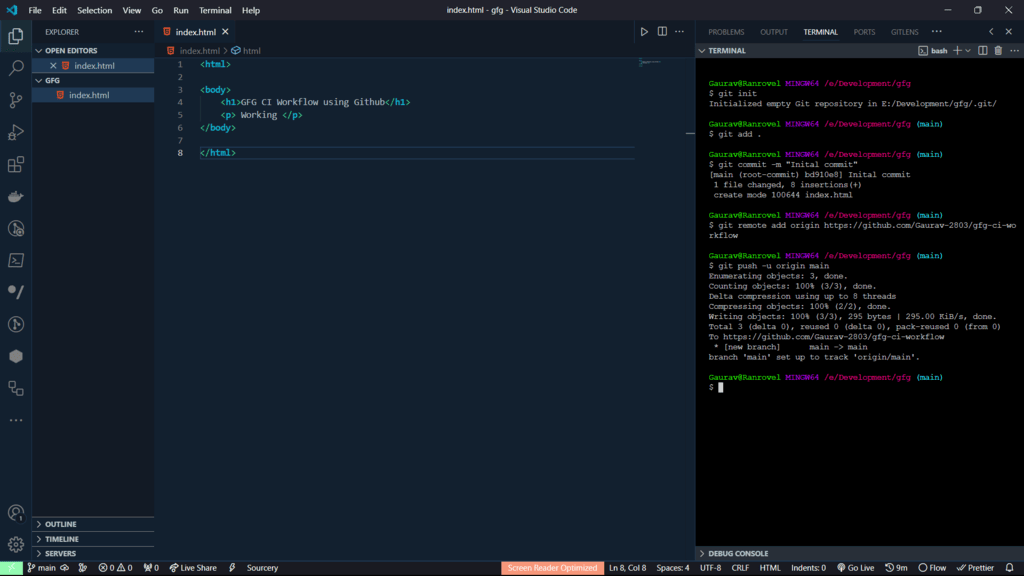
Step 3: Open Git terminal and Push your project on the GitHub Repository using following steps.
- Initalize empty Git repo using git init
- Add files to staging area using git add .
- Commit your changes using git commit -m “your message”
- Create remote origin using git remote add origin “repo link”
- Push the project using git push -u origin main
For more detail explanation go through this article.
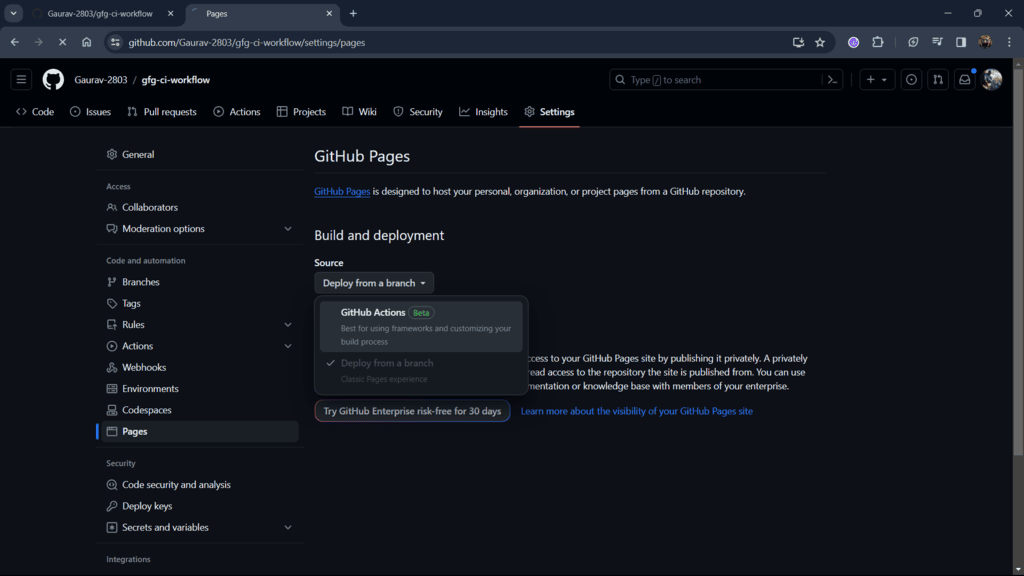
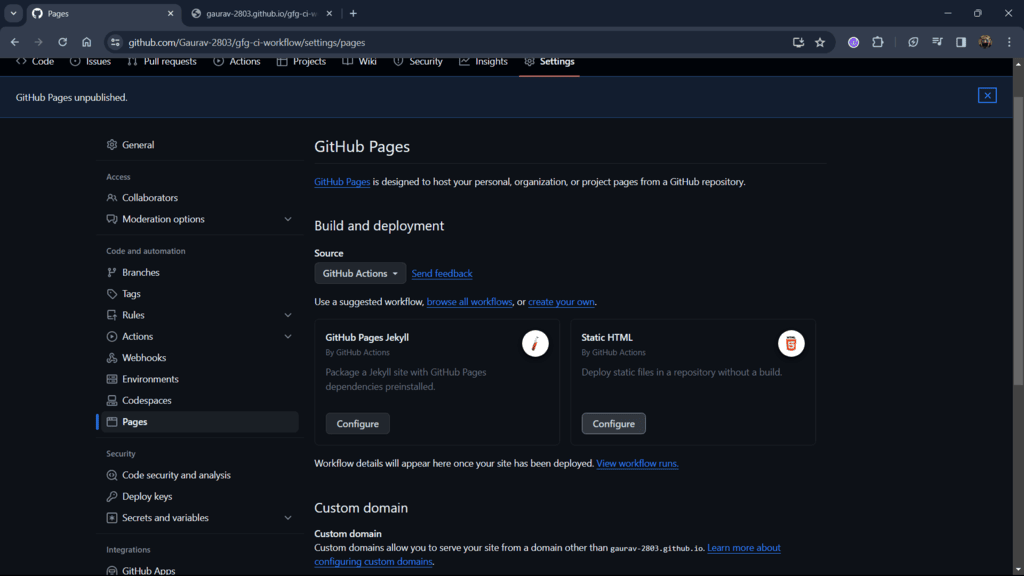
Step 4: Open the settings of your repository and go to Pages. From the source select GitHub Actions. This will allow us to deploy our code using GitHub Actions which will create CI workflow.
Step 5: Configure a Static HTML. This will generate a pre-build workflow for your static HTML file. GitHub provides in-built workflow, for my purposes I’ll select static HTML you can choose yours respective workflow.
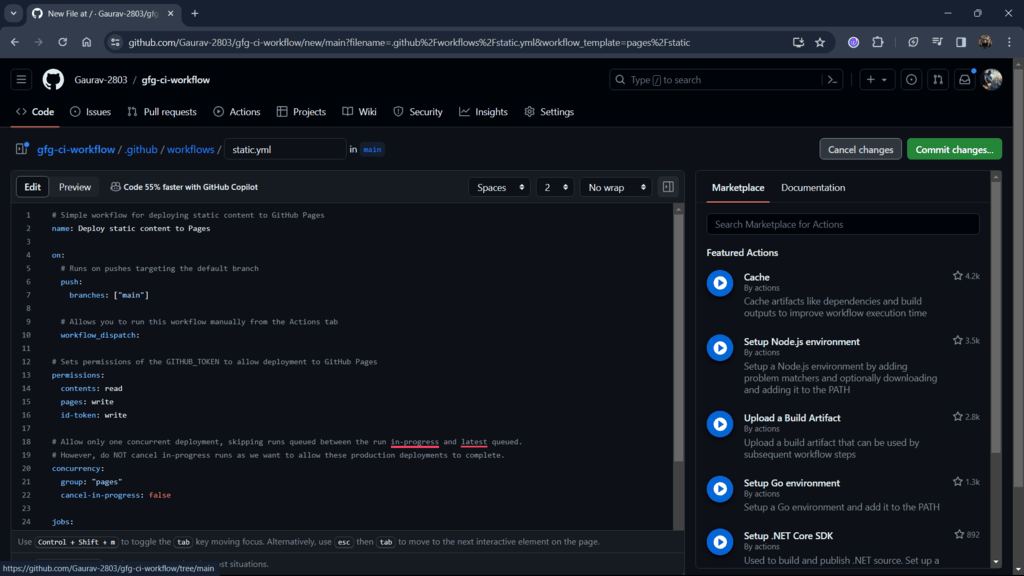
Step 6: The following image is the workflow YAML file that will automate your process of deployment. You change this according to your needs but for now let’s just keep it as it is.
This files contains:
- name: Name of your workflow
- on: Action from which you to automate your task
- permission: Here we provide permissions to read, write our workflow files.
- jobs: This is where your mention all the task you want to automate.
Step 7: Commit and push the file on your branch.

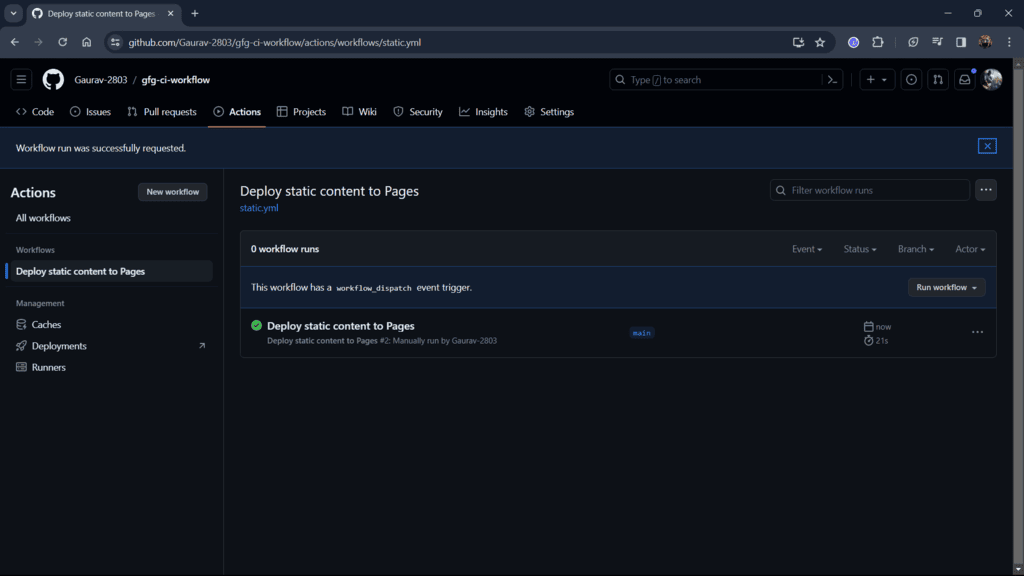
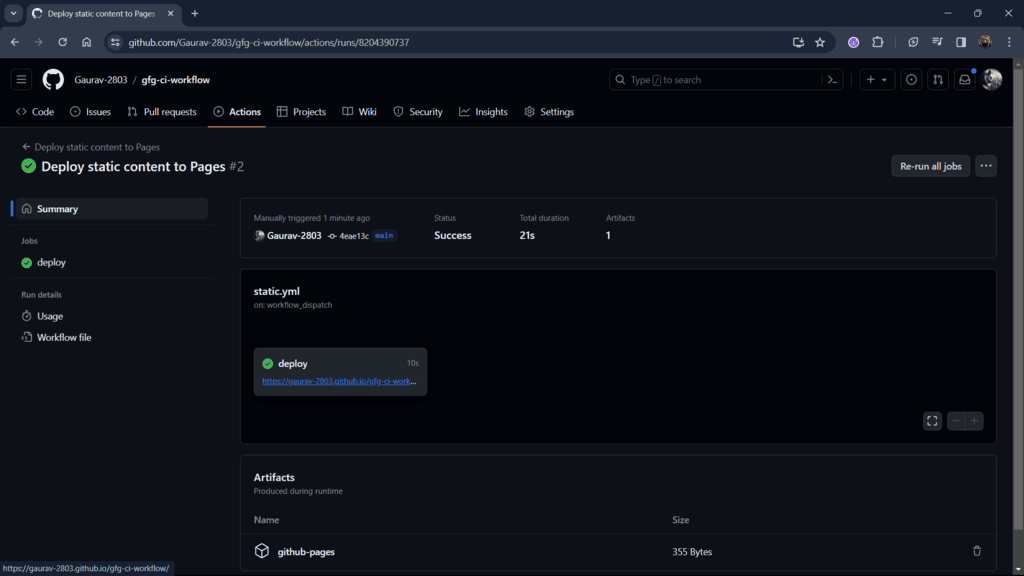
Step 8: From the above repo tabs go to Actions and check if your app is deployed on Github Pages or not. Open the deployment by clicking on the workflow name.
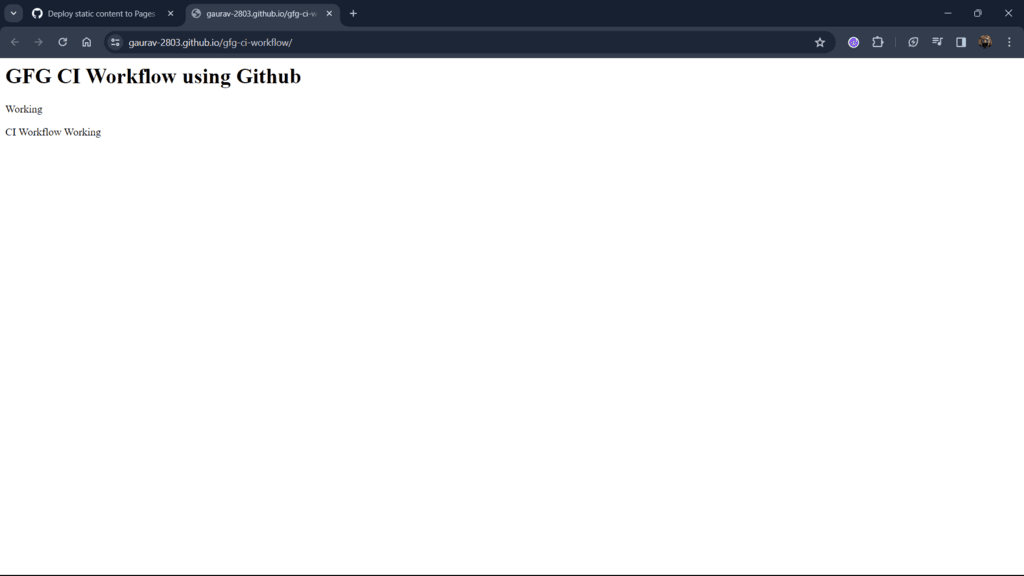
Step 9: Go to the link provided by GitHub this is where your HTML file is deployed.
- Step 10: After opening the link you can see the contents of your HTML file.

Step 11: Now let’s check if CI workflow or not. First, pull your changes.
- Modify your code and push it on the GitHub.
- For every push our workflow will be generated and changes will reflect on your page.
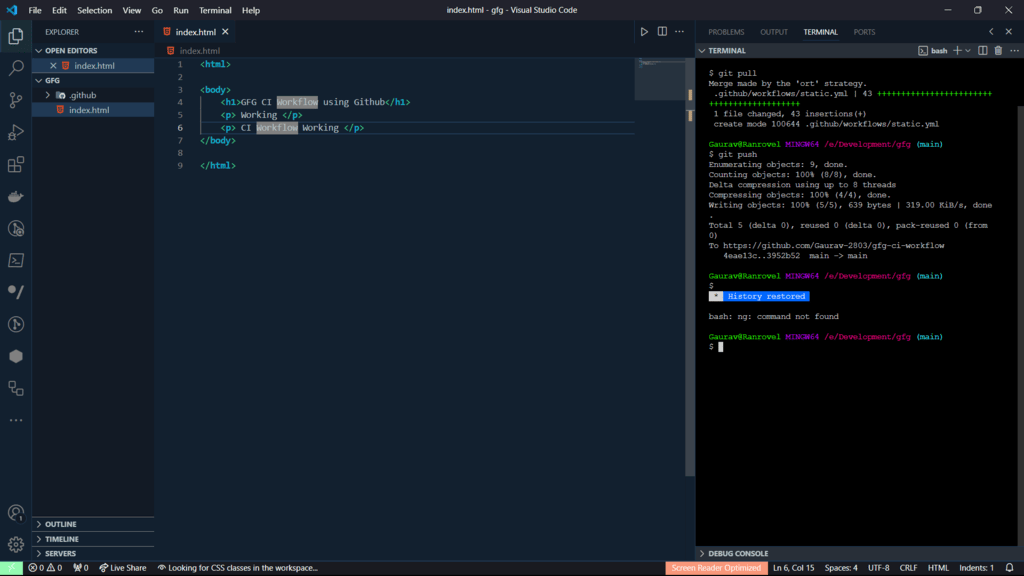
- Step 12: Wait for 10-15 seconds and reload your site. The new changes will appear on the site.
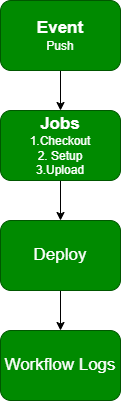
Automated CI/CD Workflow – FlowChart
- Push your changes which we be event for our workflow.
- All the jobs will be automated which are mentioned in workflow like Checkout, setup app, and upload new code.
- Deploy all the changes which is the last job in the workflow.
- Keep track of all your logs to check if CI is working or not.
Conclusion
In this article, we created a CI workflow involves defining workflows, jobs, and steps in a YAML configuration file. We effectively used available actions to automate deploy task and GitHub pages to deploy our project.
CI Workflow And Github Actions – FAQs
What Triggers A GitHub Actions Workflow?
It can be triggered by push to a branch, pull requests, scheduled runs, or even external events from other services.
What Are Jobs And Steps In A Workflow?
A workflow can consist of multiple jobs. Each job is made up of steps, which are the individual commands or actions that are executed.
How Can I Share My Own Custom Actions?
You can create your own custom Actions and share them with the community by publishing them as a public repository on GitHub.
How Can I Monitor And Debug My Workflows?
Visual workflow execution log allows you to track the progress of your workflows.
Are There Any Limitations On What I Can Achieve With GitHub Actions?
Compute resources and certain actions might require additional configuration or external tools
Share your thoughts in the comments
Please Login to comment...