How to Build an API With Ruby on Rails?
Last Updated :
26 Mar, 2024
Ruby on Rails API refers to the application programming interface (API) framework provided by the Ruby on Rails (Rails) web application framework. It allows developers to build and expose APIs for their web applications efficiently. Ruby on Rails is a popular web development framework written in the Ruby programming language, and its API functionality enables the creation of web services and endpoints that can be used for communication between different software systems.
What is an API?
An API is a set of programming code that enables data transmission between one software product and another. It also contains the terms of this data exchange.
How do APIs Work?
APIs work by sharing data between applications, systems, and devices. This happens through a request and response cycle.
- A user initiates a request for data by interacting with an application.
- The request is sent to the API, which retrieves the data and returns it to the user.
Note:
Make sure you have already installed the rails. If you have not installed the rails kindly install the rails first run gem install rails
Steps to Create API with Ruby on Rails
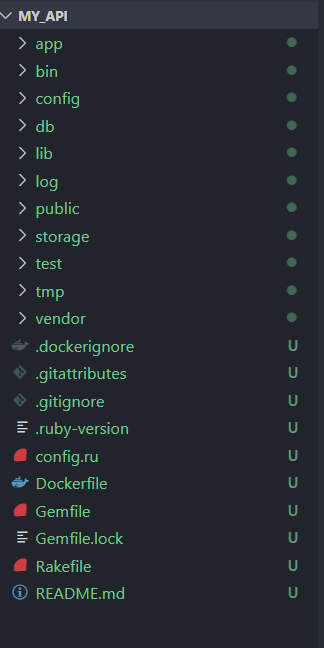
Step 1: Create the New Rails Project
1. Open the terminal and run the following commands:
rails new [api_name] –api
Example:
$ rails new my_api –api
Step 2: Navigate to Your Rails Project
Use the ‘cd’ command to move into the directory of your rails project:
$ cd my_api
Step 3: Open Your Rails Project in Editor
Now open your rails project in the editor in this article we use VS code editor using the following command:
$ code .
Step 4: Install the gems Specified in the Gemfile
‘bundle install’ is a command in ruby on rails projects that is used to install the necessary gems (ruby libraries or packages) specified in the project’s Gemfile.
$ bundle install
Note:
If you update your Gemfile to include new gems or change existing versions, you need to run bundle install again to install the updated dependencies. This ensures that your project is using the correct versions of gems as per the Gemfile.
Step 5: Create the Data Model
Use the rails generator to create a new model. In your terminal, navigate to your Rails application’s root directory and run the following command.
$ rails generate model ModelName attribute:type
Replace ModelName with the name of your model(in CamelCase) and attribute: type with the attributes and their respective data types you want to include in the model.
Example:
Let’s create the model called Article with attributes title and content:
$ rails generate model Article title:string content:text

This command generates a migration file, a model file, and a test file for the new model.
Step 6: Run the Migration
Next, apply the generated migration to create the database table for your model. Run the following commands:
$ rails db:migrate

This command will create a table called articles with columns title and content, along with timestamps for created_at and updated_at in the db\schema.rb
Now, open the ‘app\model\article.rb’ file and define the model associations and validation:
Step 7: Create Controllers and Routes
Now, generate a controller for handling Article:
$ rails generate controller Api::V1::Articles

This will create a controller file at ‘app\controllers\api\v1\article_controller.rb’. open this file and define the CRUD action.
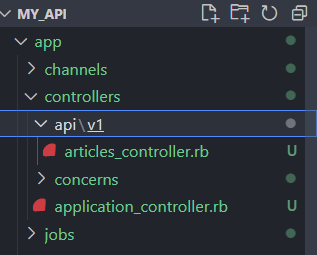
app\controllers\api\v1\article_controller.rb
# app\controllers\api\v1\articles_controller.rb
class Api::V1::ArticlesController < ApplicationController
    before_action :set_article, only: [:show, :update, :destroy]

    def index
      @articles = Article.all
      render json: @articles
    end

    def show
      render json: @article
    end

    def create
      @article = Article.new(article_params)

      if @article.save
        render json: @article, status: :created
      else
        render json: @article.errors, status: :unprocessable_entity
      end
    end

    def update
      if @article.update(article_params)
        render json: @article
      else
        render json: @article.errors, status: :unprocessable_entity
      end
    end

    def destroy
      @article.destroy
      head :no_content
    end

    private

    def set_article
      @article = Article.find(params[:id])
    end

    def article_params
      params.require(:article).permit(:title, :content)
    end

end
Now, Configure the routes in ‘Config\routes.rb’.
Ruby
# config\routes.rb
Rails.application.routes.draw do
   namespace :api do
    namespace :v1 do
      resources :articles
    end
  end

end
Finally, we can add some articles to our database from the rails console. open the terminal write the following command
$ rails c
irb(main):002> Article.create(title: “GeeksforGeek” , content: “HelloGeeksforGeek”)
irb(main):004> Article.create(title: “GeeksforGeek” , content: “Hi am learning how to build rubyonrail api”)
Step 8: Testing the API
Now start the rails server for testing the API using Postman:
$ rails server
Note:
$ The rails routes command is used in Ruby on Rails to display a list of all routes defined in your application. It provides a summary of the URL patterns, HTTP methods, controller actions, and associated route names.
Open the Postmanan API for testing the API:
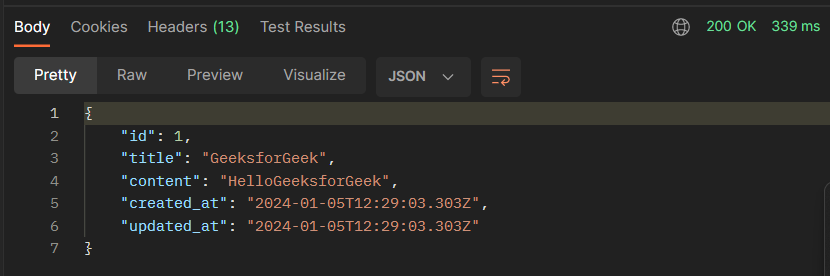
GET all articles:

Response:

GET a specific article:
Response:
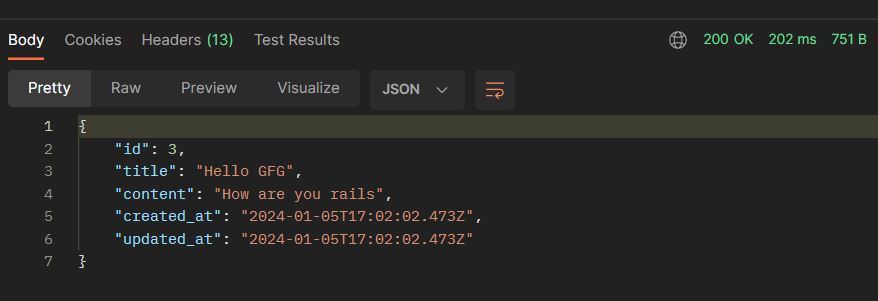
Post a new article:
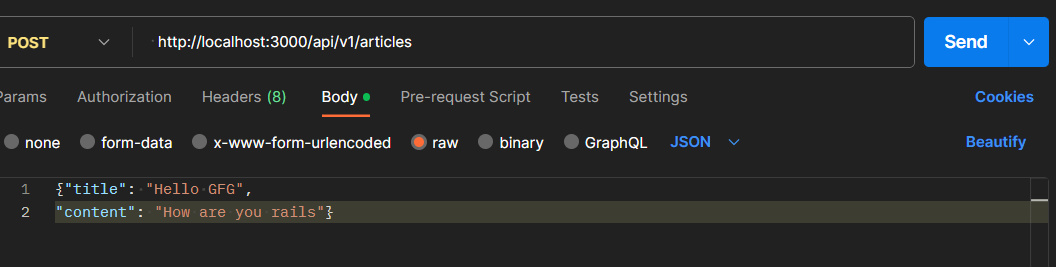
Response:
Delete an article:

Share your thoughts in the comments
Please Login to comment...