How to Add New Domain in Hostinger?
Last Updated :
16 Apr, 2024
In the digital age, creating an online presence is like placing a virtual storefront, which naturally leads more customers to your business. This is your first step towards acquiring the attention of people from around the world and building your platform in the virtual universe. Whether you are new to business and want to start something on your own, an experienced business person, or someone with a creative personality, grabbing another domain is a critical action. Hostinger, which has an easy-to-use platform and a full range of services, is a star that shows people the right way through the complexity of the internet. This tutorial is a compass that guides you with simple steps on how to add a new domain name in Hostinger accurately and meet your goal of success.
Terminologies
Here’s an in-depth explanation of the primary terminologies associated with adding a new domain in Hostinger
Domain
The domain is the website address that is distinctive and helps a website be discovered on the internet. It is a combination of both a domain name and a domain extension, like.com,.net,.net, and.org. The domain name is what I call the website’s home address, and it has to be selected by the individual or organization. It’s essential to choose a domain name wisely, as it is used for branding and considering its user-friendliness.
Hostinger
Hostinger is a web hosting company that does both domain registration and offers a whole range of services like hosting websites and email stuff. It has earned a reputation as an economical and easy-to-use website builder, and this is what makes it the right choice for every individual wanting to have an online presence, and for small-scale businesses that just want to begin their online venture.
DNS (Domain Name System)
The Domain Name System (DNS) is similar to the telephone directory of the internet if such an analogy can be made. It converts human-written local names into the format of an of an IP address, and PCs use it to identify each other on the network. DNS is the one that gives you the privilege of directly typing domain names in your browser, which is by no means a complex numbered series.
Nameservers
No matter how important the nameserver is, it contributes to DNS’s success. They are rather the machines that are designed for the purpose of successive management of DNS records, they domain’s name. The registry of domain with the Hostinger you’ll be given a set of name servers which is determined the efficiency, quality and security services. This is the real translation that actually happens, translating human language into an XML and other forms of data that the rest of the internet can understand.
DNS Records
DNS Records are messages in DNS that guide your domain to the right spot of the web when user visits your Web site. Common types of DNS records include:Common types of DNS records include:
- A Record: A domain or subdomain is, therefore, points to an IP address.
- CNAME Record: Forwards a single domain or subdomain to another IP address, which can be helpful if it is necessary to manage several subdomains (domain part of a website’s URL).
- MX Record: Instructs the email to my mail server.
SSL (Secure Sockets Layer)
SSL certificates are the digital certificates that give you the secure, encrypted operations between a website and an internet browser and let you hold the first priority position with Google. Hostinger also gives away the SSL certificates for free to make sure that the website is able to initiate secure data transfer between the user and server.
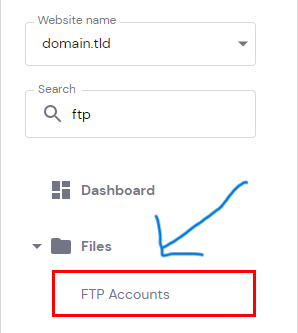
FTP (File Transfer Protocol)
FTP is one of the network protocols which is used to pass the files between the client’s computer on the Internet and the server that uses the computer network to connect. Hostinger offers FTP access to download your website archives straight to the hosting account.
Step-by-Step Guide to Adding a Domain
Step 1: Log in to Your Hostinger Account
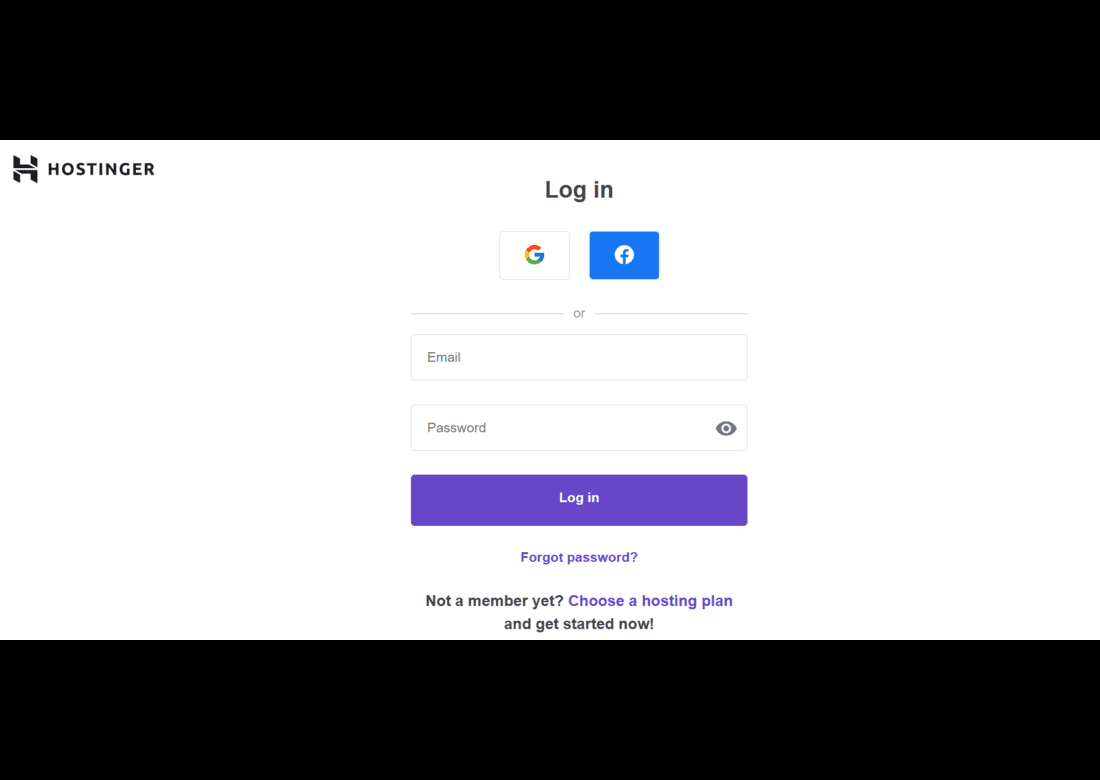
- While logging into your Hostinger account, please make sure you use the correct email address and password.
- Within Hostinger website, please use the login details to access your account.
- Go your Control Panel in which your domain settings and hosting are configured.
Step 2: Access the Domain Management Section
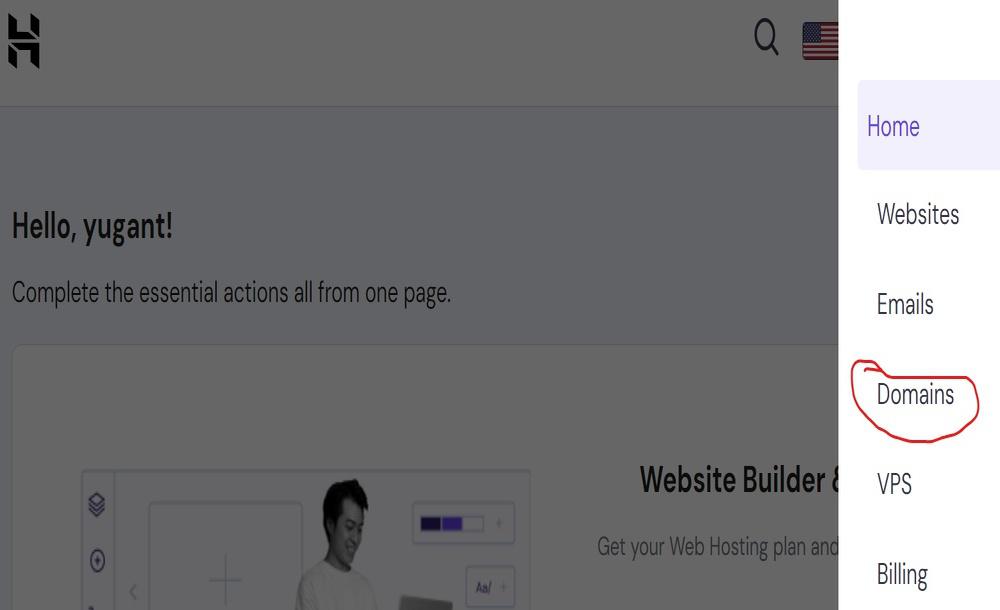
- The way to approach the domain management panel is through the domain administration part.
- After logging in, press the ‘Hosting’ tab, which has been inbuilt, and select your hosting plan.
- Then, click on the ‘Manage’ icon the sidebar that will lead you to the control panel of your hosting account.
- Find the ‘Domains’ section to proceed with adding a new domain.
Step 3: Choose to Add a New Domain
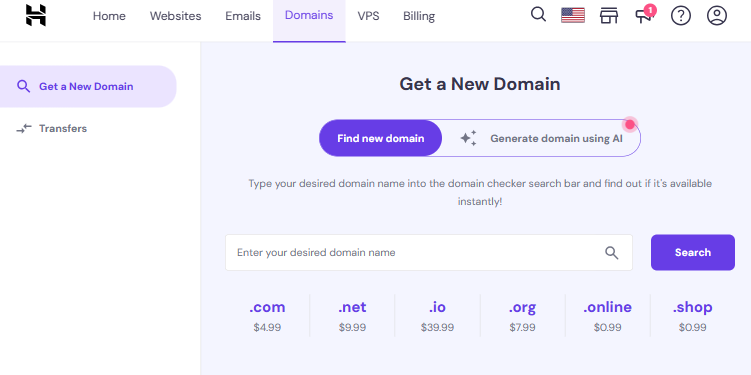
- Pick an area of excellence that will distinguish your organization from the competitors and work towards it or select a market niche that will be in high demand in the near future.
- Meanwhile, on the Domains page, you have the ability to register a new domain or add an existing one.
- If seeking a fresh domain, try to find your desired domain name and choose the suitable extension (for example, .com, .net).
- If you already own a domain name, go on with entering the one you use.
Step 4: Change DNS Settings
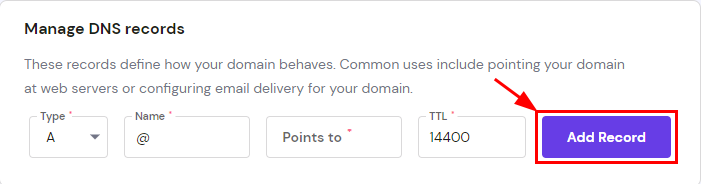
- For a new domain, Hostinger will compute the DNS giving a simple configuration options to the user.
- For an existing domain, you will have to change the DNS so you can use my name servers in place of the ones from your old hosting.
- Now, just swap/change the nameservers in your account to the ones you can find in your account at Hostinger.
- Besides, Setup DNS Records such as A, MX, and CNAME records, if necessary.
Step 5: Verify Domain Ownership

- Ownership of your domain depends on the registrar of the domain. The process of verification changes with every registrar.
- This process can take on the form of including an TXT entry or clicking the provided verification link on your email.
Step 6: Use FTP to insert files for your website
- Upload your site files via FTP (File Transfer Protocol ) and Hostinger’s File Manager to the staging server.
- It’s important to upload the files in public_html directory of the domain you chosen.
Step 7: Run The Website Analysis
- When you are done with the file upload, visit your domain to see if the system is active.
- This delay may appear, therefore it’s wise to be patient and try the process soon.
Conclusion
Adding a new domain to Hostinger involves a straightforward process that can be summarized in a few key steps:
- Preparation: You need to register the domain you want to host. If it is registered elsewhere, point it to Hostinger’s nameservers or use an A record for the connection. They taught us that our choices in a romantic relationship are based on intrinsic factors that we develop over time, such as our personalities, values, and expectations.
- Adding the Domain: Go to the ‘Websites’ part in your Hostinger hPanel, find ‘Add website’, then click the options. Follow the login process to access the interface where WordPress, Hostinger Website Builder, or migration are possible depending on the selected method.
- DNS Propagation: Another thing to keep in mind after you point your domain name to Hostinger is that the Domain Name System (DNS) could propagate according to a delay of 24 hours worldwide2.
- Verification: This can be done through a thorough examination of the new configuration before transferring the domain. This will help you minimise the chances of downtime during the website transfer process.
Through these steps of the way, you will not waste a minute in the integration of the new domain with Hostinger’s hosting services and your site management will be highly effective. In case Hostinger is not a domain owner, you may should update A record or nameservers with your current registrar and then make them point to Hostinger2. When it comes to anything needing assistance, you can always go to Hostinger’s assistance pages and instructional tutorials which will help you out each way the process goes.
Add New Domain In Hostinger – FAQ’s
How can I add a new domain to my Hostinger account?
To add a new domain, log into your Hostinger account, navigate to the ‘Domains’ section, and click on ‘Add Website’. You can then choose to register a new domain name or use a domain you have already registered elsewhere1.
What should I do before adding a new domain to Hostinger?
Before adding a domain, ensure that you own the domain you want to add. If you’re using an existing domain registered elsewhere, make sure to point your domain to Hostinger’s nameservers2.
Can I host multiple websites on my Hostinger plan?
Yes, if you have a Web Premium, Business, or Cloud hosting plan, you can host multiple websites within the same hosting plan. Just follow the steps in the ‘Add Website’ section of your hPanel1.
How do I point my domain to Hostinger if it’s registered elsewhere?
You can point your domain to Hostinger by changing the nameservers at your domain registrar to Hostinger’s nameservers, which are typically found on your hPanel. Alternatively, you can use an A record if you prefer to keep domain control with the registrar2.
How long does it take for my new domain to become active on Hostinger?
DNS changes, such as updating nameservers or A records, can take up to 24 hours to fully propagate worldwide. It’s advisable to verify this configuration before transferring your domain to minimize any potential website downtime.
Share your thoughts in the comments
Please Login to comment...