Next.js Headers
Last Updated :
15 Apr, 2024
Next.js is a React framework that is used to build full-stack web applications. It is used both for front-end as well and back-end. It comes with a powerful set of features to simplify the development of React applications. One of its features is the Header function. In this article, we will learn about Header function with it’s syntax and examples.
What are Headers in NextJS?
headers() function in Next.js allows you to access the HTTP incoming request headers from server components. It is read-only means you cannot modify the outgoing request headers. It extends the Web Headers API of JavaScript.
It provides methods such as Headers.entries(), Headers.forEach(), Headers.get(), Headers.has(), Headers.keys() and Headers.values() to read the web headers.
Syntax:
const headersList = headers();
const value = headersList.get('key_name');
Features of Headers in Next.js:
- Customization of headers for server-side rendering.
- Dynamic header configuration in API routes.
- Client-side header management for secure communication.
- Global header control through custom
_app.js component. - Enhanced security and performance with header settings.
Uses of Headers in Next.js:
- Setting cache-control headers to optimize caching behavior.
- Enforcing security policies such as Content Security Policy (CSP).
- Authentication token management for secure API interactions.
- Cross-origin resource sharing (CORS) control for handling requests from different origins.
- Monitoring and logging HTTP requests and responses for analysis and debugging.
Steps to Create NextJS Application:
Step 1: Create a NextJS application using the following command.
npx create-next-app@latest gfg
Step 2: It will ask you some questions, so choose as the following.
√ Would you like to use TypeScript? ... No
√ Would you like to use ESLint? ... Yes
√ Would you like to use Tailwind CSS? ... No
√ Would you like to use `src/` directory? ... Yes
√ Would you like to use App Router? (recommended) ... Yes
√ Would you like to customize the default import alias (@/*)? ... No
Step 3: After creating your project folder i.e. gfg, move to it using the following command.
cd gfg
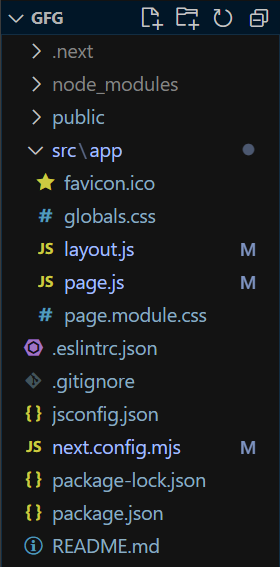
Folder Structure:
Example: The below example demonstrates the use Headers function in Next.js.
Note: Remove the included css file from layout.js file.
JavaScript
//pages.js
import { headers } from "next/headers";
export default function Home() {
const headerList = headers();
const referer = headerList.get("referer");
const userAgent = headerList.get("user-agent");
const acceptLanguage = headerList.get("accept-language");
const host = headerList.get("host");
const acceptEncoding = headerList.get("accept-encoding");
return (
<div>
<h1 style={{ color: "green" }}>
GeeksForGeeks | headers Next.js</h1>
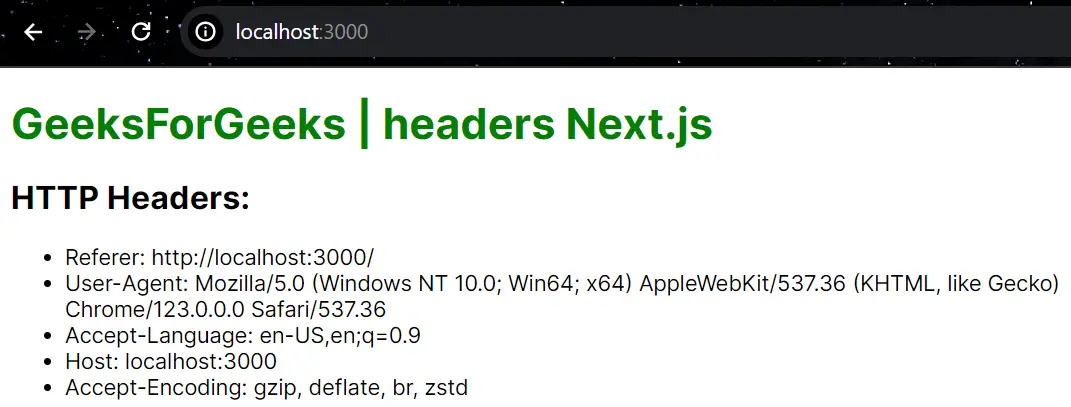
<h2>HTTP Headers:</h2>
<ul>
<li>Referer: {referer}</li>
<li>User-Agent: {userAgent}</li>
<li>Accept-Language: {acceptLanguage}</li>
<li>Host: {host}</li>
<li>Accept-Encoding: {acceptEncoding}</li>
</ul>
</div>
);
}
Start your application using the command.
npm run dev
Output:
Share your thoughts in the comments
Please Login to comment...