Django Introduction | Set 2 (Creating a Project)
Last Updated :
10 Dec, 2020
Note- This article is in continuation of Django introduction.
Popularity of Django
Django is used in many popular sites like as: Disqus, Instagram, Knight Foundation, MacArthur Foundation, Mozilla, National Geographic etc. There are more than 5k online sites based on Django framework. ( Source )
Sites like Hot Frameworks assess the popularity of a framework by counting the number of GitHub projects and StackOverflow questions for each platform, here Django is in 6th position. Web frameworks often refer to themselves as “opinionated” or “un-opinionated” based on opinions about the right way to handle any particular task. Django is somewhat opinionated, hence delivers the in both worlds( opinionated & un-opinionated ).
Django architecture
Django is based on MVT(Model-View-Template) architecture. MVT is a software design pattern for developing web application. MVT have following three parts-
- Model- Model is going to act as interface of your data. It is responsible for maintaining data.
- View- View is gonna be the interface that user see.
- Template – A template consists of static parts of the desired HTML output as well as some special syntax describing how dynamic content will be inserted.
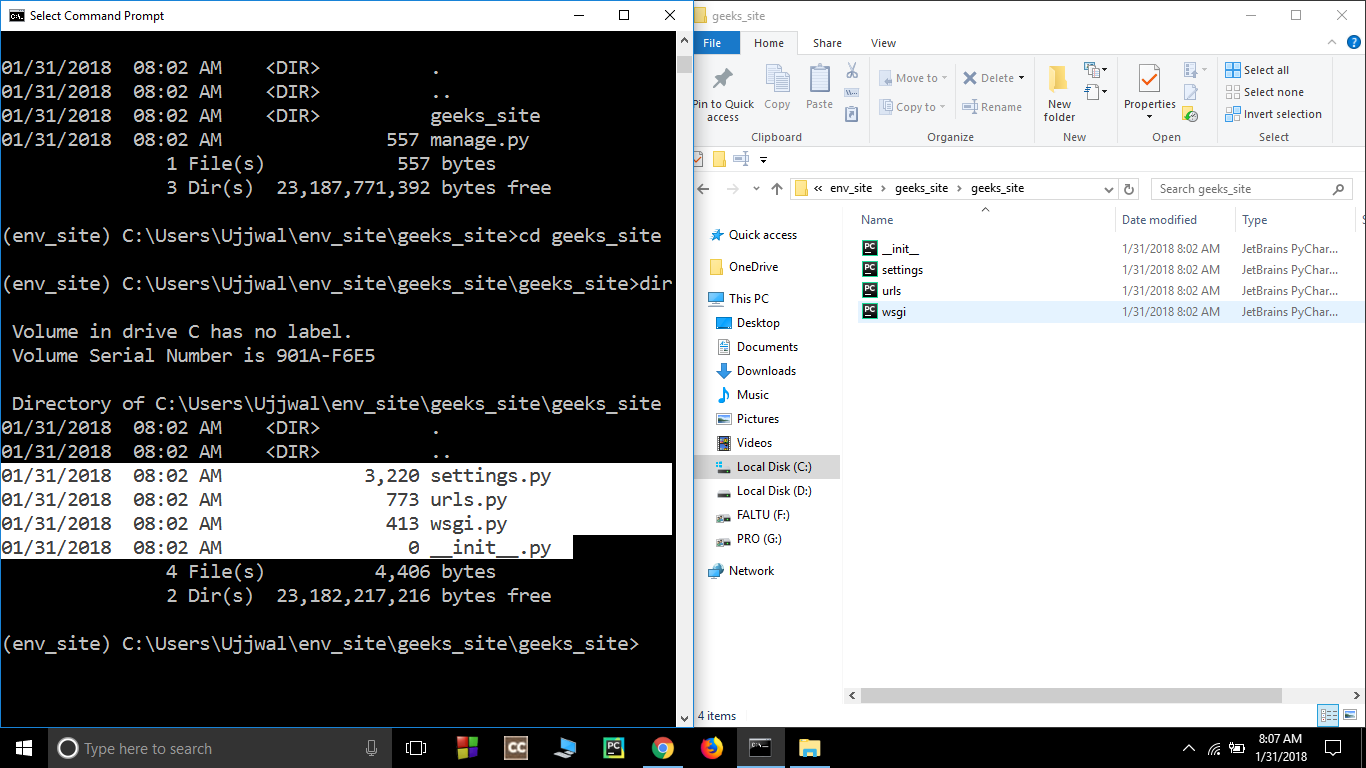
Project Structure- Inside the geeks_site folder ( project folder ) there will be following files-
manage.py-This file is used to interact with your project via command line(start the server, sync the database… etc). For getting the full list of command that can be executed by manage.py type this code in command window –
python manage.py help
folder ( geeks_site ) –This folder contains all the packages of your project. Initially, it contains four files –
- _init_.py – It is a python package.
- settings.py – As the name indicates it contains all the website settings. In this file we register any applications we create, the location of our static files, database configuration details, etc.
- urls.py – In this file we store all links of the project and functions to call.
- wsgi.py – This file is used in deploying the project in WSGI. It is used to help your Django application communicate with the web server.
Create a project
Assuming you have gone through this article and have setup django successfully.
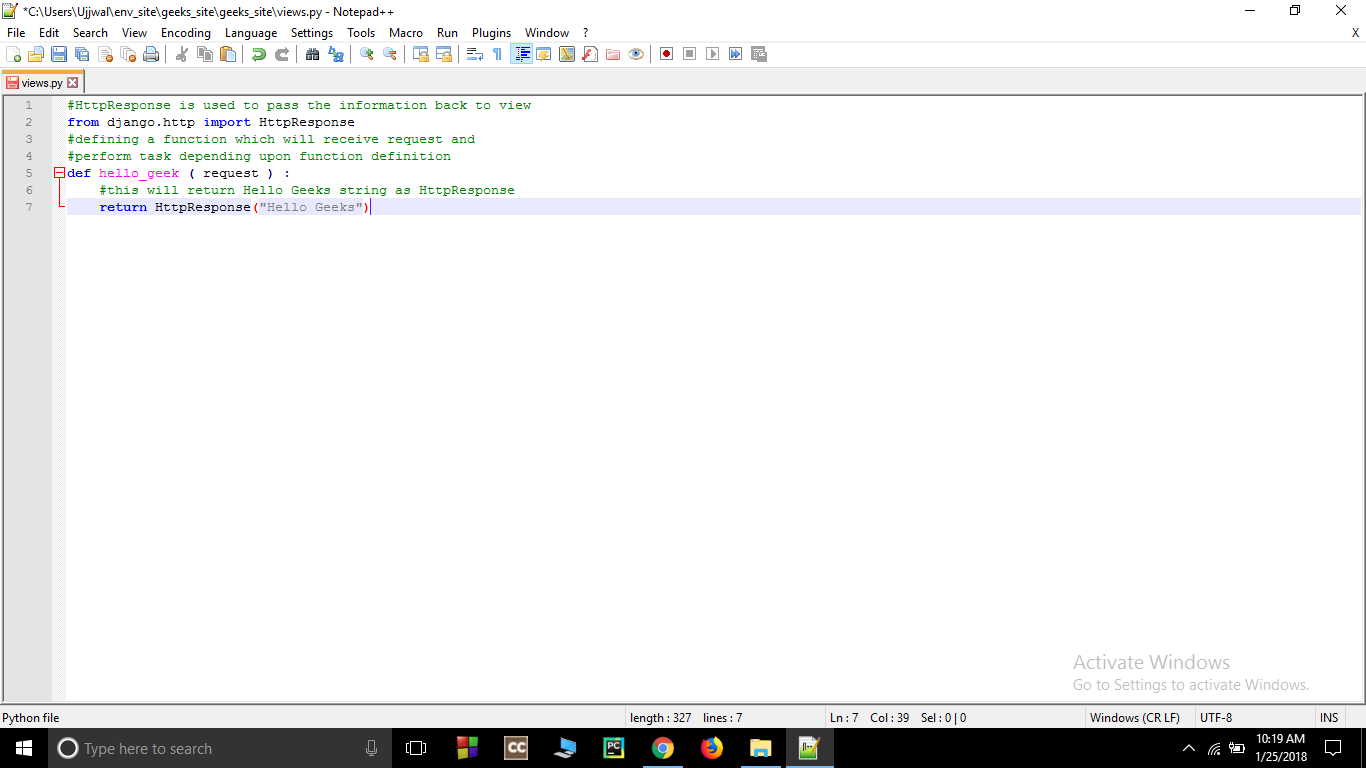
Create a new file views.py inside the project folder where settings.py, urls.py and other files are stored and save the following code in it-
Python3
from django.http import HttpResponse
def hello_geek (request) :
return HttpResponse("Hello Geeks")
|
Attached Screenshot of above code –
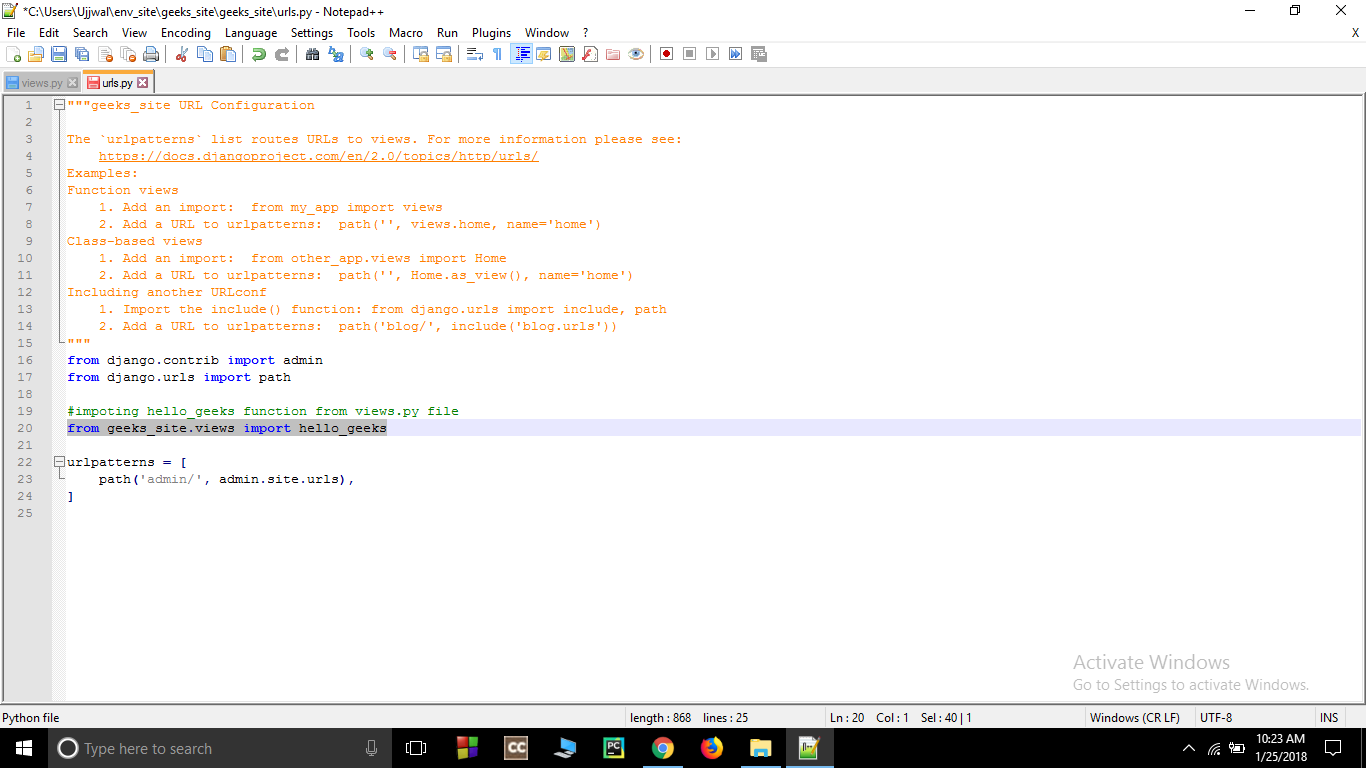
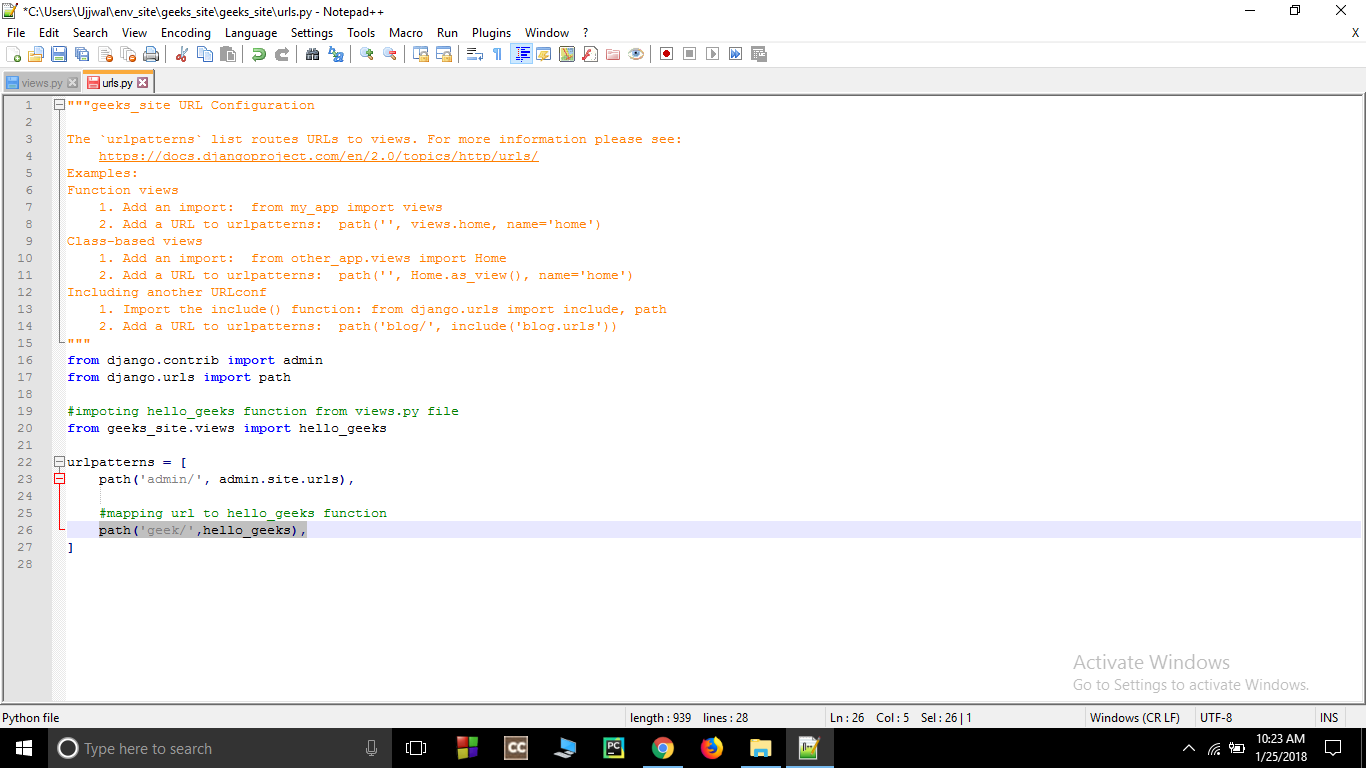
Open urls.py inside project folder (geeks_site) and add your entry-
from geeks_site.views import hello_geeks
Add an entry in url field inside url patterns-
path('geek/',hello_geek),
Now to run the server follow these steps-
Open command prompt and change directory to env_site by this command-
$ cd env_site
Go to Script directory inside env_site and activate virtual environment-
$ cd Script
$ activate
Return to the env_site directory and goto the project directory-
$ cd ..
$ cd geeks_site
Start the server- Start the server by typing following command in cmd-
$ python manage.py runserver
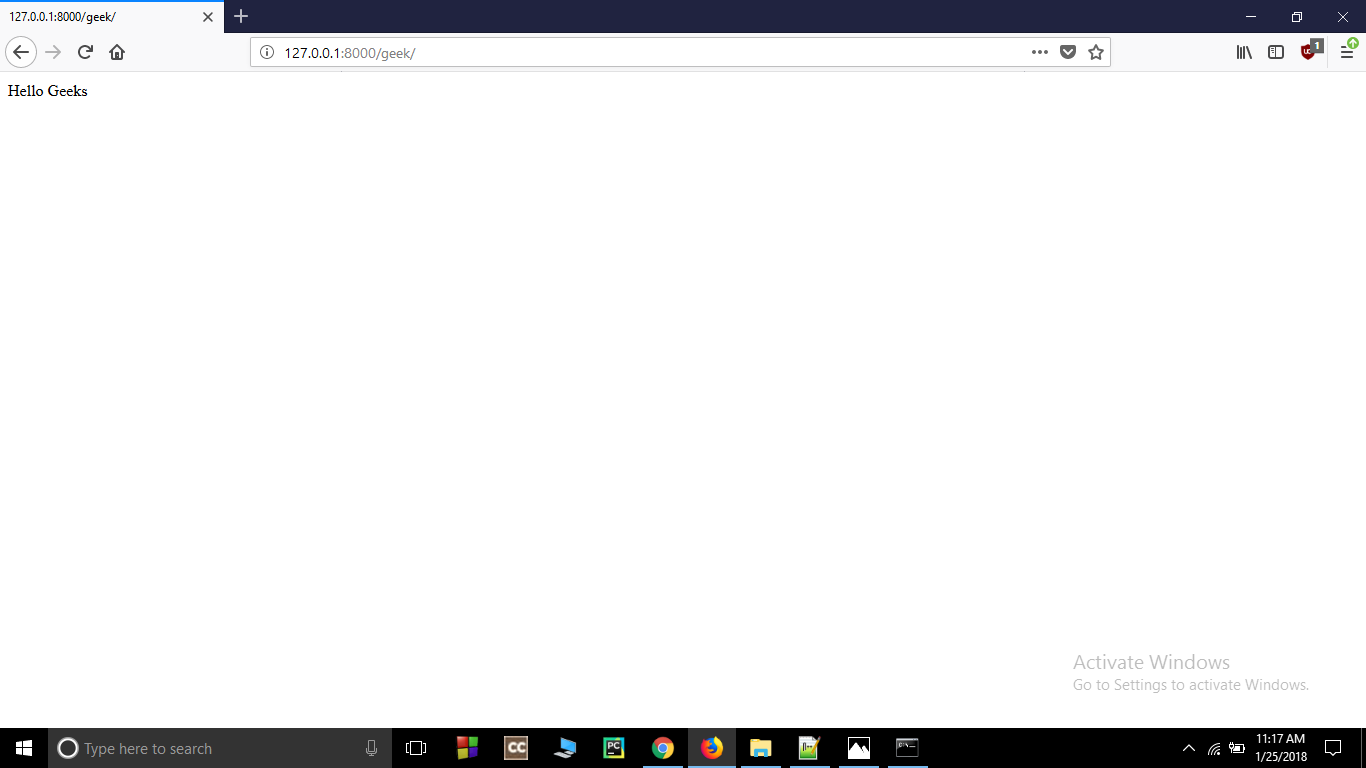
Checking – Open the browser and type this url-
http://127.0.0.1:8000/geek/
Share your thoughts in the comments
Please Login to comment...