Deploying a Django App to Heroku Using Github Repository
Last Updated :
11 May, 2022
Heroku is a free hosting cloud service provider. We can use our free dynos to deploy our applications on the cloud. The only disadvantage is that it loses all the data once the app sleeps and it cannot handle multiple requests at a time when hosted on free dynos.
First of all, to proceed further you need to have these two things ready
- Django app
- Heroku account
We need to do certain amendments to the Django app to get it ready to be hosted.
Preparing Django app :
- Install gunicorn library using the below command
pip install gunicorn
- Create a file without any extension and name it as Procfile
Fill the Procfile in the following way
web: gunicorn app_name.wsgi --log-file -

Procfile
- Create a requirements.txt file and dump all the dependencies in it
You can use the below command to get all the dependencies into requirements.txt
pip freeze > requirements.txt

requirements.txt
- Create a runtime.txt and mention the python version you used to develop your Django app
python-full version

runtime.txt
Note: you need to create all these files outside the Django app i.e. at the same location of the manage.py file
Now push your Django app to a Github repository and keep it ready.
We assume that you know how to push your code to the GitHub repository.
Deploying to Heroku:
In the first place, you need to have a Heroku account, create one in case you don’t have one.
- Log in to your Heroku account
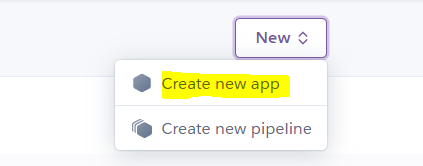
- Click on new -> create new app.
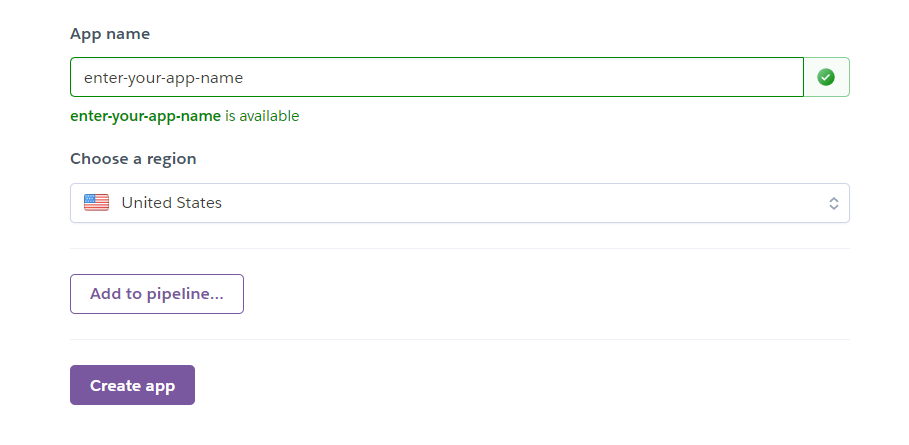
- Select your app name and region and then click on create app
- Select your app and go to the Deploy menu you can see the option to connect your Github to your Heroku app.

Deploy options
- Click on connect to GitHub and authorize your GitHub account
- After authorization, it will ask you to enter the repository you want to connect and the branch to deploy.

connect your repository
- You can enable automatic deployments to maintain the latest changes with your commits or else you can deploy whenever you want with the latest changes.

deploy
- Once you click on Deploy Branch your app gets deployed.

Initialization of deployment
Finally, your Django app got deployed.

Finally deployed!!!
- Now your app will be available at https://YourAppName.herokuapp.com
- If you have selected automatic deployments all your commits get deployed otherwise you need to deploy your changes.
- The best part is that if any deployment does not work you can roll back to any version you want by simply clicking the rollback option in the “Activity” tab.
Share your thoughts in the comments
Please Login to comment...