Create a Searchable Video List in React
Last Updated :
05 Jan, 2024
In ReactJS, we can embed the video previews as an important feature in the application. There are multiple videos with the exact similar names. To filter out the videos or to search the specific term video in the application, we can create a search video list.
In this article, we will see how we can create this searchable video list with two unique approaches with practical implementation in terms of examples.
Steps to Create the React Application:
Step 1: Create a React application using the following command.
npx create-react-app foldername
Step 2: Once done, change your directory to the newly created application using the following command.
cd foldername
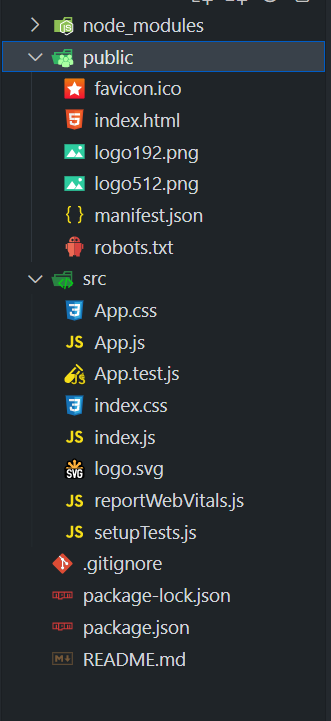
Project Structure:
The updated dependencies in package.json for frontend will look like:
"dependencies": {
    "react": "^18.2.0",
    "react-dom": "^18.2.0",
    "react-scripts": "5.0.1",
    "web-vitals": "^2.1.4"
}
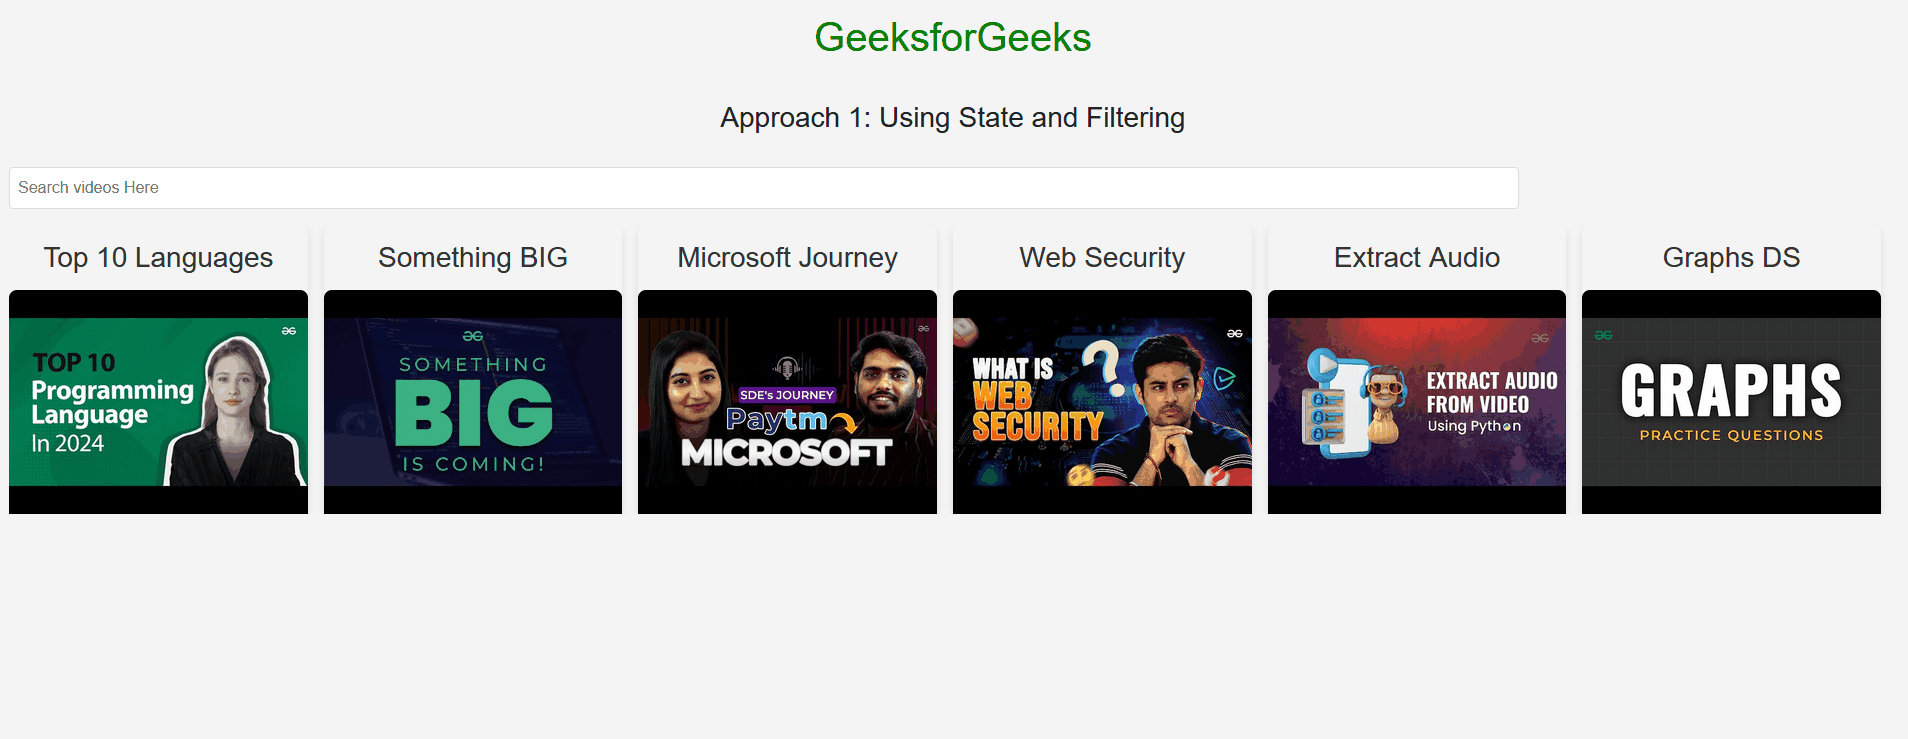
Approach 1: Using State and Filtering:
In this approach, we are using state management to filter the videos based on the dynamically updated search term. According to the search term, the dynamic filtering of videos is done and the filtered videos are shown to the user.
Example 1: Below is the implementation of above discussed approach.
Javascript
import React, { useState } from 'react';
import './App.css';
const VideoList = ({ videos, searchTerm, handleSearch }) => {
const filterVideo = videos.filter(video =>
video.title.toLowerCase()
.includes(searchTerm.toLowerCase())
);
return (
<div>
<input
type="text"
placeholder="Search videos Here"
value={searchTerm}
onChange={e => handleSearch(e.target.value)}
/>
<ul>
{filterVideo.map(video => (
<li key={video.id}>
<div>
<a href={video.link} target="_blank"
rel="noopener noreferrer">
<h3>{video.title}</h3>
<img
src=
{`https:
alt="Video Preview"
/>
</a>
</div>
</li>
))}
</ul>
</div>
);
};
const App = () => {
const [search_Term, set_Search_Term] = useState('');
const [videos, setVideos] = useState([
{
id: 1,
title: 'Top 10 Languages',
link:
},
{
id: 2,
title: 'Something BIG',
},
{
id: 3,
title: 'Microsoft Journey',
},
{
id: 4,
title: 'Web Security',
},
{
id: 5,
title: 'Extract Audio',
},
{
id: 6,
title: 'Graphs DS',
},
]);
const searchFn = query => {
set_Search_Term(query);
};
return (
<div>
<header>
<h1>GeeksforGeeks</h1>
</header>
<h3>Approach 1: Using State and Filtering</h3>
<main>
<VideoList videos={videos}
searchTerm={search_Term}
handleSearch={searchFn} />
</main>
</div>
);
};
export default App;
|
CSS
body {
font-family: 'Arial', sans-serif;
margin: 0;
padding: 0;
background-color: #f4f4f4;
}
header {
color: green;
padding: 1rem;
font-weight: bold;
text-align: center;
}
main {
display: flex;
justify-content: center;
align-items: center;
flex-direction: column;
padding: 1rem;
}
input[type="text"] {
width: 80%;
padding: 0.5rem;
margin-bottom: 1rem;
border: 1px solid #ddd;
border-radius: 4px;
}
ul {
list-style-type: none;
padding: 0;
display: flex;
overflow-x: auto;
}
li {
margin-right: 1rem;
border-radius: 8px;
box-shadow: 0 4px 8px rgba(0, 0, 0, 0.1);
transition: transform 0.3s ease-in-out;
}
li:hover {
transform: scale(1.05);
}
a {
text-decoration: none;
color: #333;
}
h3 {
margin: 0;
padding: 1rem;
text-align: center;
}
img {
width: 100%;
height: 100%;
object-fit: cover;
border-radius: 8px 8px 0 0;
}
|
Step to run the application: Open the terminal and type the following command.
npm start
Output: Open the browser and our project is shown in the URL http://localhost:3000/
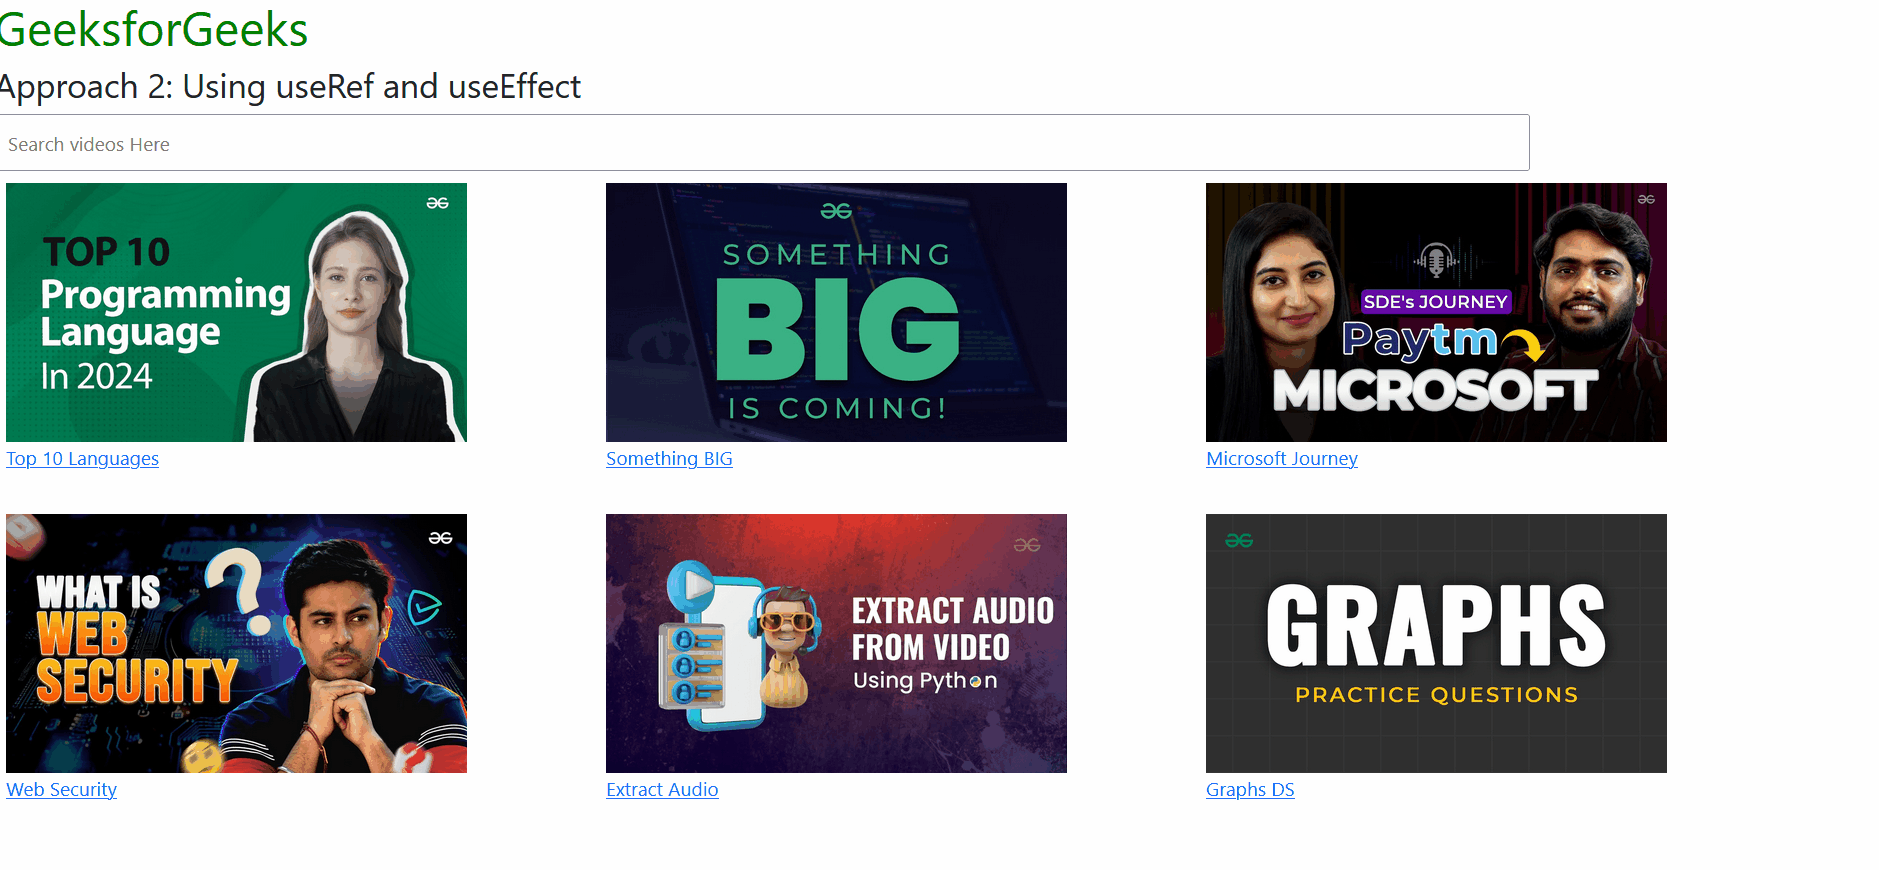
Approach 2: Using useRef and useEffect
In this approach, we are using the useRef to create the reference of each search input which allows direct access to its current value. Then the useEffect hook is mainly used to attach an event listener to the input which triggers a search function on each input change by filtering and showing the filtered video ist.
Example 1: Below is the implementation of above discussed approach.
Javascript
import React, { useState, useEffect, useRef } from 'react';
const App = () => {
const videoData = [
{
id: 1,
title: 'Top 10 Languages',
},
{
id: 2,
title: 'Something BIG',
},
{
id: 3,
title: 'Microsoft Journey',
},
{
id: 4,
title: 'Web Security',
},
{
id: 5,
title: 'Extract Audio',
},
{
id: 6,
title: 'Graphs DS',
},
];
const [videos, setVideos] = useState(videoData);
const inputRef = useRef();
useEffect(() => {
const searchFn = () => {
const searchVar = inputRef.current.value.toLowerCase();
const filteredVideo = videoData.filter((video) =>
video.title.toLowerCase().includes(searchVar)
);
setVideos(filteredVideo);
};
inputRef.current.addEventListener('input', searchFn);
return () => {
inputRef.current.removeEventListener('input', searchFn);
};
}, []);
return (
<div>
<h1 style={
{
color: 'green',
textAlign: "center"
}
}>
GeeksforGeeks
</h1>
<h3 style={{ margin: "5px 5px" }}>
Approach 2: Using useRef and useEffect
</h3>
<input
type="text"
placeholder="Search videos Here"
ref={inputRef}
style={
{
width: '80%', marginLeft: "10px",
padding: '10px', fontSize: '16px',
border: "2px solid black"
}}
/>
<ul style={
{
listStyle: 'none', padding: 0,
display: 'flex', flexWrap: 'wrap'
}}>
{videos.map((video) => (
<li key={video.id}
style={
{
margin: '10px',
flex: '0 0 30%',
minWidth: '200px'
}}>
<a href={video.link}
target="_blank"
rel="noopener noreferrer">
<img
src={video.preview}
alt={video.title}
style={{ width: '80%', height: 'auto' }}/>
<p>{video.title}</p>
</a>
</li>
))}
</ul>
</div>
);
};
export default App;
|
Step to run the application: Open the terminal and type the following command.
npm start
Output: Open the browser and our project is shown in the URL http://localhost:3000/
Share your thoughts in the comments
Please Login to comment...