Convert Blob Image to PNG and JPG Using Python
Last Updated :
22 Mar, 2024
We are given a task to convert blob images to png and jpg with Python. In this article, we will see how we can convert blob images to PNG and JPG with Python.
Convert Blob Image to PNG and JPG With Python
Below are step-by-step procedures by which we can convert blob images to PNG and JPG with Python:
Step 1: Create a Virtual Environment
We will create a virtual environment before starting our project by using the following commands:
python -m venv venv
venv\Scripts\activate
Step 2: Installation
To perform image conversion from blob format to PNG and JPEG in Python, you need to have the following modules installed:
- mysql-connector-python: This module enables Python to connect to MySQL databases.
- Pillow: This Python Imaging Library (PIL) fork provides powerful image processing capabilities.
You can install these modules via pip:
pip install mysql-connector-python
pip install pillow
File Structure
Here, image.png is the file that we will store in blob format in the database and them extract it and convert it into PNG and JPG format in Python.
image.png
This is the image that we have used in this article.
-300.jpg)
image.png
Step 3: Creating a Database and Table
Before proceeding with the image conversion, create a MySQL database and a table to store the image data. Use the following SQL commands:
CREATE DATABASE blob_image;

USE blob_image;

CREATE TABLE IMAGES (
    ID BIGINT PRIMARY KEY,
    NAME VARCHAR(50) NOT NULL,
    PICTURE LONGBLOB NOT NULL
);
We can see the database schema using:
DESC IMAGES;

Step 4: Inserting an Image into Blob Format
insert.py: In this code, an image file (‘image.png’) is read in binary mode, encoded to base64, and stored in a MySQL database table named ‘IMAGES’ along with associated data (‘101’ for ID and ‘Sample Name’ for name).
Python3
import mysql.connector
import base64
from PIL import Image
import io

# Create a connection
mydb = mysql.connector.connect(
    host="localhost",
    user="root",
    password="root",
    database="blob_image"
)

# Create a cursor object
cursor = mydb.cursor()

# Open an image file in binary mode and read its contents
file = open('image.png', 'rb').read()

# Encode the file to get a base64 string
file = base64.b64encode(file)

# Sample data to be inserted
args = ('101', 'Sample Name', file)

# Prepare a query
query = 'INSERT INTO IMAGES VALUES (%s, %s, %s)'

# Execute the query and commit the database
cursor.execute(query, args)
mydb.commit()
Now moving back to our MySQL database, we can see the inserted row.

Step 5: Converting Blob Image to PNG and JPEG
retrieve.py: In this code, an image stored as a binary string in a MySQL database is retrieved using its corresponding ID. The binary data is then decoded from base64, converted into a PIL image, and saved both as JPEG and PNG formats (‘output.jpg’ and ‘output.png’ respectively) on the local filesystem.
Python3
# Create a connection (Assuming you already have the connection setup)
mydb = mysql.connector.connect(
    host="localhost",
    user="root",
    password="root",
    database="blob_image"
)

# Create a cursor object
cursor = mydb.cursor()

# Prepare the query
query = 'SELECT PICTURE FROM IMAGES WHERE ID=101'

# Execute the query to get the file
cursor.execute(query)
data = cursor.fetchall()

# The returned data will be a list of list
image_data = data[0][0]

# Decode the string
binary_data = base64.b64decode(image_data)

# Convert the bytes into a PIL image
image = Image.open(io.BytesIO(binary_data))

# Convert RGBA to RGB if the image has an alpha channel
if image.mode == 'RGBA':
    image = image.convert('RGB')

# Save the image as JPEG
image.save("output.jpg", "JPEG")

# Save the image as PNG
image.save("output.png", "PNG")
Run the Program
Run this file by using the following command
python retrieve.py
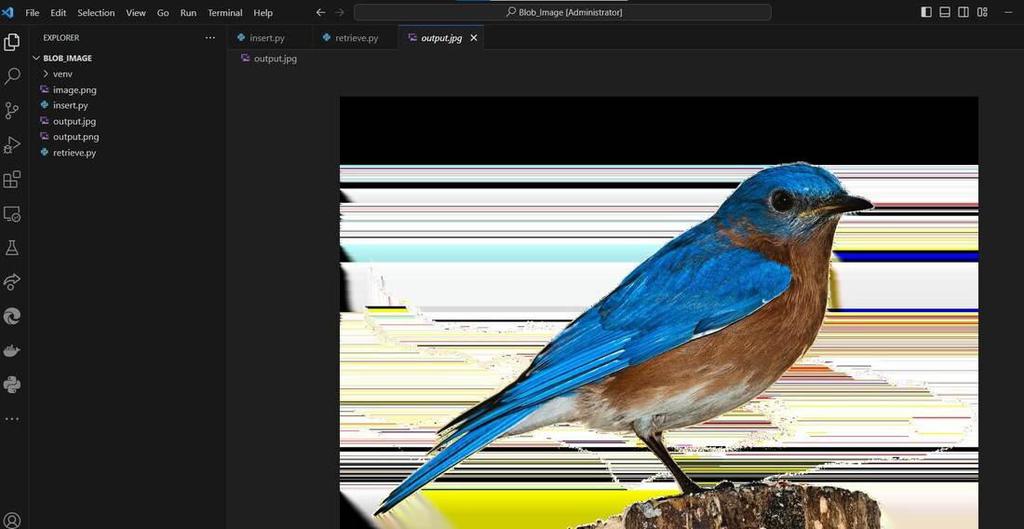
We will see that output.jpg and output.png will be generated as shown in the figure below.
output.jpg
Share your thoughts in the comments
Please Login to comment...