Ripple effect JavaScript
Last Updated :
28 Feb, 2022
In JavaScript, the ripple effect method provides an instant change or visual effect to be noticed by users when the user interacts with elements of the UI. This change in visual effect or any kind of interactivity with UI will be done for the users.
The Ripple effect is most useful when we are building a UI and want there is some interaction with users. With the help of the ripple effect, we can provide it.
features of the ripple effect :
- Interaction with UI
- Visual changes on actions
- powerful and attractive UI for users
Let’s see some of the examples to understand it better:
Example 1: Ripple Effect with hover on buttons.
- index.html: Create a container div and the button layout.
HTML
<!DOCTYPE html>
<html lang="en">
<head>
<meta charset="UTF-8">
<meta http-equiv="X-UA-Compatible" content="IE=edge">
<meta name="viewport"
content="width=device-width, initial-scale=1.0">
<title>Ripple Effect</title>
<link rel="stylesheet" href="./index.css">
<script src="./index.js"></script>
</head>
<body>
<div class="display">
<a class="HOVER">
<span></span>
<text>Hover Me!</text>
</a>
</div>
</body>
</html>
|
- index.css: Add some CSS for design and visual effects
CSS
@keyframes shake {
25% {
transform:
rotate(calc(var(--angle) * -1));
}
50% {
transform: rotate(var(--angle));
}
100% {
transform: rotate(0deg);
}
}
body {
font: 100 1.3em sans-serif;
display: flex;
flex-direction: column;
align-content: center;
padding: 0 5rem;
}
h1 {
font-weight: 100;
}
.display {
display: grid;
grid-template-columns: 50% 50%;
gap: 0.1em;
}
.HOVER {
--width: 100%;
--time: 0.7s;
position: relative;
display: inline-block;
height: 1em;
padding: 1em;
color: white;
background: #222;
overflow: hidden;
}
.HOVER text {
position: relative;
z-index: 5;
transition: color var(--time);
}
.HOVER:hover text {
color: #222;
}
.HOVER span {
position: absolute;
display: block;
content: "";
z-index: 0;
width: 0;
height: 0;
border-radius: 100%;
background: #fff;
transform: translate(-50%, -50%);
transition: width var(--time),
padding-top var(--time);
}
.HOVER:hover span {
width: calc(var(--width) * 2.25);
padding-top: calc(var(--width) * 2.25);
}
|
- index.js: This JavaScript file is calling the animation when the mouse hovers the button layout area. It is calling the event and adding the animation class of CSS when the mouse hover and removes it when it’s outside the layout.
Javascript
const ANIMATEDCLASSNAME = "animated";
const ELEMENTS = document.querySelectorAll(".HOVER");
const ELEMENTS_SPAN = [];
ELEMENTS.forEach((element, index) => {
let addAnimation = false;
if (!ELEMENTS_SPAN[index])
ELEMENTS_SPAN[index] =
element.querySelector("span");
element.addEventListener("mouseover", e => {
ELEMENTS_SPAN[index].style.left =
e.pageX - element.offsetLeft + "px";
ELEMENTS_SPAN[index].style.top =
e.pageY - element.offsetTop + "px";
if (addAnimation)
element.classList.add(ANIMATEDCLASSNAME);
});
element.addEventListener("mouseout", e => {
ELEMENTS_SPAN[index].style.left =
e.pageX - element.offsetLeft + "px";
ELEMENTS_SPAN[index].style.top =
e.pageY - element.offsetTop + "px";
});
});
|
Output: When we open the index.html file in the browser or open it with the live Server, the output is below.
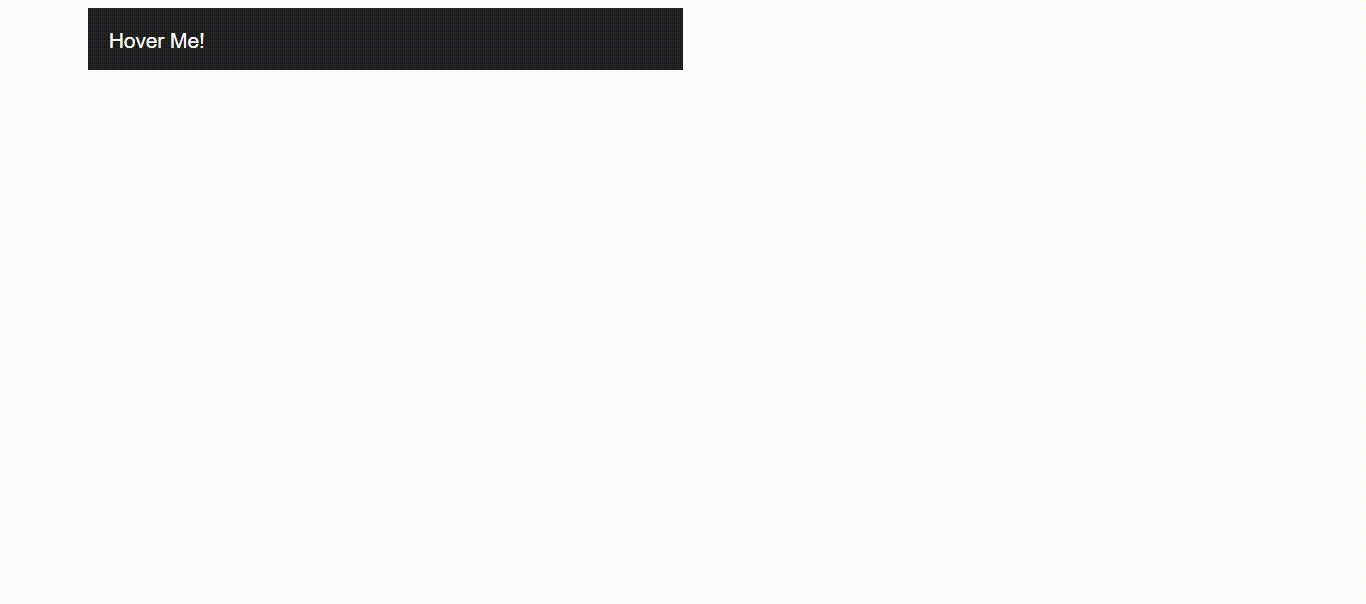
Output
Example 2: Ripple Effect for Material UI like button.
- index.html: Create a container div and the button inside it
HTML
<!DOCTYPE html>
<html lang="en">
<head>
<meta charset="UTF-8">
<meta http-equiv="X-UA-Compatible"
content="IE=edge">
<meta name="viewport"
content="width=device-width, initial-scale=1.0">
<title>Ripple Effect</title>
<link rel="stylesheet" href="./index.css">
<script src="./index.js"></script>
</head>
<body>
<div class="display">
<button class="ripple">Button</button>
</div>
</body>
</html>
|
- index.css: Added styling for the container and the ripple effect.
CSS
body {
font: 100 1.3em sans-serif;
display: flex;
flex-direction: column;
align-content: center;
padding: 0 5rem;
min-height: 100vh;
}
.display {
display: flex;
flex-direction: column;
align-content: center;
justify-content: center;
margin: 0 auto;
height: 100vh;
max-width: 500px;
}
.ripple {
background-position: center;
transition: background 0.8s;
}
.ripple:hover {
background: #47a7f5 radial-gradient(circle,
transparent 1%, #47a7f5 1%)
center/15000%;
}
.ripple:active {
background-color: #6eb9f7;
background-size: 100%;
transition: background 0s;
}
button {
border: none;
border-radius: 2px;
padding: 12px 18px;
font-size: 16px;
text-transform: uppercase;
cursor: pointer;
color: white;
background-color: #2196f3;
box-shadow: 0 0 4px #999;
outline: none;
}
|
- index.js: In this example, there is no need of adding JavaScript, so we are going to skip that.
Output: When we open the index.html file in the browser or open it with the live Server, the output is below.

Here we can observe a material design type ripple effect on interaction with the UI.
This is the ripple effect and it’s mostly useful in creating interactivity of UI with users or providing any specific actions.
Share your thoughts in the comments
Please Login to comment...