How to create a Ripple Effect on Click the Button ?
Last Updated :
21 Mar, 2024
The ripple effect is a part of the modern design trend. You have seen it on many websites specially on Google’s material design language. It gives a button-pressing effect. We can make a ripple effect by adding and animating a child element to the button. We can also position it according to the position of the cursor on the button using JavaScript.
Basic styling: Add basic styling to the button with a position: relative attribute to position the inner span tag and overflow: hidden to prevent span from going outside of the button.
Add styling to the span element: Now add the style for the span element that will show up on the click of a button.
Adding JavaScript: Now we’ll add the span element on the button click with position according to the mouse click. On button click we have to do the following:
- Create a span element and add a ripple class to it.
- Get the clicked position of the cursor using the event variable.
- Set the position of the span element.
- Remove the span element to avoid spamming of span elements in the button.
Example:
html
<!DOCTYPE html>
<html>
<head>
    <title>
        Button Ripple Effect - GFG
    </title>

    <style>
        /* Adding styles to button */
        .btn {
            padding: 12px 50px;
            border: none;
            border-radius: 5px;
            background-color: #1abc9c;
            color: #fff;
            font-size: 18px;
            outline: none;
            cursor: pointer;

            /* We need this to position
                span inside button */
            position: relative;
            overflow: hidden;
            box-shadow: 6px 7px 40px -4px
                    rgba(0, 0, 0, 0.2);
        }
    </style>
</head>

<body>
    <button class="btn">
        Enter GeeksforGeeks
    </button>
</body>
</html>
<style>
    .btn span {
        position: absolute;
        border-radius: 50%;
        /* To make it round */
        background-color: rgba(0, 0, 0, 0.3);

        width: 100px;
        height: 100px;
        margin-top: -50px;
        /* for positioning */
        margin-left: -50px;

        animation: ripple 1s;
        opacity: 0;
    }

    /* Add animation */
    @keyframes ripple {
        from {
            opacity: 1;
            transform: scale(0);
        }

        to {
            opacity: 0;
            transform: scale(10);
        }
    }
</style>
<script>
    const btn = document.querySelector(".btn");

    // Listen for click event
    btn.onclick = function (e) {

        // Create span element
        let ripple = document.createElement("span");

        // Add ripple class to span
        ripple.classList.add("ripple");

        // Add span to the button
        this.appendChild(ripple);

        // Get position of X
        let x = e.clientX - e.currentTarget.offsetLeft;

        // Get position of Y
        let y = e.clientY - e.currentTarget.offsetTop;

        // Position the span element
        ripple.style.left = `${x}px`;
        ripple.style.top = `${y}px`;

        // Remove span after 0.3s
        setTimeout(() => {
            ripple.remove();
        }, 300);

    };
</script>
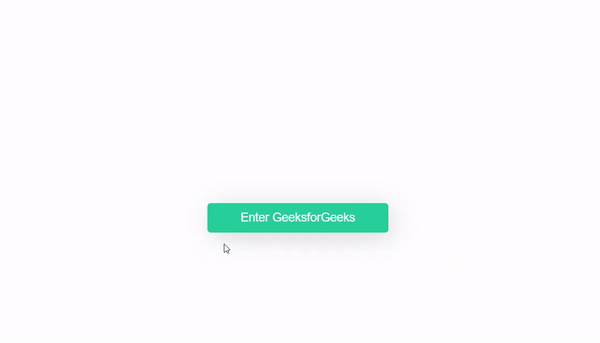
Output:
Like Article
Suggest improvement
Share your thoughts in the comments
Please Login to comment...