YAML to List of Objects in Spring Boot
Last Updated :
26 Nov, 2023
In this article, let us dive into Converting YAML files to a List of Objects in Spring boot. To understand this we need to have some knowledge of the following pre-requisites.
- YAML: YAML represents a key-value structure that is human-readable data serializable format. The features of YAML including
- Readability,
- Ease of writing
- Understanding makes it a popular choice for configuring files in software development.
- Jackson’s YAML module: Jackson’s YAML module is used in the Java ecosystem for handling YAML formatted files.
This conversion will help us to inject the YAML data into other classes in the same way as we do for other Spring beans.
Converting YAML Files to List of Objects in Spring Boot
Step 1: Create your spring boot project
Note: For this Project, I am using Eclipse IDE for Java and Web Development 2023-06
- To create a new Spring boot project in Eclipse IDE, navigate to the file menu > New > Others
- Maven build management tool
- Java version 8
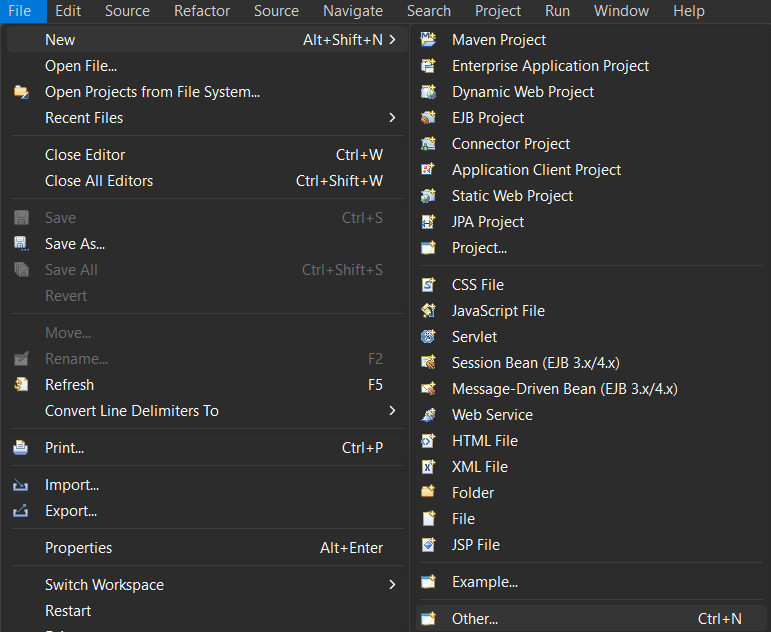
- Now, find the Spring Starter Project in the Others section.
.png)
- Now, configure your Spring Starter project according to your requirements.
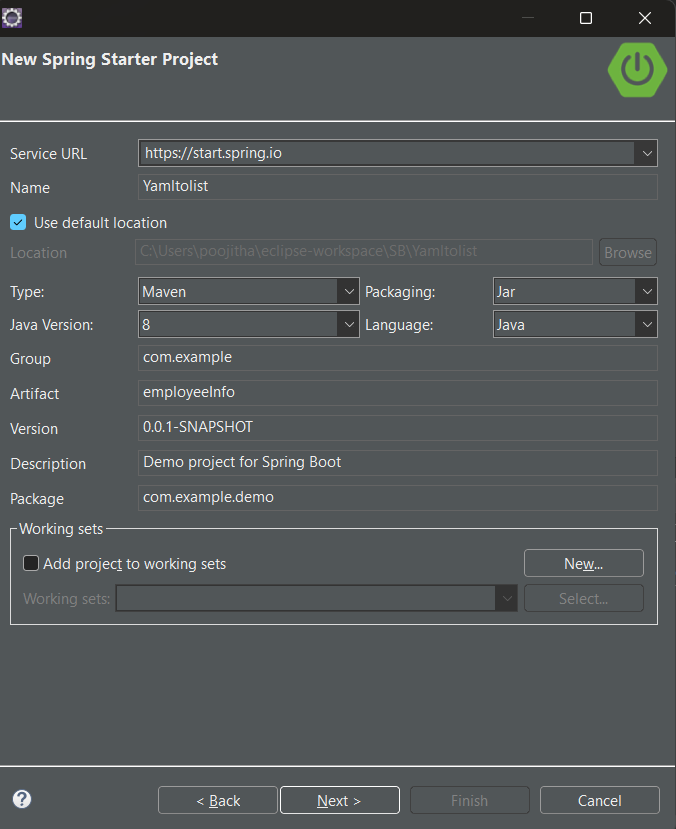
Note: Here, I am using Maven build management tool and Java version 8 (make sure, you are using atleast Java 8)
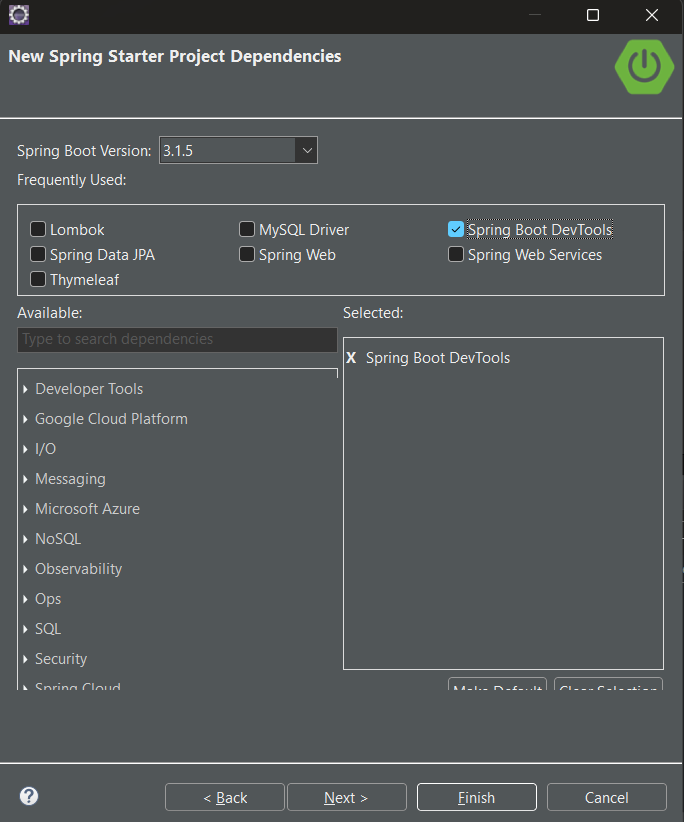
- After that, you can add the required dependencies to your project. (you can also add the dependencies after the creation of the project). Click finish.
Step 2: Configure the pom.xml
Once your project is created by configuring default options, You need to configure your Project Object Model i.e. pom.xml file ( this will be available only if you are using Maven).
In the pom.xml file, you need to add the dependencies to handle
- YAML files,
- read the data
- convert to a list of objects.
By default, pom.xml is the last file you can find in your project structure. Copy and paste the below dependencies enclosing the <dependencies> tag in the pom.xml
<dependency>
        <groupId>com.fasterxml.jackson.dataformat</groupId>
        <artifactId>jackson-dataformat-yaml</artifactId>
</dependency>
- spring-boot-starters-web:
<dependency>
        <groupId>org.springframework.boot</groupId>
        <artifactId>spring-boot-starter-web</artifactId>
</dependency>
Step 3: Creating the YAML file
For this step, we first need to create and configure the resources that are required for this project. In a YAML formatted file.
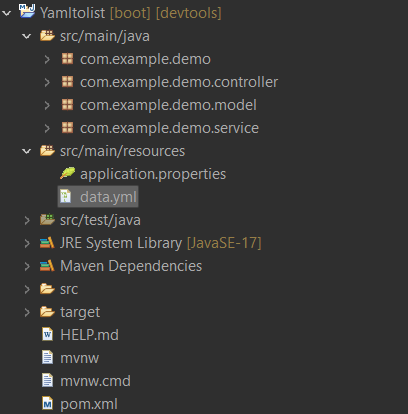
Create a file with a .yml extension in the src/main/resources folder in your project structure. For instance, I have named the file as data.yml. After creating this file, the project structure will look like the following.
Project Structure:
Add some sample data in the data.yml file in a key-value pair. I have added the person’s details along with their name and age.
//data.yml
persons:
    - name: poojitha
         age: 20
    - name: Ravi
         age: 30
    - name: Rahul
         age: 35
Step 4: Creation of Java class
Now in this, we will see how to parse the data.yml file content into data members or variables in the context of Object-oriented programming in Java, to do so following the mentioned step.
- create a class in our src/main/java folder.
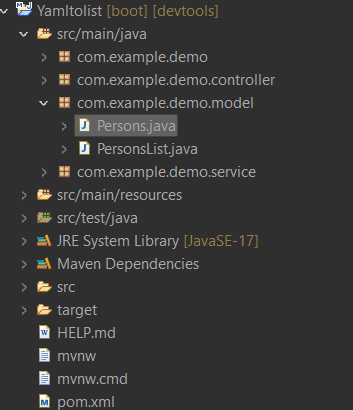
- create a sub-folder named model and in that sub-folder, create Persons.java class.
- This class represents the data in the data.yml file as private variables along with getters and setters to access the private variables.
Project structure:
Java
package com.example.demo.model;
public class Persons {
private String name;
private int age;
public String getName() {
return name;
}
public void setName(String name) {
this.name = name;
}
public int getAge() {
return age;
}
public void setAge(int age) {
this.age = age;
}
}
|
Explanation:
- The person class in the model sub-package inside the default package helps us to create the Class-based format for our data.yml file.
- Inside the Persons class, we have name and age as private variables along with their getters and setters.
Note: Developers can use Lombok library to generate getter, setters, etc. To reduce the boiler plate code.
Step 5: Creating the Structure of YAML
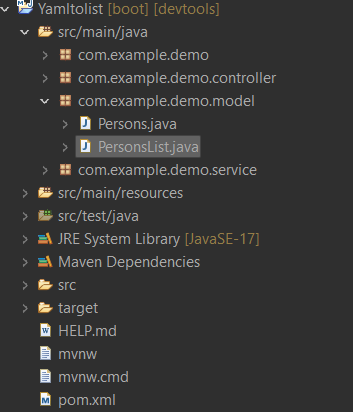
We have already created a class that represents the individual attributes of our data.yml file. Let us create a class that represents the entire structure of our YAML. To do this, we need to create another class in the model sub-package that we created earlier.
- PersonsList class represents the Structure of YAML in the form of Built-in datastructures like List along with getters and setters respectively.
Project structure:
Java
package com.example.demo.model;
import java.util.List;
public class PersonsList {
private List<Persons> persons;
public List<Persons> getPersons() {
return persons;
}
public void setPersons(List<Persons> persons) {
this.persons = persons;
}
}
|
Explanation:
- In the above code snippet, we have created a class called PersonsList which contains a list of data from our data.yml files.
- This private list is structured in this PersonsList along with respective getter and setter methods.
Step 6: Creating a service class
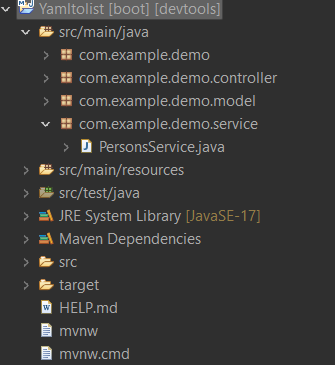
Let us create a service class, Spring’s component scanning will automatically scan that. To achieve this, we need to create a sub-package named service inside our default package i.e. src/main/java.
- PersonsService class annotated with @Service serves the purpose of reading and parsing the YAML file.
Project Structure:
Java
package com.example.demo.service;
import com.example.demo.model.Persons;
import com.example.demo.model.PersonsList;
import com.fasterxml.jackson.databind.ObjectMapper;
import com.fasterxml.jackson.dataformat.yaml.YAMLFactory;
import java.io.IOException;
import java.util.List;
import org.springframework.stereotype.Service;
@Service
public class PersonsService {
public List<Persons> readMyObjects() throws IOException{
ObjectMapper objectMapper = new ObjectMapper(new YAMLFactory());
PersonsList personsList = objectMapper
.readValue(getClass().getResourceAsStream("/data.yml"),
PersonsList.class);
return personsList.getPersons();
}
}
|
Explanation:
- In the above code snippet, we are creating a service class, that is used to parse the data.yml file to read the YAML data.
- For instance, I have created a class named PersonsService annotated with @Service.
- We are using ObjectMapper from the Jackson YAML module.
This ObjectMapper creates a new object with YAMLFactory as a parameter and this object is used to read the data in the data.yml later the result is returned which is the personsList object as a list of persons by using the getter method
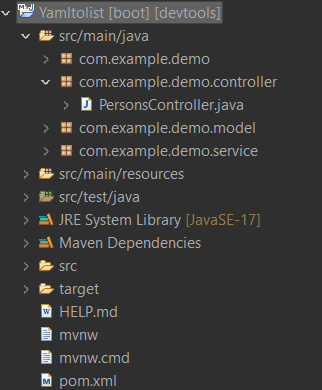
Step 7: Creating the Controller class:
Let us create the Controller class for our project.
Project Structure:
Java
package com.example.demo.controller;
import org.springframework.beans.factory.annotation.Autowired;
import org.springframework.web.bind.annotation.GetMapping;
import org.springframework.web.bind.annotation.RestController;
import com.example.demo.model.Persons;
import com.example.demo.service.PersonsService;
import java.io.IOException;
import java.util.List;
@RestController
public class PersonsController {
@Autowired
private PersonsService personsService;
@GetMapping("/persons")
public List<Persons> getPersons() throws IOException {
return personsService.readPersons();
}
}
|
Explanation:
- In the above code snippet, we have created a controller class.
- For instance, I have created the class PersonsController annotated with @RestController to handle HTTP requests and responses.
- The method getPersons retrieves the list of persons from the personsService and stores that in the /persons endpoint handled by @GetMapping annotations.
Steps to run the application:
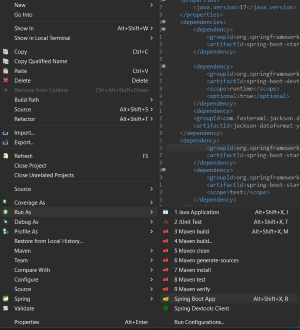
To run the application, right-click on the project in the project explorer, and click Run as > Spring Boot App.
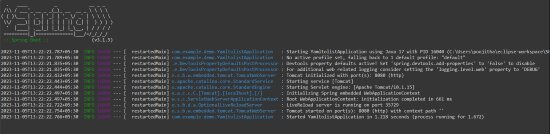
Console View:
Console output tells the successful compilation and running of our spring boot project.
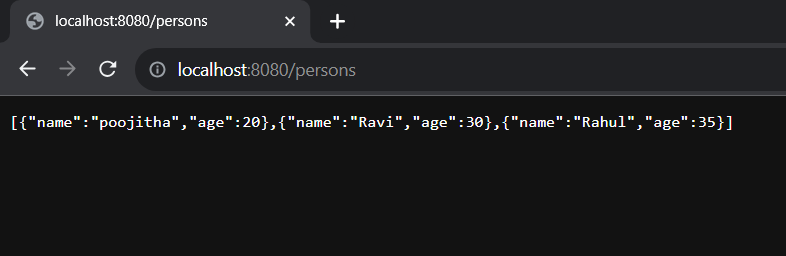
Output:
Web view of the converted data of .yml to java objects is displayed in the form of JSON.
Share your thoughts in the comments
Please Login to comment...