What is the use of ORM/ODM libraries like Mongoose in Express applications ?
Last Updated :
14 Jan, 2024
If you build web applications with Node and Express, you know how quick and easy it is to get a server up and running. Routing, middlewares, template rendering – Express has you covered on the core web dev stuff. But every application needs to work with data at some point. Saving user records, storing file uploads, retrieving info for display that’s when developing the application becomes harder..
Interacting with MongoDB directly means wrangling connections, writing tedious CRUD operations, and translating results. That’s why smart Express developers reach for Mongoose – the leading Object Document Mapper (ODM) for MongoDB in Node. Mongoose makes modeling and working with data worlds simpler, so you spend less time-fighting databases and more time building great apps.
Understanding ORM/ODM libraries:
ORM and ODM are programming techniques that provide a higher-level abstraction for database interactions. They allows you to interact with databases using object-oriented programming concepts, making database operations more automatic and less dependent on raw SQL queries.
- ORM (Object-Relational Mapping): Primarily used with relational databases, ORM translates between objects in code and rows in a relational database table.
- ODM (Object-Document Mapping): Built for NoSQL databases like MongoDB, ODM maps between objects in code and documents in a NoSQL database collection.
What is Mongoose?
Mongoose, a powerful MongoDB object modeling tool for Node.js, offers an elegant, schema-based solution for managing MongoDB databases. Its tight integration with Express.js positions it as the preferred choice for developers seeking an efficient approach to MongoDB interactions.
Use of Mongoose:
Mongoose takes away all the petty frustrations of working with MongoDB directly. With just a few lines of code, you can start building elegant schemas and models for your app data, with lots of great development features baked in. If you want to make your MongoDB experience as smooth as possible, Mongoose is the way to go!
Advantages of Mongoose :
- Easy translation between documents and JavaScript objects with its schema-based modeling
- Built-in type casting and validation to reduce errors
- Helper methods for common tasks like querying, updating records, etc.
- Easy connection handling for setting up MongoDB communication
- Additional features like middleware for interacting with data pre-save/post-save
Steps to create Application:
Step 1: Create a new directory for your project and navigate into it:
mkdir express-mongoose-example
cd express-mongoose-example
Step 2: Initialize a new Node.js project:
npm init -y
Step 3: Install necessary packages:
npm install express mongoose
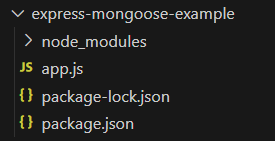
Folder Structure:
The updated dependencies in package.json file will look like:
"dependencies": {
    "express": "^4.18.2",
    "mongoose": "^8.0.3"
}
Example: In this example, we’ll create a basic “To-Do” application where tasks are stored in a MongoDB database using Mongoose.
Javascript
const express = require("express");
const mongoose = require("mongoose");
const app = express();
const port = 3000;
mongoose.connect("Your mongodb col=nnection string", {
useNewUrlParser: true,
useUnifiedTopology: true,
});
const db = mongoose.connection;
db.on("error", console.error.bind(console, "MongoDB connection error:"));
db.once("open", () => {
console.log("Connected to MongoDB");
});
const taskSchema = new mongoose.Schema({
title: String,
description: String,
completed: Boolean,
});
const Task = mongoose.model("Task", taskSchema);
app.use(express.json());
app.get("/tasks", async (req, res) => {
try {
const tasks = await Task.find();
res.json(tasks);
} catch (err) {
res.status(500).json({ message: err.message });
}
});
app.post("/tasks", async (req, res) => {
const task = new Task({
title: req.body.title,
description: req.body.description,
completed: false,
});
try {
const newTask = await task.save();
res.status(201).json(newTask);
} catch (err) {
res.status(400).json({ message: err.message });
}
});
app.listen(port, () => {
console.log(`Server is running on http:
});
|
Step 5: To start your application run the following command.
node app.js
Open the Postman and Post and Get the required data.
Output: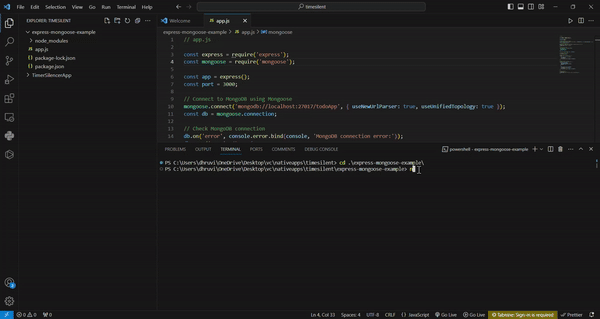
Share your thoughts in the comments
Please Login to comment...