Spring – Hello World Example
Last Updated :
23 Oct, 2023
In this tutorial, we will learn step by step how to develop a Spring Hello World application in STS (Spring Tool Suite), and also we will get to know how we can add dependency and how to do bean configuration into our application.
Note: We can also use Eclipse IDE or IntelliJ IDE for developing Spring Applications. But here we will be using STS for developing our Spring Application.
Now let us start with our first Spring Hello World application step by step below.
Step By Step Implementation
Step 1: Create a Java Project with Maven
The very initial step is to create a simple Java Maven project using Spring Tool Suite IDE. Then follow the below options: File > New > Maven Project > Select Create a Simple Project. Now give the name of your project in the project name field using the wizard window given below:

In the above image we can see the groupId and artifactId field. groupId refers the package name whereas artifactId refers the Project name. After successful creation of project we can see the below content in Project explorer:

Step 2: Add Spring Dependency
In the second step, let us add the following Spring dependencies in the pom.xml file.
<dependency>
    <groupId>org.springframework</groupId>
    <artifactId>spring-core</artifactId>
    <version>4.0.0.RELEASE</version>
</dependency>
<dependency>
    <groupId>org.springframework</groupId>
    <artifactId>spring-context</artifactId>
    <version>4.0.0.RELEASE</version>
</dependency>
The pom.xml should be changed as shown in the below image

Step 3: Create Source Files
After creating all the project configuration, now let us create the source files under the SpringHelloWorldExample project. First we need to create a package called “spring_example”. To do this, right click on the src folder in the package explorer then click on package and give the java package name. Follow the below options for creating package: New > Package
After creating package we will create a POJO(Plain Old Java Object) class “HelloWorld.java” and a main class “Main.java” under the spring_example package.
.webp)
Below is the HelloWorld.java Code:
Java
package spring_example;
public class HelloWorld {
private String message;
public void setMessage(String message){
this.message = message;
}
public void getMessage(){
System.out.println("Message : " + message);
}
}
|
Below is the Main.java Code:
Java
package spring_example;
import org.springframework.context.ApplicationContext;
import org.springframework.context.support.ClassPathXmlApplicationContext;
public class Main {
public static void main(String[] args) {
ApplicationContext context = new ClassPathXmlApplicationContext("beans.xml");
HelloWorld obj = (HelloWorld) context.getBean("HelloWorld");
obj.getMessage();
}
}
|
In the above Main.java code we have used two important methods i.e. ClassPathXMLApplicationContext() and getBean(). Let us know both methods below:
- ClassPathXMLApplicationContext() : This method can load the XML configuration from a class path and manage it’s beans based on the provided APIs. It takes care of creating and initializing all the beans.
- getBean() : This method retrieves bean instance from spring container. It used bean Id to return generic object. To call any class method we can use this object.
Step 4: Create Bean Configuration Files
After doing all the above three steps now we need to create a bean configuration file which is nothing but a XML file which combines all the beans or classes together.
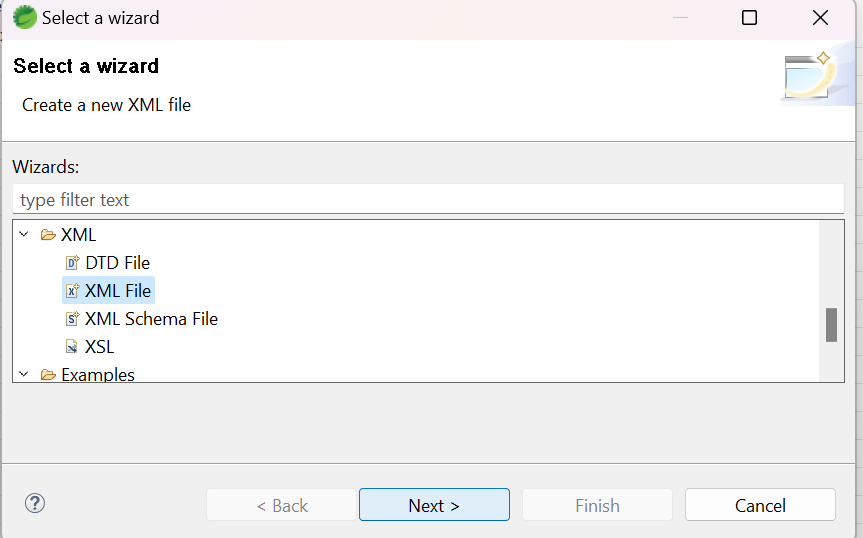
In the above image, we can see the wizard window. Here we can search for XML file for creating a bean xml file for our application. This bean.xml file should be made under the src directory as shown in the following:
.webp)
We can give any name to the bean file, it is not mandatory to give only beans.xml but we need to make sure that the class file must be available in the Classpath we need to use the same name in the main method while creating the ApplicationContext as shown in the Main.java class file. Let us know more about bean configuration file,
Bean.xml is used to control the creation of objects with different values without impacting any of the source files. It also assigns unique IDs to different beans.
For Example, we can pass any value for “message” and we can print different values for “message” without impacting POJO class files and main method. Let us see how this works in code:
XML
<?xml version = "1.0" encoding = "UTF-8"?>
<bean id = "HelloWorld" class = "spring_example.HelloWorld">
<property name = "message" value = "Hello World!"/>
</bean>
</beans>
|
Let us know what is <bean> and <property> tag below :
- <bean> : It allows to create new instance of an object and set the values to the variable. The configuration file creates all beans and gives them an unique ID as defined in <bean> tag.
- <property> : This tag is used to pass the values of the different variables at the time of the creation of object.
Step 5: Running the Program
When we finish all the source file configuration and bean configuration, the last step is compile and run the program. To do this, we should open the Main.java file then right click on that class, after that we can either use Run option or we can use the short cut key Ctrl+F11 to compile and run the application. At last we will be able to see the final output in the console as below:
.webp)
Share your thoughts in the comments
Please Login to comment...