JSTL Core <c:param> Tag
Last Updated :
18 Jan, 2024
JSTL stands for Java Server Pages Standard Library. The <c:param> tag adds the parameter in a containing in an ‘import’ tag’s URL. JSTL is a powerful tool that can help you create dynamic and maintainable web applications. It is part of the Java EE platform and is supported by all major JSP containers.
Why use JSTL?
JSTL is a collection of tag libraries that provide common features that would otherwise need to be written in Java code in JSP files.
Reasons why developers opt to use JSTL:
- JSTL simplifies the development process by providing a set of pre-built tags that can be easily integrated into JSP files.
- It enhances code readability and maintainability by separating business logic from presentation logic.
- JSTL promotes code reusability, as developers can create custom tags and reuse them across multiple web applications.
- It improves application performance by reducing the amount of Java code that needs to be executed on the server side.
- JSTL is platform-independent.
JSTL <c:param> Tag
Picture a navigation bar on a website as a row of doors (links) leading to different rooms (web pages). When you want to send a visitor through a door, sometimes you might want to give them a special key (parameter) that tells the room to appear in a certain way or display specific information.
The JSTL ‘<c:param>’ Core Tag is used with ‘<c:url>’ and ‘<c:redirect>’ tags to add the parameters.
For example, imagine one of the doors in the navbar leading to a “Products” page. But you want to show the user only “red” products. You’d slip the special key (‘color=red’) into the user’s hand using the ‘<c:param>’ tag. When the user opens the “Products” door with that key, they see only red products.
In the JSP code, this idea is represented as:
HTML
<a href="<c:url value='products.jsp'>">
<c:param name="color" value="red"/>
</c:url>">Products</a>
|
Here, ‘<c:param>’ is adding a special key (‘color=red’) to the URL for the “Products” page. When clicked, this link will lead the user to a version of the “Products” page that shows only red products.
Create navbar using <c:param> Tag
Step 1: Environment Setup
- Software used: Eclipse, Tomcat 9.
- Install Eclipse IDE for Enterprise Java and Web Developers.

Step 2: Create a Project Template
- Click on the File icon, then New. Then click on Dynamic Web Project.
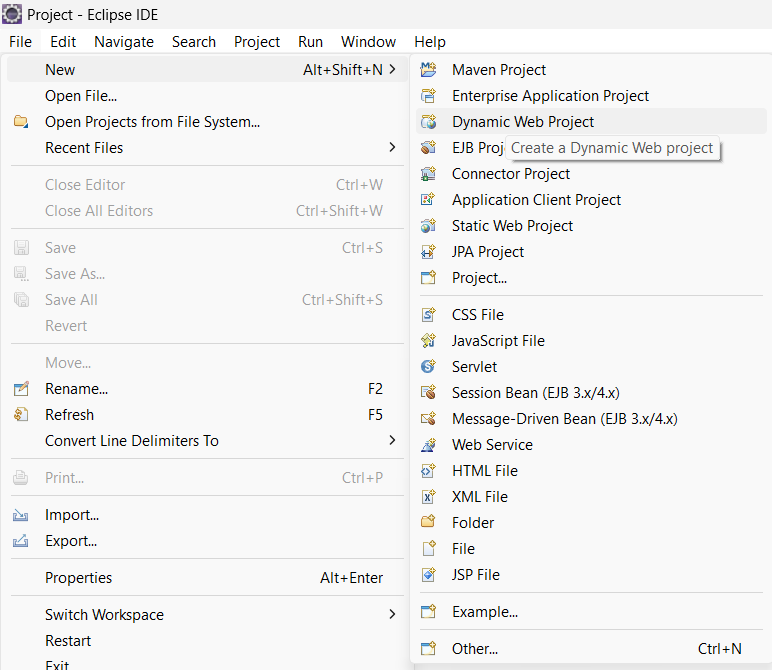
- Fill in the project name, click on Next, and again click on Next.
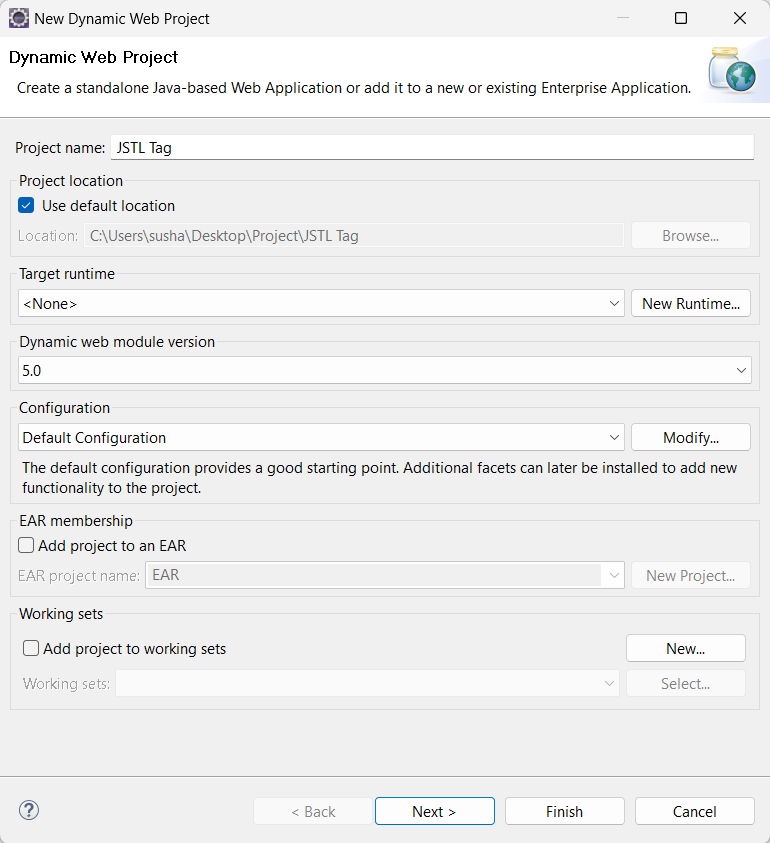
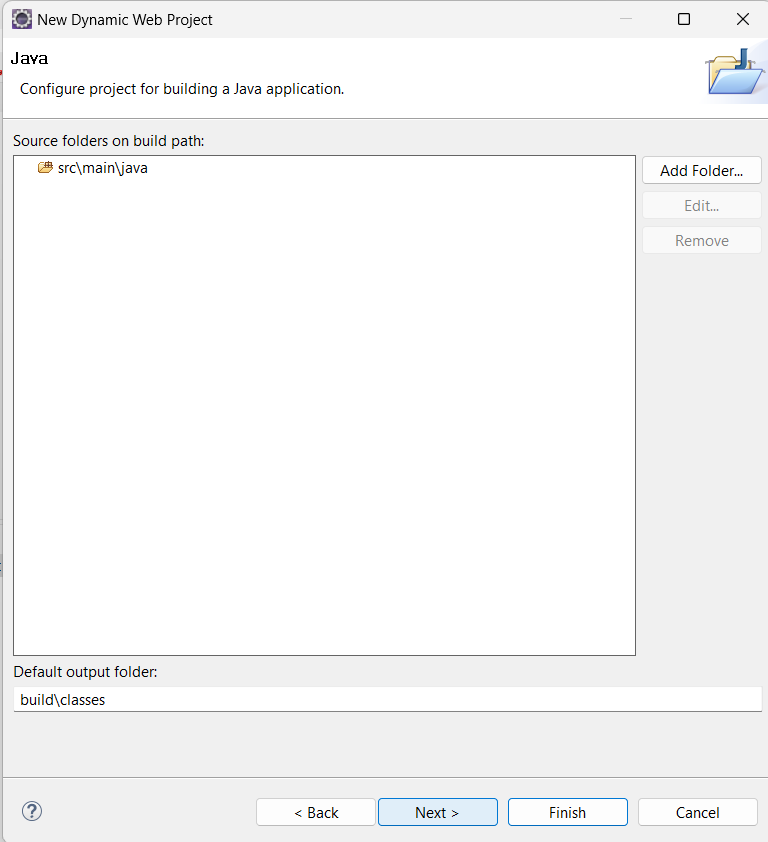
Click on Next
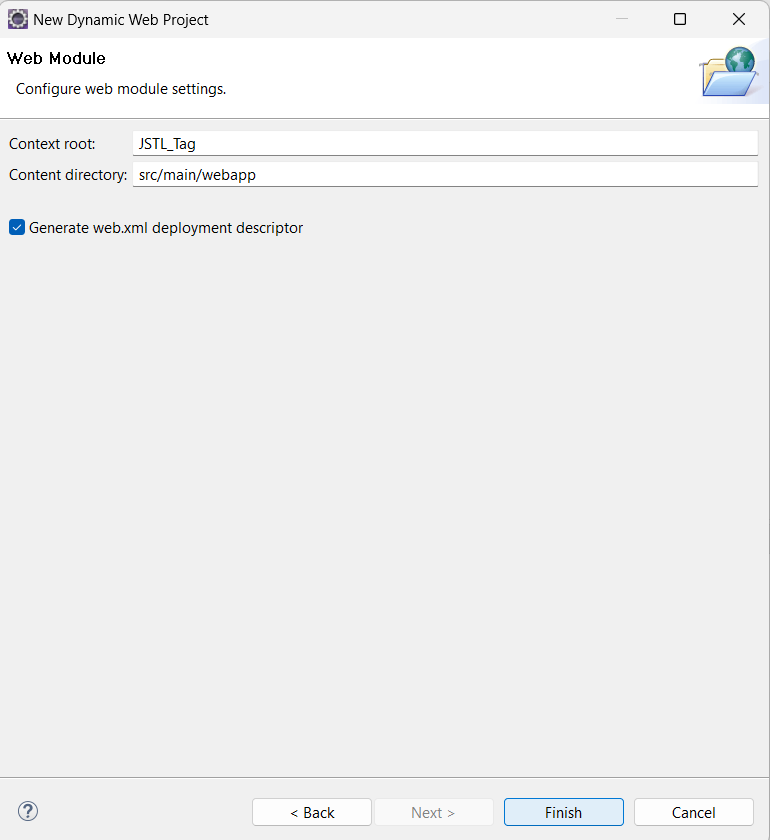
- Select ” Generate web.xml deployment descriptor” and click on Finish.
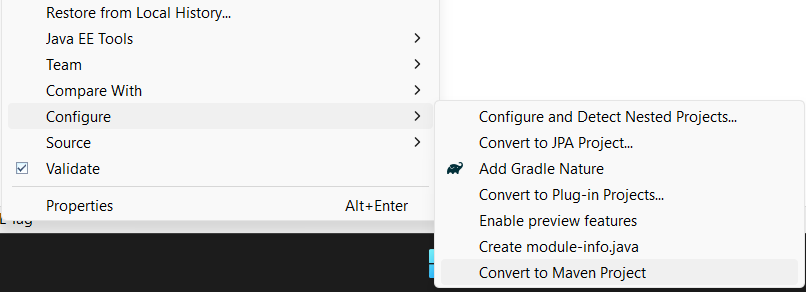
Step 3: Convert a Dynamic Web Project to a Maven Project
- To avoid unwanted errors, red-cross the project to a Maven project.
- Right-click on the project name and click on Configure the Convert to Maven Project.
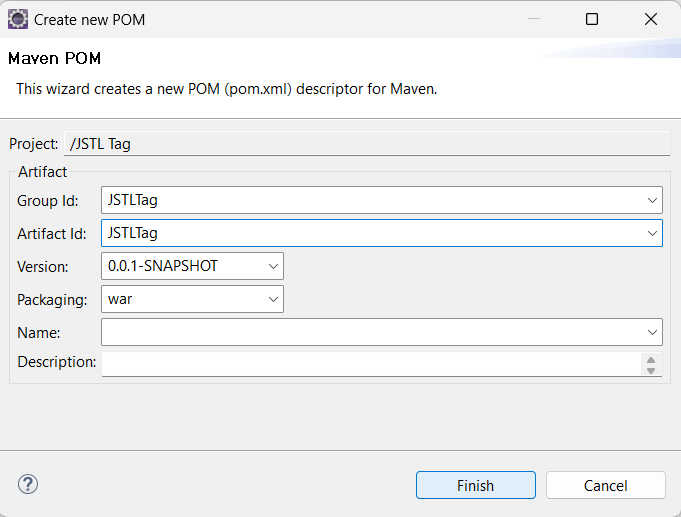
- Now the pom.xml file will be open. Add this dependencies snippet after the ‘<packaging>’ tag.
XML
<dependencies>
<dependency>
<groupId>javax.servlet</groupId>
<artifactId>javax.servlet-api</artifactId>
<version>3.1.0</version>
<scope>provided</scope>
</dependency>
<dependency>
<groupId>javax.servlet</groupId>
<artifactId>jstl</artifactId>
<version>1.2</version>
</dependency>
<dependency>
<groupId>javax.servlet</groupId>
<artifactId>javax.servlet-api</artifactId>
<version>4.0.1</version>
<scope>provided</scope>
</dependency>
<dependency>
<groupId>javax.servlet.jsp</groupId>
<artifactId>javax.servlet.jsp-api</artifactId>
<version>2.3.3</version>
<scope>provided</scope>
</dependency>
<dependency>
<groupId>taglibs</groupId>
<artifactId>standard</artifactId>
<version>1.1.2</version>
</dependency>
</dependencies>
|
Step 4: Creating .jsp file
- Create ‘index.jsp’ and ‘products.jsp’ files under the folder ‘webapp’ and replace the code of the web.xml file with the above code snippet.
- The ‘<c:param>’ tag is used to pass the color parameter from the ‘index.jsp’ page to the ‘products.jsp’ page. The ‘products.jsp’ page then uses the ‘<c:param>’ tag to read the color parameter and display products of that color.
HTML
<%@ page language="java" contentType="text/html; charset=UTF-8" pageEncoding="UTF-8" %>
<!DOCTYPE html>
<html>
<head>
<meta charset="UTF-8">
<title>Navigation Bar with JSTL</title>
<style>
#navbar {
background-color: #333;
overflow: hidden;
}
#navbar a {
float: left;
display: block;
color: white;
text-align: center;
padding: 14px 16px;
text-decoration: none;
}
#navbar a:hover {
background-color: #ddd;
color: black;
}
</style>
</head>
<body>
<div id="navbar">
<a href="<c:url value='products.jsp'/>">All Products</a>
<a href="<c:url value='products.jsp'>
<c:param name="color" value="red"/>
</c:url>">Red Products</a>
<a href="<c:url value='products.jsp'>
<c:param name="color" value="blue"/>
</c:url>">Blue Products</a>
</div>
</body>
</html>
|
HTML
<%@ page language="java" contentType="text/html; charset=UTF-8" pageEncoding="UTF-8" %>
<!DOCTYPE html>
<html>
<head>
<meta charset="UTF-8">
<title>Products Page</title>
<style>
.product {
border: 1px solid #333;
margin: 10px;
padding: 10px;
display: inline-block;
}
</style>
</head>
<body>
<%
// Mock products for the example
String[][] products = {
{"Red Shirt", "red"},
{"Blue Pants", "blue"},
{"Red Hat", "red"},
{"Blue Jacket", "blue"},
{"Green Socks", "green"}
};
// Get the color parameter
String selectedColor = request.getParameter("color");
%>
<h1>Products</h1>
<%
for(int i=0; i<products.length; i++) {
// Display product only if no color is selected OR the product color matches the selected color
if(selectedColor == null || selectedColor.equals(products[i][1])) {
%>
<div class="product">
<strong><%= products[i][0] %></strong>
<div>Color: <%= products[i][1] %></div>
</div>
<%
}
}
%>
<p><a href="index.jsp">Back to Home</a></p>
</body>
</html>
|
XML
<?xml version="1.0" encoding="UTF-8"?>
id="WebApp_ID" version="4.0">
<display-name>JSTL</display-name>
<welcome-file-list>
<welcome-file>index.html</welcome-file>
<welcome-file>index.jsp</welcome-file>
<welcome-file>index.htm</welcome-file>
<welcome-file>default.html</welcome-file>
<welcome-file>default.jsp</welcome-file>
<welcome-file>default.htm</welcome-file>
</welcome-file-list>
</web-app>
|
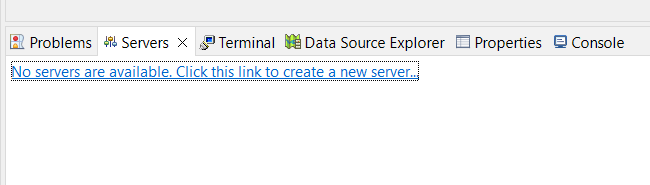
Step 5: TOMCAT Setup
- Click on the Servers icon, and under Tomcat, select ‘Tomcat v9.0 Server’, then click next.
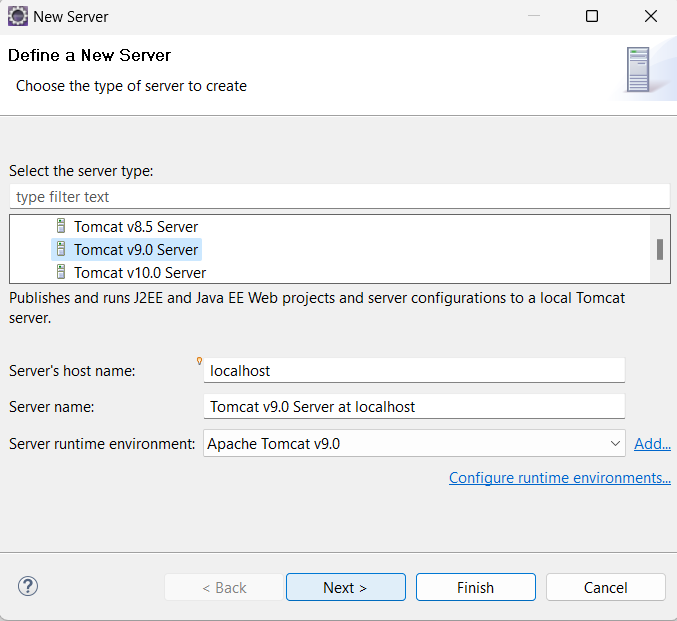
- Select a project that we have created, click Add, then click Finish.

Step 6: Result
- Save all code snippets and right-click on the project name, then click on Run As, then ‘Run on Server’ and select our constructed server in the previous step.

.
Video Demo
Demo of How the Navbar is Constructed with the Aid of JSTL Core <c:param> Tag is shown below:
Video Demo: JSTL Core Tag
Frequently Asked Questions
1. What is JSTL?
JSTL stands for Java Server Pages Standard Library, a set of tag libraries that enables the construction of dynamic web applications inside the Java EE platform without embedding Java code in JSPs.
2. How does JSP differ from HTML?
JSP blends HTML, XML, and Java code to provide dynamic content, whereas typical HTML serves static material. JSP also allows bespoke tag libraries for special application needs.
3. Why select JSTL over scripting in JSP?
JSTL simplifies JSP pages, eliminates embedding Java code, offers a standardized approach, lowers potential errors, and promotes easier maintenance.
4. What’s the function of the <c:param> tag in JSTL?
The <c:param> tag, combined with <c:url> or <c:redirect>, adds parameters to URLs, dictating how the subsequent page should display content or act.
5. How do I convert a web project to a Maven project in Eclipse?
Right-click on your project in Eclipse, go to Configure, and select Convert to Maven Project. This adds a pom.xml file for managing Maven-specific configurations.
Share your thoughts in the comments
Please Login to comment...