Installing Spring Tool Suite on Windows
Last Updated :
15 Nov, 2023
Sprint Tool Suite or STE is one the favorite IDEs for many developers to want to Spring applications. It is an Eclipse-based development suite that comes with various features to run, deploy, and debug the Spring application. Spring Tool Suite also provides more advanced functionalities like code assistance, project templates, and easy integration.
In this article, we will look into the step-by-step process of installing Spring Tool Suite on the Windows Operating System environment.
Prerequisites:
- Java Development Kit (JDK)
- Windows Operating System
- Administrative Privileges
- Sufficient System Resources
1. Installation of Spring Tool Suite on Windows
In this section, we will see the detailed steps to properly install STS on Windows OS without any problem or issue:
Step 1: Firstly, we need to download the official .zip file of STS from its website. You can download the Spring Tool Suite from the above link. Select the appropriate platform as Windows and download the package.
-min.png)
Downloading STS Zip File
Step 2: Once the download is been done, we need to extract the contents of the ZIP file to the directory of our choice on our Windows Machine.
Extracted Zip File
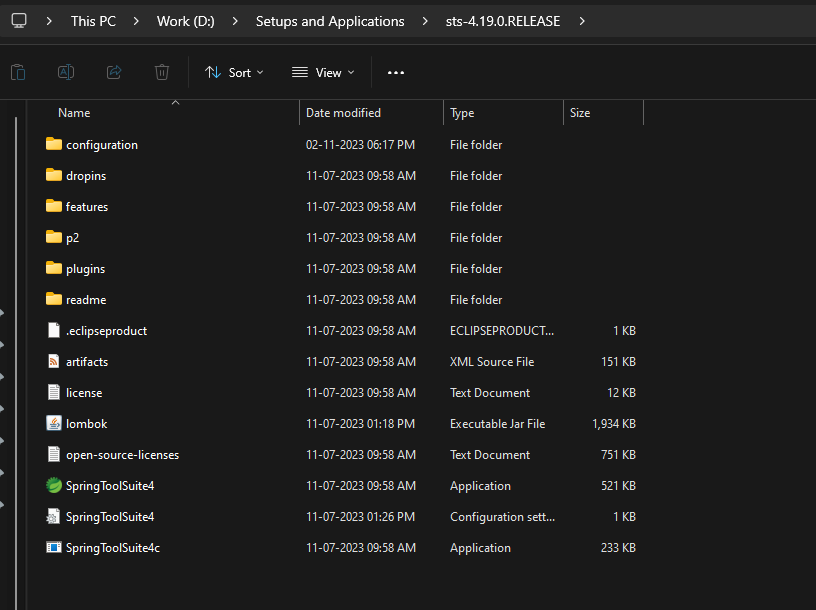
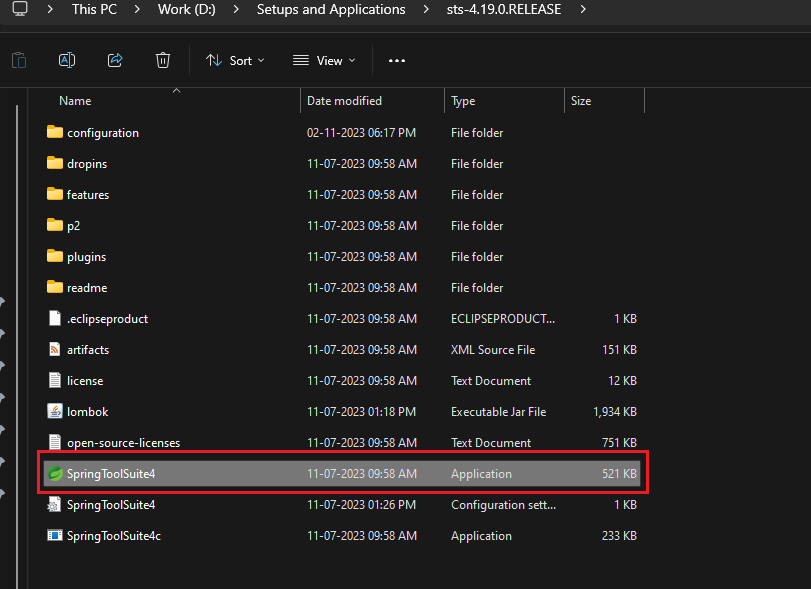
Step 3: After extracting, we need to navigate to the directory, where we have extracted the STS. In this directory, we will have the file “SprinttoolSuite4“. We need to click on that file to open the launcher
Clicking on Application
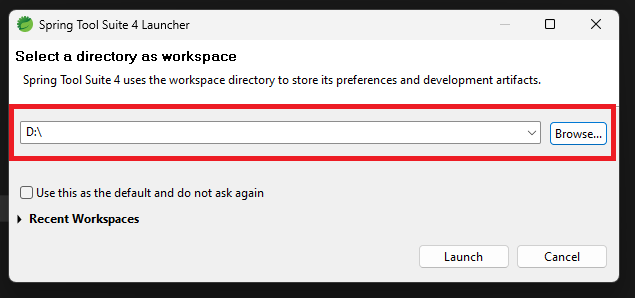
Step 4: Once the launcher is been displayed, we will be prompted to select a workspace location where your projects and configurations will be stored. We can choose the default location or specify your own.
Setting Up Workspace Path
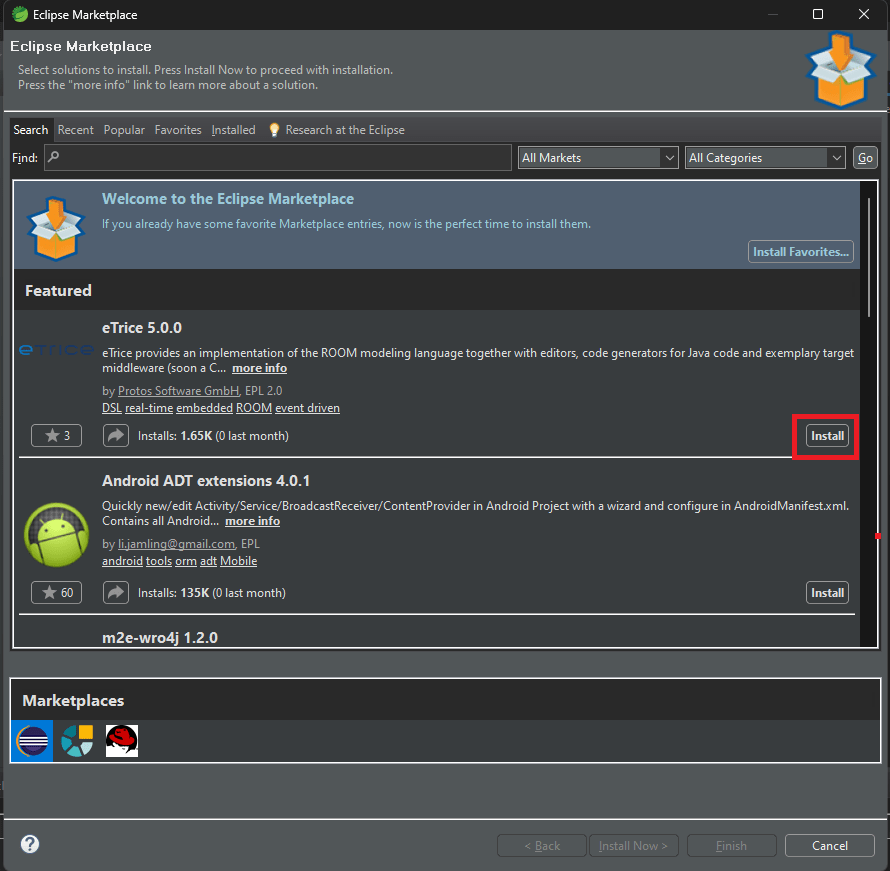
Step 5: Then we can choose to install additional plugins for specific tasks or frameworks by going to the “Help > Eclipse Marketplace” tab in the STS dashboard.
Installing Additional Plugins
Step 6: Once the installation is complete, we can start creating and managing Spring-based projects in the Spring Tool Suite IDE.
Using STS IDE
2. How to Verify the Installation?
In this section, we will verify the STS installation by creating a Simple program. So follow the below steps to make the simple application and verify the installation:
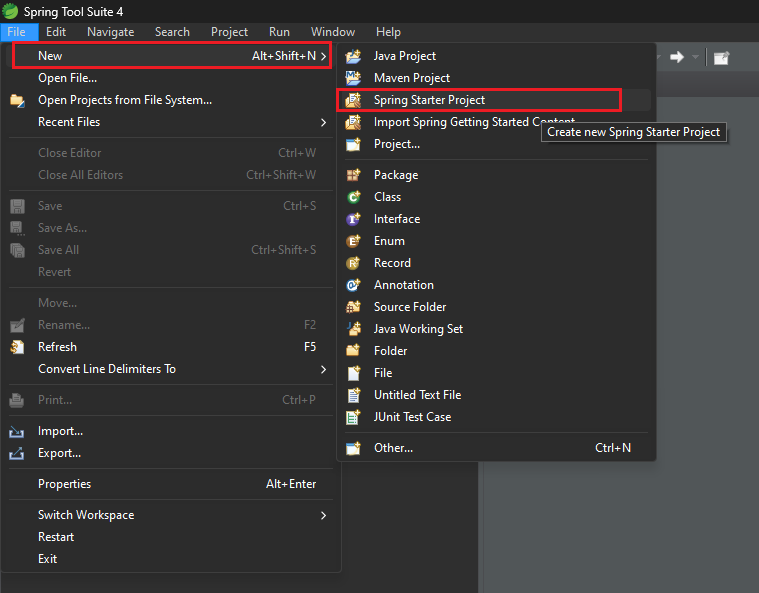
Step 1: First, create the New Project by navigating to the File Menu. Select New > Spring Starter Project.
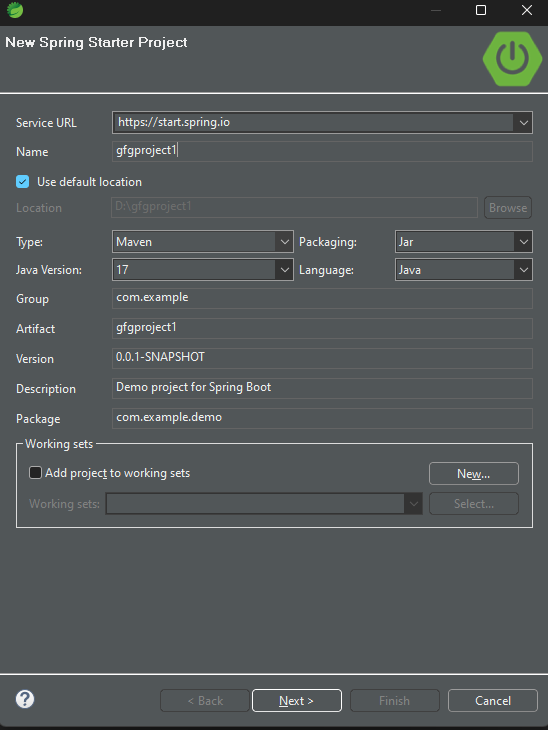
Step 2: A window will open, in which we need to give the Project Name, and select the versions as per our choice.
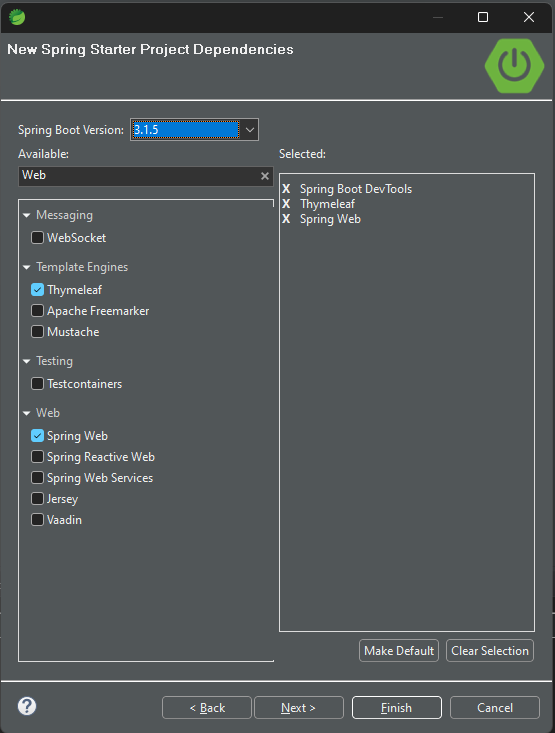
Step 3: Then we can select the dependencies that are required for our application. For demonstration purposes, we have selected Spring Web, Spring Boot DevTools, and Thymeleaf dependencies.
Step 4: After configuring and clicking on the Finish button, the below directory structure will be created for our application.

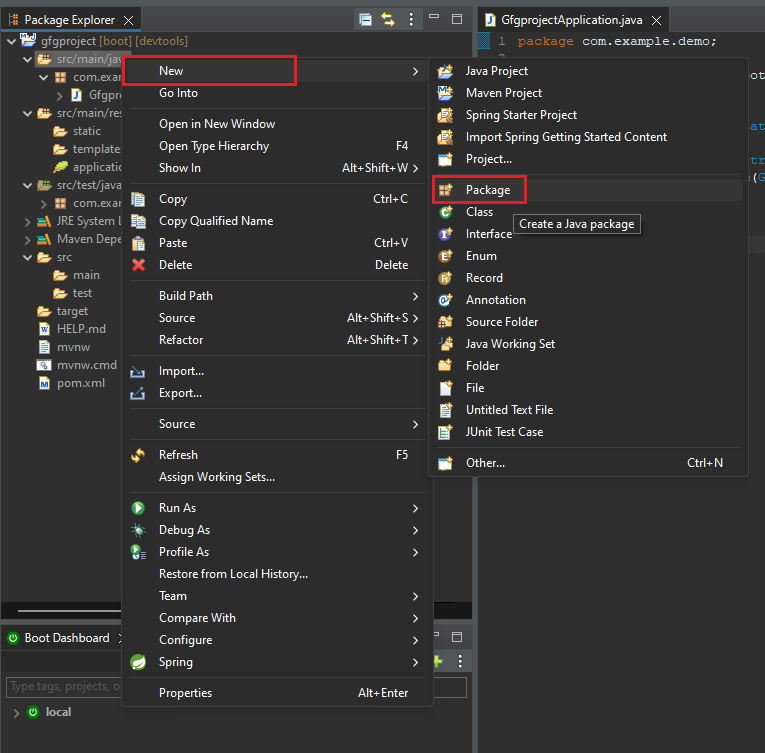
Step 5: In the src/main/java folder, we need to create a New package by clicking on New > Package.
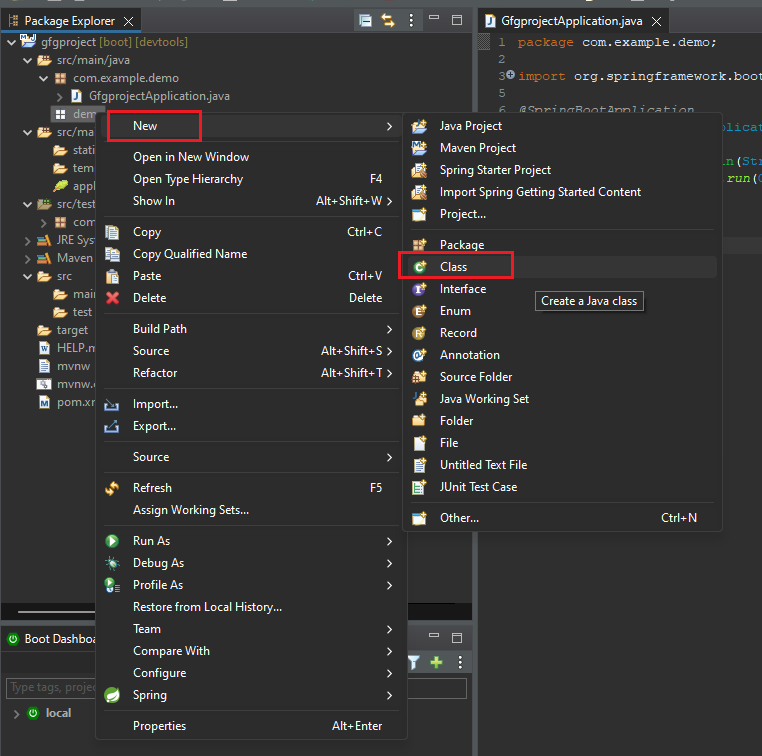
Step 6: Once the package gets created, we need to create a New class by clicking right-clicking on the package and selecting New > Class.
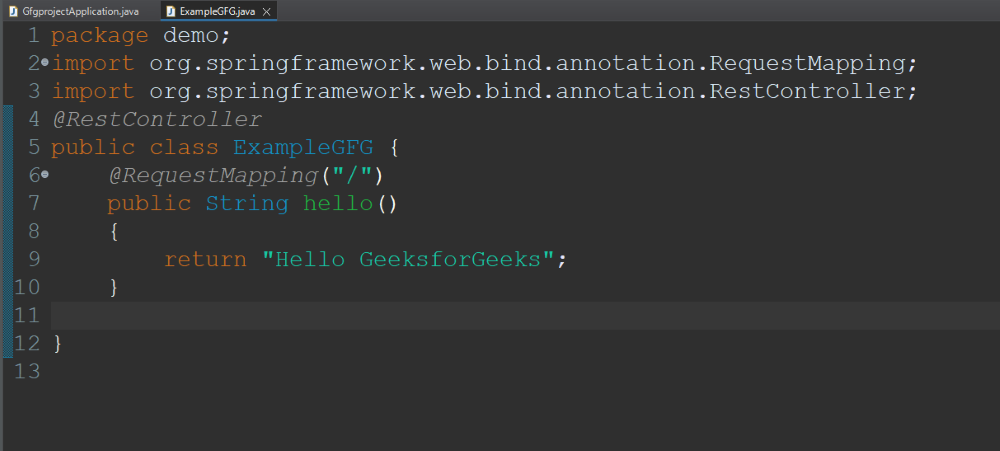
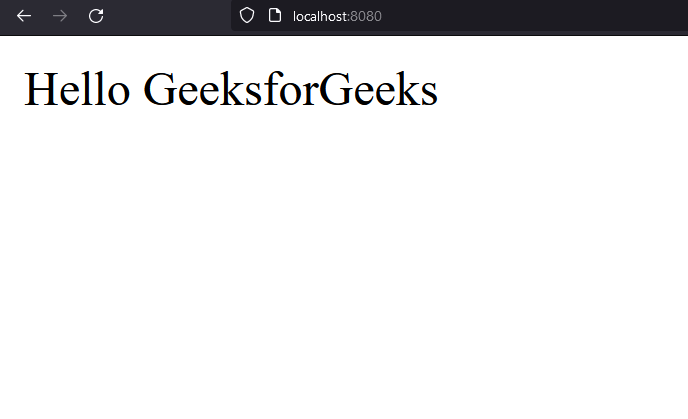
Step 7: Once the class gets created, paste the below code in the file which has the simple Hello GeeksforGeeks message printed.
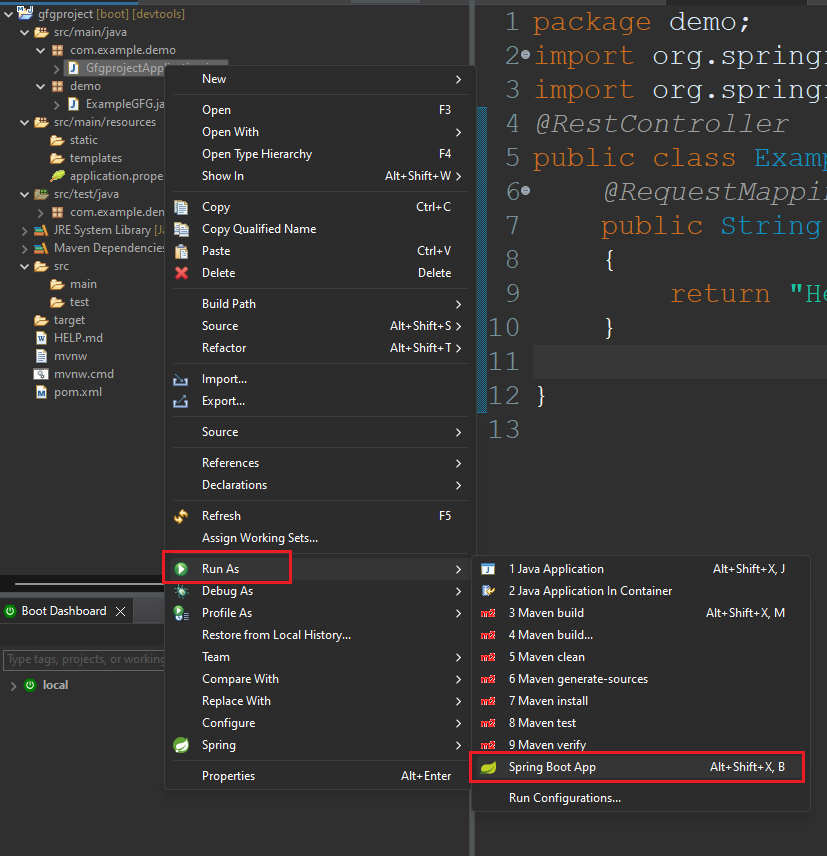
Step 8: After entering the code, we need to run the project by right-clicking on the main application file and selecting the option Run As > Spring Boot App.
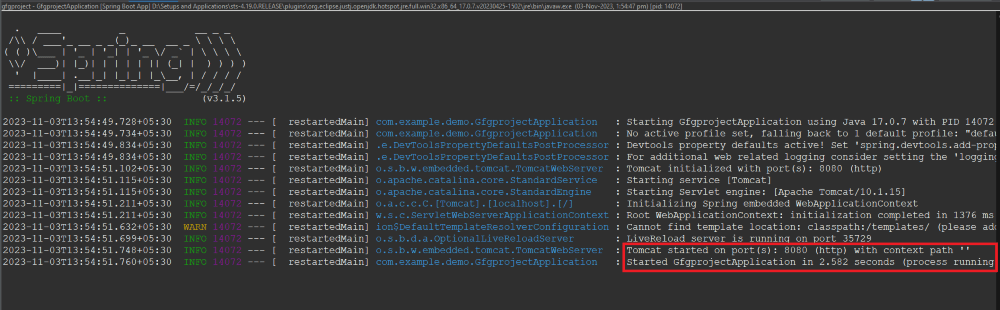
Step 9: This will start the server on port 8080. You can see the entire logs in the console section.
Step 10: After visiting the URL as “http://localhost:8080/” the message will get printed on the Web Browser.
Conclusion
In Conclusion, Spring Tool Suite (STS) has various benefits, such as
- STS has various tools and features that can be used to develop Spring applications. There is a feature of a template from which we can create the basic configuration project.
- Along with this, there is the feature of code assistance. We can also integrate the various Spring technologies using STS.
- In the STE there is community support which helps to find various helping resources on the internet.
Limitations:
- There are some limitations, STS requires a high amount of resources like memory, CPU, etc. So we need to have a high-configuration computer to run the STS without any issues.
- As STS is best for the Spring projects, it is not considered for other types of project development.
- The navigations in the STS are complex which can be difficult for the new developers.
Share your thoughts in the comments
Please Login to comment...