How to Install & Configure MariaDB on Windows
Last Updated :
05 Feb, 2024
MariaDB is an open-source relational database management system commonly used for its fast speed, scalability, and also rich features. The installation and configuration of MariaDB on a Windows OS is a very simple procedure that enables the users to easily create a powerful database server for the different applications.
In this article, we will go through the installation and configuration of MariaDB on Windows.
Install and Configure MariaDB
Step 1: Download MariaDB Installer for Windows
The first step is to download the MariaDB installer for Windows from the official MariaDB website (Download from here). Select the proper version for our Windows platform (32-bit or 64-bit). By clicking on the download link, the installer executable will be saved to our local machine.
Step 2: Run the MariaDB Installer
Find the downloaded installer executable and run it with the administrator privileges. The installer will guide us through the installation process, offering many choices for different components and also configurations.
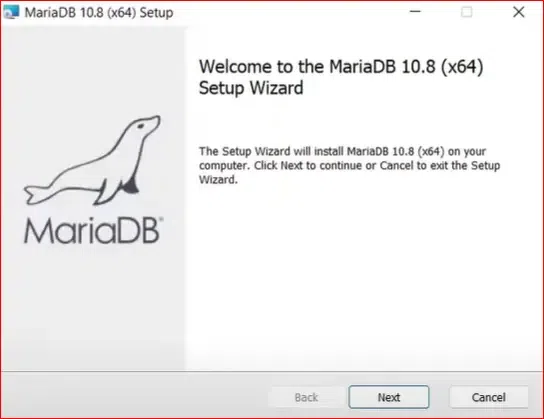
MariaDB Installer
Follow These Steps:
a. Accept the End-User License Agreement: Read the end-user license agreement and click accept the terms in the license agreement and then click Next button.
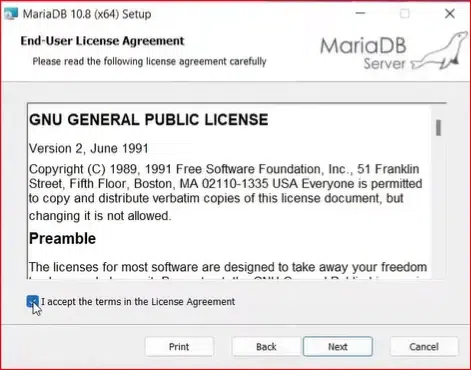
License Agreement Page
b. Select Features: Here we can choose what features to install. We can also see the default install folder location from the setup page itself. So since it is a fresh install we are fine with the default options and proceed by clicking the next button.
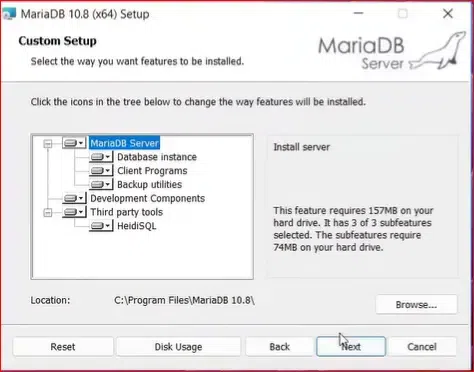
Custom Setup Page
c. Database Password: Here we can set the password of the root user in the MariaDB database and specify whether root can access database from remote machines along with other options. There is also an option to enable remote machine access for the root user and the folder location of MariaDB data directory. Click on next button.
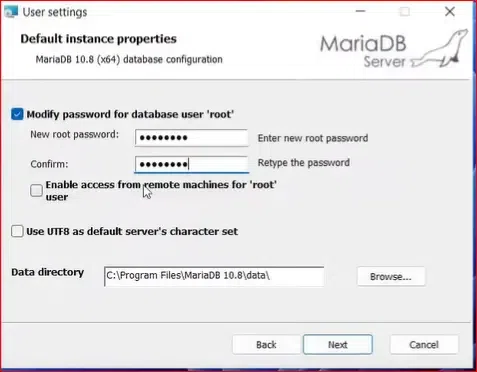
Enter password
d. Configure Database: In this page, We have options like install as a service defines whether the database should be run as a service if it should be run as a service then it also defines the service name. It is recommended to run our database instance as a service. Now choose the option enable networking this defines whether to enable TCP IP which is recommended and which port media database should listen to.
Additionally we also have option to set database pool size and page size during the install itself. So after defining our preferred options, click on the next button.
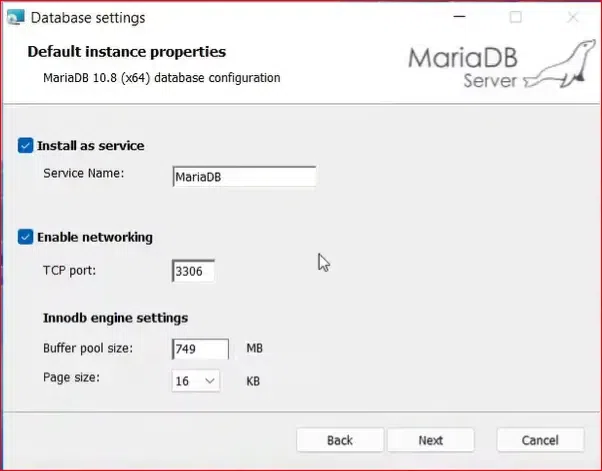
Enter configurations
e. Execute Configuration: We should see the MariaDB ready to install page and at this point all installation settings are collected and click on the install button to start the MariaDB installation.
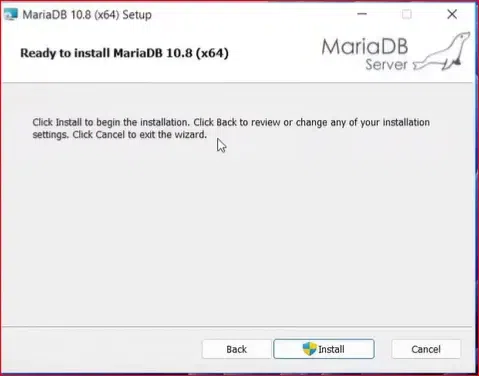
Install
Step 3: Complete the Installation
once the MariaDB has been installed we should see the following page as that shown below. click on the finish button to finish the installation. Now the MariaDB is installed on your windows.
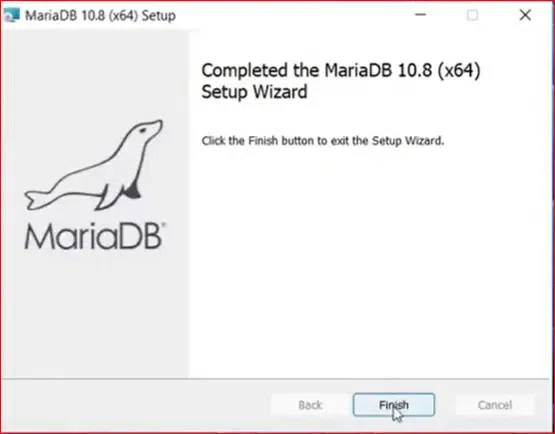
Finish Installation
Step 4: Verify the Installation
To verify the successful installation, open a command prompt and run the following command:
mysql -u root -p
When prompted, please enter the root password. If you are able to get to the MariaDB server prompt without any errors, then the installation is complete.
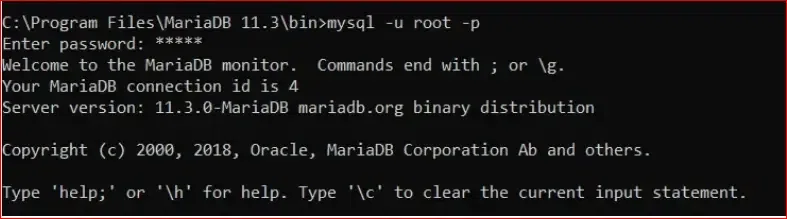
Installation Successful
Conclusion
We have successfully installed and have set up MariaDB on your Windows computer. Now, you have a very robust relational database management system that is ready to accommodate your applications and also projects. You are free to learn more about MariaDB features and capabilities and improve your database management experience.
Share your thoughts in the comments
Please Login to comment...