How to Implement One to Many Mapping in Spring Boot?
Last Updated :
02 May, 2022
Spring Boot is built on the top of the spring and contains all the features of spring. Spring also provides JPA and hibernate to increase the data manipulation efficiency between the spring application and the database. In very simple terms we can say JPA (Java persistence API) is like an interface and the hibernate is the implementation of the methods of the interface Like how insertion will be down is already defined with the help of hibernate. In this article, we will discuss how to insert the values in the MySQL table using Spring JPA. Spring Initializr is a web-based tool using which we can easily generate the structure of the Spring Boot project. It also provides various different features for the projects expressed in a metadata model. This model allows us to configure the list of dependencies that are supported by JVM. Here, we will create the structure of an application using a spring initializer.
Step by Step Implementation
Step 1: Go to this link. Fill in the details as per the requirements. For this application:
Project: Maven
Language: Java
Spring Boot: 2.5.6
Packaging: JAR
Java: 11
Dependencies: Spring Web,Spring Data JPA, MySql Driver
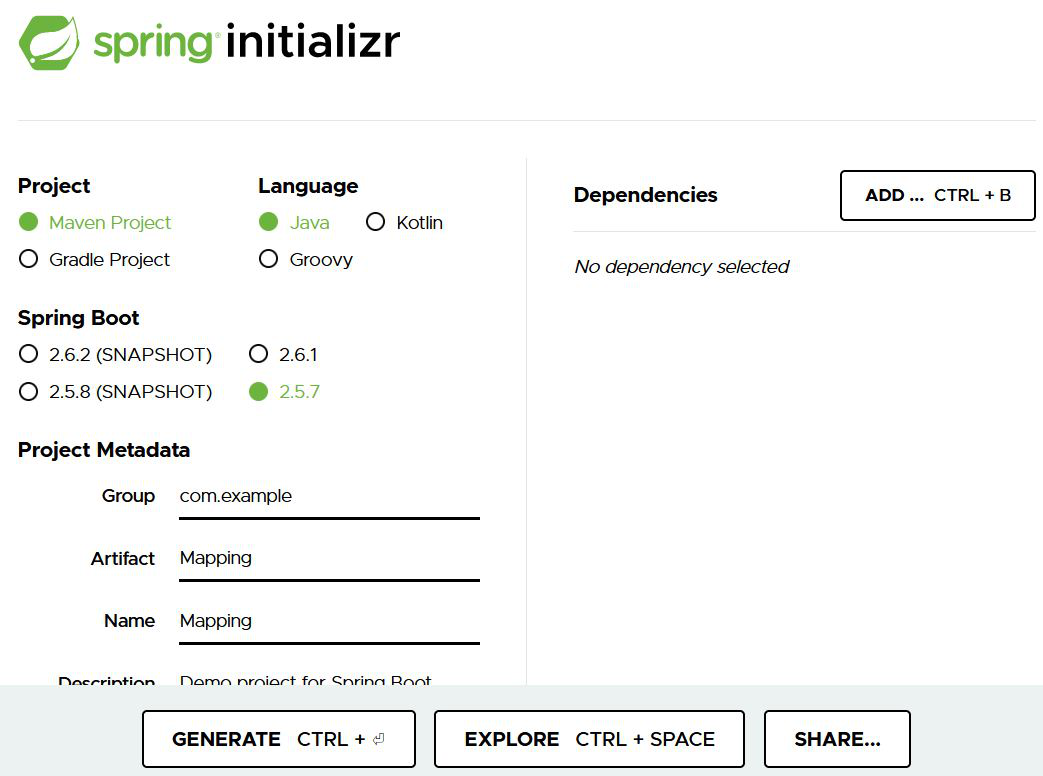
Click on Generate which will download the starter project.
Step 2: Extract the zip file. Now open a suitable IDE and then go to File > New > Project from existing sources > Spring-boot-app and select pom.xml. Click on import changes on prompt and wait for the project to sync as pictorially depicted below as follows:

Project Structure:

Step 3: Adding the necessary properties in the application.properties file. (mapping is the database name)
spring.datasource.username=root
spring.datasource.password=Aayush
spring.datasource.url=jdbc:mysql://localhost:3306/mapping
spring.jpa.hibernate.ddl-auto=update
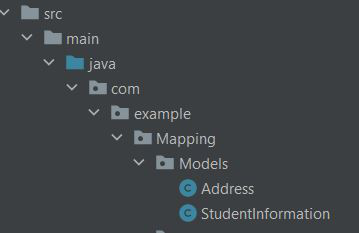
Step 4: Go to src->main->java->com->example->Mapping and create two files in the Models folder i.e Address.java and Student Information.java.
Project structure:
Address.java(Mapped table)
Java
package com.example.Mapping.Models;
import javax.persistence.*;
@Entity
@Table(name = "Address")
public class Address {
@Id
@GeneratedValue(strategy = GenerationType.IDENTITY)
private int id;
private String cityname;
@ManyToOne
@JoinColumn(name = "Student_id")
StudentInformation ob;
Address() {}
public Address(int id, String cityname, StudentInformation ob1)
{
this.id = id;
this.cityname = cityname;
this.ob = ob1;
}
}
|
StudentInformation.java(Mapped by table)
Java
@Entity
@Table(name = "Student")
public class StudentInformation {
@Id
@GeneratedValue(strategy = GenerationType.IDENTITY)
private int rollno;
private String name;
@OneToMany(cascade = CascadeType.ALL)
private Set<Address> ob;
public int getRollno() { return rollno; }
public StudentInformation() {}
public StudentInformation(int rollno, String name)
{
this.rollno = rollno;
this.name = name;
}
public void setRollno(int rollno)
{
this.rollno = rollno;
}
public String getName() { return name; }
public void setName(String name) { this.name = name; }
}
|
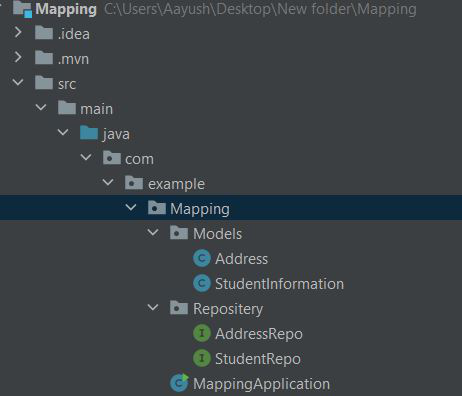
Step 5: Adding the JPA repository of both classes in the project structure:
Project Structure:
AddressRepo:
Java
package com.example.Mapping.Repository;
import com.example.Mapping.Models.Address;
import org.springframework.data.jpa.repository.JpaRepository;
public interface AddressRepo extends JpaRepository<Address, Integer> {
}
|
StudentRepo:
Java
package com.example.Mapping.Repository;
import com.example.Mapping.Models.StudentInformation;
import org.springframework.data.jpa.repository.JpaRepository;
public interface StudentRepo extends JpaRepository<StudentInformation, Integer> {
}
|
Step 6: Executing the information in these tables
MappingApplication:
Java
@SpringBootApplication
public class MappingApplication implements CommandLineRunner {
@Autowired StudentRepo ob;
@Autowired AddressRepo ob1;
public static void main(String[] args)
{
SpringApplication.run(MappingApplication.class, args);
}
@Override
public void run(String... args) throws Exception
{
StudentInformation student = new StudentInformation(1, "Aayush");
ob.save(student);
Address address = new Address(1, "Sonipat", student);
ob1.save(address);
}
}
|
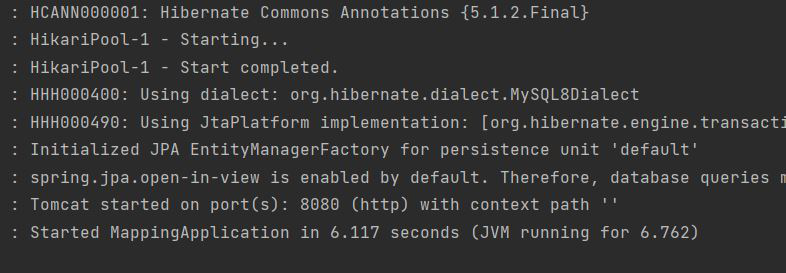
Now run the main application
Terminal Output:
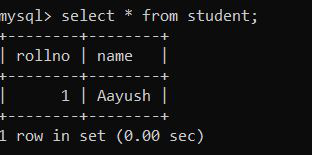
StudentTable:
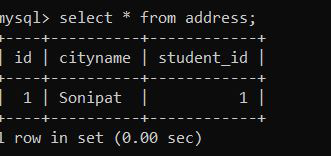
Address.java
Share your thoughts in the comments
Please Login to comment...