Getting the Current ApplicationContext in Spring
Last Updated :
23 Apr, 2024
In Spring Boot, ApplicationContext is the central interface that provides the configuration information to the application. It manages the beans lifecycle and it acts as the container for the holding application components. Sometimes, It is necessary to access the ApplicationContext within the application code to retrieve the beans or access the application-specific resources dynamically of the Spring application.
In this article, we will learn how to get the Current ApplicationContext in Spring by implementing a simple example.
Key Terminologies:
- Bean: The Java object that can managed by the Spring IOC container and these beans are typically Java objects that are initialized, assembled, and otherwise managed by the Spring.
- ApplicationContext: The central interface in the Spring that can provide the configuration information to the application and manage the lifecycle of the beans. It is the IoC container that can be responsible for the instantiating, configuring, and assembling of the beans.
- Bean Factory: The core interface for accessing and managing beans in the Spring and it can provide the more advanced configuration options than the ApplicationContext but lacks some of the features like AOP, event publication and internationalization support.
- Aspect Oriented Programming(AOP): The programming paradigm used to the modularize the cross cutting concerns in the applications. In the Spring, AOP can allows the developers to define the aspects which are the reusable modules that can encapsulates the advice and pointcuts.
Project Implementation of the Getting the Current ApplicationContext in Spring
We can demonstrate the Getting the Current ApplicationContext in Spring Application.
Step 1: First, we will create the Spring project using Spring STS IDE including the below mentioned dependencies into the project.
Dependencies:
- Spring Web
- Lombok
- Spring Dev Tools
After creating the project, the folder structure will look like below.
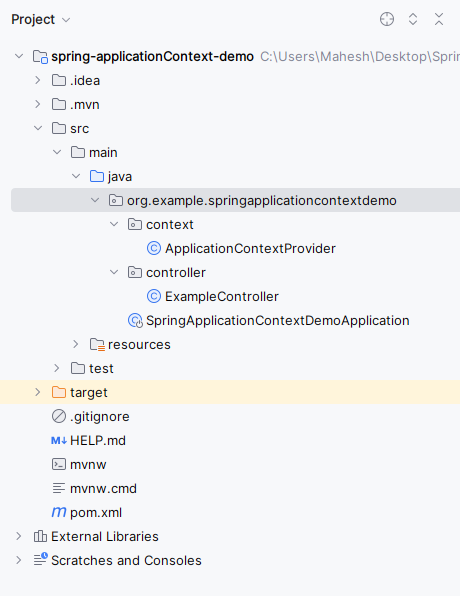
Step 2: Create a new package named as the context, in that same package, create one java class named ApplicationContextProvider.
Go to src > org.example.springapplicationcontextdemo > context > ApplicationContextProvider and put the below code.
ApplicationContextProvider.java:
Java
package org.example.springapplicationcontextdemo.context;

import org.springframework.beans.BeansException;
import org.springframework.context.ApplicationContext;
import org.springframework.context.ApplicationContextAware;
import org.springframework.stereotype.Component;

@Component
public class ApplicationContextProvider implements ApplicationContextAware {

    private static ApplicationContext context;

    // Setter method to inject the ApplicationContext
    @Override
    public void setApplicationContext(ApplicationContext applicationContext) throws BeansException {
        context = applicationContext;
    }

    // Getter method to access the ApplicationContext
    public static ApplicationContext getContext() {
        return context;
    }
}
Step 3: Create a new package named as controller, in that same package, create one more java class named as the ExampleController.
Go to src > org.example.springapplicationcontextdemo > controller > ExampleController and put the below code.
ExampleController.java:
Java
package org.example.springapplicationcontextdemo.controller;

import org.springframework.beans.factory.annotation.Autowired;
import org.springframework.context.ApplicationContext;
import org.springframework.web.bind.annotation.GetMapping;
import org.springframework.web.bind.annotation.RequestMapping;
import org.springframework.web.bind.annotation.RestController;

@RestController
@RequestMapping("/example")
public class ExampleController {

    @Autowired
    private ApplicationContext applicationContext;

    @GetMapping("/context")
    public String getContext() {
        // Accessing the ApplicationContext directly
        return "ApplicationContext: " + applicationContext;
    }
}
Step 4: Open the main class and write the below code.
Java
package org.example.springapplicationcontextdemo;

import org.springframework.boot.SpringApplication;
import org.springframework.boot.autoconfigure.SpringBootApplication;

@SpringBootApplication
public class SpringApplicationContextDemoApplication {

    public static void main(String[] args) {
        SpringApplication.run(SpringApplicationContextDemoApplication.class, args);
    }

}
pom.xml:
XML
<?xml version="1.0" encoding="UTF-8"?>
<project xmlns="http://maven.apache.org/POM/4.0.0" xmlns:xsi="http://www.w3.org/2001/XMLSchema-instance"
         xsi:schemaLocation="http://maven.apache.org/POM/4.0.0 https://maven.apache.org/xsd/maven-4.0.0.xsd">
    <modelVersion>4.0.0</modelVersion>
    <parent>
        <groupId>org.springframework.boot</groupId>
        <artifactId>spring-boot-starter-parent</artifactId>
        <version>3.2.4</version>
        <relativePath/> <!-- lookup parent from repository -->
    </parent>
    <groupId>org.example</groupId>
    <artifactId>spring-applicationContext-demo</artifactId>
    <version>0.0.1-SNAPSHOT</version>
    <name>spring-applicationContext-demo</name>
    <description>spring-applicationContext-demo</description>
    <properties>
        <java.version>17</java.version>
    </properties>
    <dependencies>
        <dependency>
            <groupId>org.springframework.boot</groupId>
            <artifactId>spring-boot-starter-web</artifactId>
        </dependency>

        <dependency>
            <groupId>org.springframework.boot</groupId>
            <artifactId>spring-boot-devtools</artifactId>
            <scope>runtime</scope>
            <optional>true</optional>
        </dependency>
        <dependency>
            <groupId>org.projectlombok</groupId>
            <artifactId>lombok</artifactId>
            <optional>true</optional>
        </dependency>
        <dependency>
            <groupId>org.springframework.boot</groupId>
            <artifactId>spring-boot-starter-test</artifactId>
            <scope>test</scope>
        </dependency>
    </dependencies>

    <build>
        <plugins>
            <plugin>
                <groupId>org.springframework.boot</groupId>
                <artifactId>spring-boot-maven-plugin</artifactId>
                <configuration>
                    <excludes>
                        <exclude>
                            <groupId>org.projectlombok</groupId>
                            <artifactId>lombok</artifactId>
                        </exclude>
                    </excludes>
                </configuration>
            </plugin>
        </plugins>
    </build>

</project>
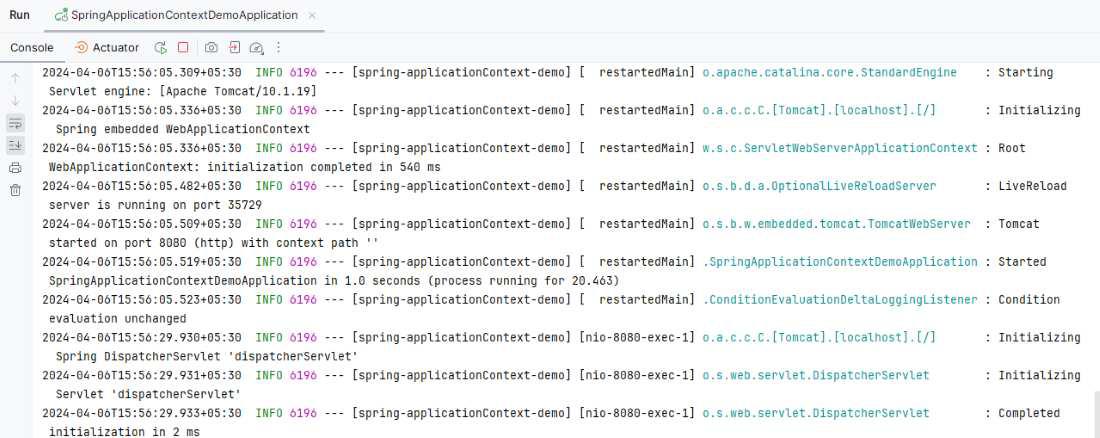
Step 5: Once the project completed, run the application as spring project and if runs successfully, then the runs the application at port 8080. Refer the below image for the better understanding.
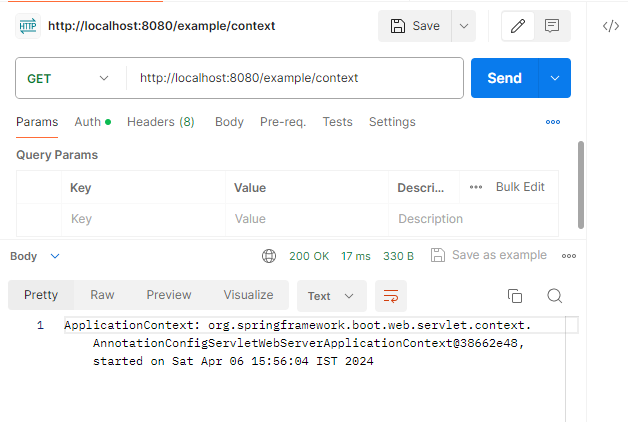
Endpoint:
GET http://localhost:8080/example/context
Output:
Web browser URL Ouput:
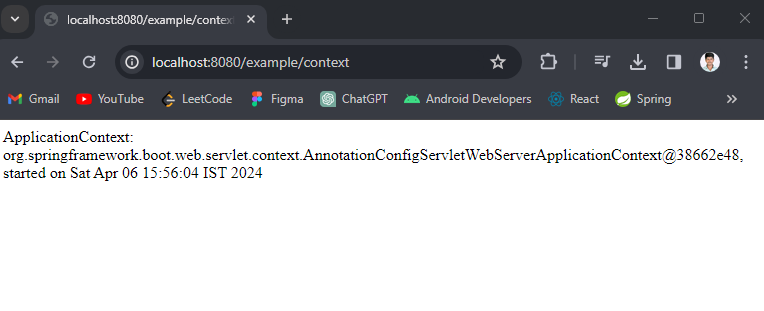
In the above example,
- We have created the simple application that can demonstrate accessing the ApplicationContext directly within the controller method of the Spring application.
- In this approach, we can access the ApplicationContext within the controller and it can perform the operations such as the retrieving the beans or accessing the application specific resource based on the requirements.
Share your thoughts in the comments
Please Login to comment...