Spring – ApplicationContext
Last Updated :
08 Nov, 2023
ApplicationContext belongs to the Spring framework. Spring IoC container is responsible for instantiating, wiring, configuring, and managing the entire life cycle of beans or objects. BeanFactory and ApplicationContext represent the Spring IoC Containers. ApplicationContext is the sub-interface of BeanFactory. It is used when we are creating an enterprise-level application or web application. ApplicationContext is the superset of BeanFactory, whatever features provided by BeanFactory are also provided by ApplicationContext.
ApplicationContext Features
ApplicationContext provides basic features in addition to enterprise-specific functionalities which are as follows:
- Publishing events to registered listeners by resolving property files.
- Methods for accessing application components.
- Supports Internationalization.
- Loading File resources in a generic fashion.
Note: It is because of these additional features, developers prefer to use ApplicationContext over BeanFactory. Spring – BeanFactory : It provides basic functionalities and is recommended for use for lightweight applications like mobile and applets.
ApplicationContext Implementation Classes
There are different types of Application containers provided by Spring for different requirements as listed below which later onwards are described alongside with declaration, at lastly providing an example to get through the implementation part with the pictorial aids. Containers are as follows:
- AnnotationConfigApplicationContext container
- AnnotationConfigWebApplicationContext
- XmlWebApplicationContext
- FileSystemXmlApplicationContext
- ClassPathXmlApplicationContext
Container 1: AnnotationConfigApplicationContext
AnnotationConfigApplicationContext class was introduced in Spring 3.0. It accepts classes annotated with @Configuration, @Component, and JSR-330 compliant classes. The constructor of AnnotationConfigApplicationContext accepts one or more classes. For example, in the below declaration, two Configuration classes Appconfig and AppConfig1 are passed as arguments to the constructor. The beans defined in later classes will override the same type and name beans in earlier classes when passed as arguments. For example, AppConfig and AppConfig1 have the same bean declaration. The bean defined in AppConfig1 overrides the bean in AppConfig.
Syntax: Declaration
ApplicationContext context = new AnnotationConfigApplicationContext(AppConfig.class, AppConfig1.class);
Note: Add the following to the properties file in the IDE to allow the spring to override beans.
spring.main.allow-bean-definition-overriding=true
Container 2: AnnotationConfigWebApplicationContext
AnnotationConfigWebApplicationContext class was introduced in Spring 3.0. It is similar to AnnotationConfigApplicationContext for a web environment. It accepts classes annotated with @Configuration, @Component, and JSR-330 compliant classes. These classes can be registered via register() method or passing base packages to scan() method. This class may be used when we configure ContextLoaderListener servlet listener or a DispatcherServlet in a web.xml. From Spring 3.1, this class can be instantiated and injected to DispatcherServlet using java code by implementing WebApplicationInitializer, an alternative to web.xml.
Example
// Class
// Implementing WebApplicationInitializer
public class MyWebApplicationInitializer implements WebApplicationInitializer {

  // Servlet container

  public void onStartup(ServletContext container) throws ServletException {
    AnnotationConfigWebApplicationContext context = new AnnotationConfigWebApplicationContext();
    context.register(AppConfig.class);
    context.setServletContext(container);

    // Servlet configuration
  }
}
Container 3: XmlWebApplicationContext
Spring MVC Web-based application can be configured completely using XML or Java code. Configuring this container is similar to the AnnotationConfigWebApplicationContext container, which implies we can configure it in web.xml or using java code.
// Class
// Implementing WebApplicationInitializer
public class MyXmlWebApplicationInitializer implements WebApplicationInitializer {

  // Servlet container
  public void onStartup(ServletContext container) throws ServletException {
    XmlWebApplicationContext context = new XmlWebApplicationContext();
    context.setConfigLocation("/WEB-INF/spring/applicationContext.xml");
    context.setServletContext(container);

    // Servlet configuration
  }
}
Container 4: FileSystemXmlApplicationContext
FileSystemXmlApplicationContext is used to load XML-based Spring Configuration files from the file system or from URL. We can get the application context using Java code. It is useful for standalone environments and test harnesses. The following code shows how to create a container and use the XML as metadata information to load the beans.
Illustration:
String path = "Documents/demoProject/src/main/resources/applicationcontext/student-bean-config.xml";

ApplicationContext context = new FileSystemXmlApplicationContext(path);
AccountService accountService = context.getBean("studentService", StudentService.class);
Container 5: ClassPathXmlApplicationContext
FileSystemXmlApplicationContext is used to load XML-based Spring Configuration files from the classpath. We can get the application context using Java code. It is useful for standalone environments and test harnesses. The following code shows how to create a container and use the XML as metadata information to load the beans.
Illustration:
ApplicationContext context = new ClassPathXmlApplicationContext("applicationcontext/student-bean-config.xml");
StudentService studentService = context.getBean("studentService", StudentService.class);
Now, let us implement the same showcasing an example which is as follows:
Implementation:
- Create a Spring Project using Spring Initializer.
- Create Student class under com.gfg.demo.domain
- Similarly, AppConfig class under com.gfg.demo.config packages.
- The main application class at the root contains the creation of a container.
- Lastly, the SpringApplication.run() method is provided by default in the main class when the SpringBoot project is created.
Example
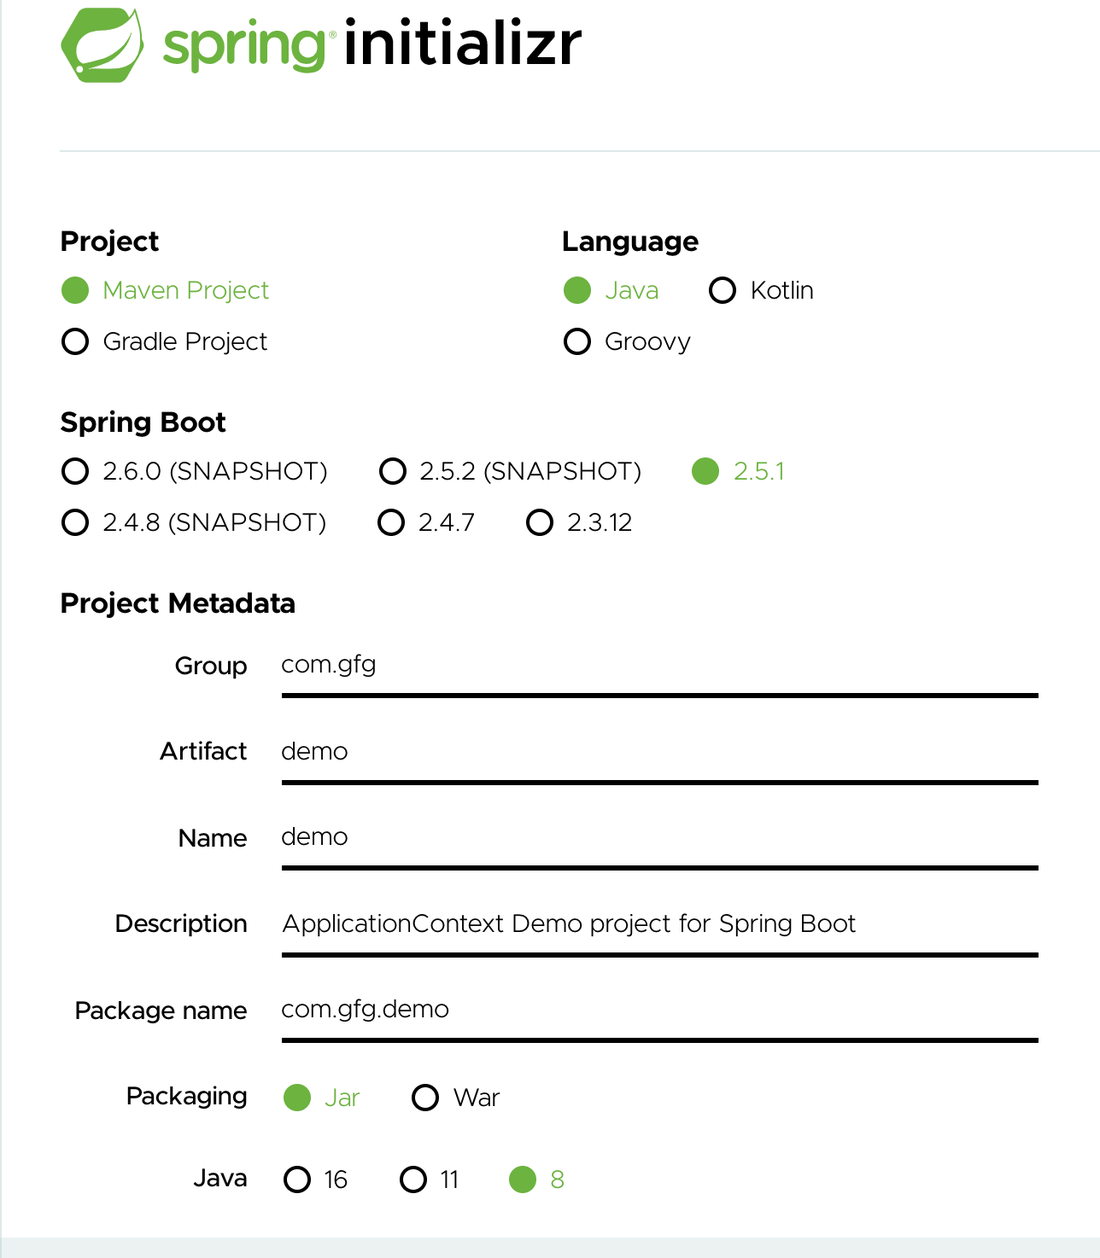
Step 1: Creating a Spring Project using Spring Initializer as pictorially depicted below.
Step 2: Create Student class under com.gfg.demo.domain and AppConfig class under com.gfg.demo.config packages. The AppConfig is the configuration class that contains all the Java beans configured using Java Based Configuration. The Student class is the POJO class.
@Configuration

// Class
public class AppConfig {

  @Bean

  // Method
  public Student student() {

    return new Student(1, "Geek");
  }
}
// Class
public class Student {

  // member variables
  private int id;
  private String name;

  // Constructor 1
  public Student() {}

  // Constructor 2
  public Student(int id, String name) {
    this.id = id;
    this.name = name;
  }

  // Method of this class
  // @Override
  public String toString() {

    return "Student{" + "id=" + id + ", name='" + name + '\'' + '}';
  }
}
Step 3: Now the Main Application class at the root contains the creation of a container.
// Class
// @SpringBootApplication
public class DemoApplication {

  // Main driver method
  public static void main(String[] args) {

    // SpringApplication.run(DemoApplication.class, args);

    // Creating its object
    ApplicationContext context = new AnnotationConfigApplicationContext(AppConfig.class);
    Student student = context.getBean(Student.class);

    // Print and display
    System.out.println(student);
  }
}
Step 4: The SpringApplication.run() method is provided by default in the main class when the SpringBoot project is created. It creates the container, creates beans, manages dependency injection and life cycle of those beans. This is done using @SpringBootApplication annotation.
// Main driver method
public static void main(String[] args) {

  ApplicationContext context = SpringApplication.run(DemoApplication.class, args);

  Student student = context.getBean(Student.class);

  // Print and display
  System.out.println(student);
}
Like Article
Suggest improvement
Share your thoughts in the comments
Please Login to comment...