Content Projection in Angular
Last Updated :
01 Apr, 2024
Content Projection, also known as “Transclusion” in Angular, is a powerful feature that allows you to pass content from a parent component to a child component. This technique enhances the reusability and flexibility of your components by separating the concerns of content and presentation.
Prerequisites:
What is Content Projection?
Content Projection in Angular refers to the process of projecting or inserting content from a parent component into a designated area within a child component’s template. This is achieved by using the <ng-content> element in the child component’s template, which acts as a placeholder for the content to be projected.
Why Use Content Projection
- To create reusable and flexible components that can be customized with different content
- To separate the concerns of content and presentation, promoting better component composition
- To enable parent components to pass content to child components, enhancing component communication
- To build more modular and maintainable user interfaces by using content projection techniques
Features of Content Projection
- Customizable Components: Content projection allows you to create components that can be customized with different content.
- Multiple Content Slots: Just like a piece of furniture with different compartments or shelves, content projection lets you define multiple slots or placeholders in your component’s template. You can then project different content into each slot, making your components more versatile and organized.
- Conditional Rendering: With content projection, you can conditionally show or hide projected content based on certain conditions or user actions.
- Separation of Concerns: Content projection helps you separate the concerns of content and presentation. Your component can focus on how the content is displayed, while the parent component decides what content to pass in.
- Reusability: By using content projection, you can create highly reusable components that can be used in multiple places throughout your application with different content.
Steps to create Angular Application:
Step 1: Create a new Angular project
Open your terminal or command prompt and run the following command to create a new Angular project:
ng new content-projection-demo
Step 2: Once the project setup is complete, navigate to the project directory:
cd content-projection-demo
Step 3: Start the application using the following commands.
ng serve
Dependencies:
 "dependencies": {
    "@angular/animations": "^17.3.0",
    "@angular/common": "^17.3.0",
    "@angular/compiler": "^17.3.0",
    "@angular/core": "^17.3.0",
    "@angular/forms": "^17.3.0",
    "@angular/platform-browser": "^17.3.0",
    "@angular/platform-browser-dynamic": "^17.3.0",
    "@angular/router": "^17.3.0",
    "rxjs": "~7.8.0",
    "tslib": "^2.3.0",
    "zone.js": "~0.14.3"
  }
Types of Content Projection
1. Single Slot Content Projection
Single Slot Content Projection is the most basic form of content projection, where a single piece of content is projected into the child component’s template.
Generate a new component for single slot content projection:
ng generate component single-slot
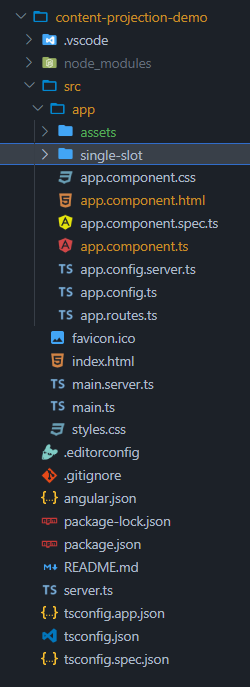
Project strucutre after adding single-slot component
Example: In this example there is implementation of single slot component.
HTML
<!-- single-slot.component.html -->

<div>
    <h2>Single Slot Content Projection</h2>
    <ng-content></ng-content>
</div>
<!-- app.component.html -->

<app-single-slot>
    <p>This content will be projected into the single-slot component.</p>
</app-single-slot>
Output:
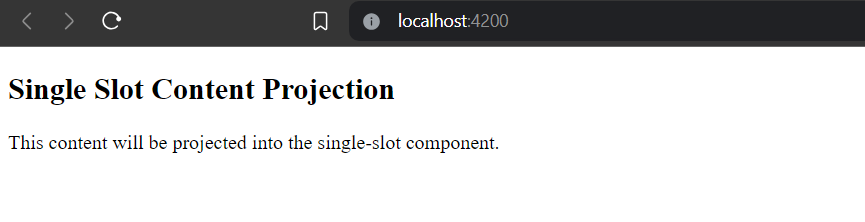
Single Slot Projection output
2. Multi-Slot Content Projection
Multi-slot content projection, also known as named content projection, is an advanced technique in Angular for passing content from a parent component into a child component through multiple placeholders within the child component’s template.
Generate a new component for multi-slot content projection:
ng generate component multi-slot
Folder Structure:

project structure after adding multi-slot component
Example:
HTML
<!-- multi-slot.component.html  -->

<div>
    <h2>Multi-Slot Content Projection</h2>
    <div>
        <ng-content select="[header]"></ng-content>
    </div>
    <div>
        <ng-content select="[content]"></ng-content>
    </div>
    <div>
        <ng-content select="[footer]"></ng-content>
    </div>
</div>
<!-- app.component.html -->

<app-multi-slot>
    <div header>Header Content</div>
    <div content>Main Content</div>
    <div footer>Footer Content</div>
</app-multi-slot>
Output:
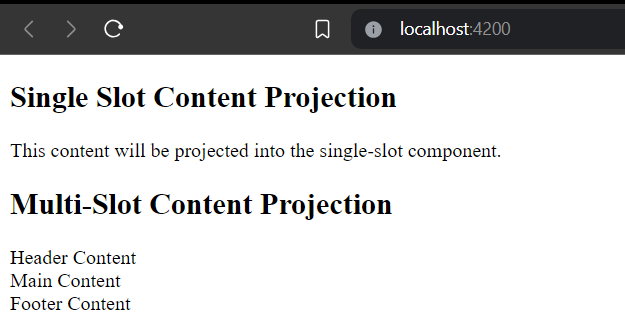
Multi-Slot-Projection Output
3. Conditional Content Projection
Components that use conditional content projection render content only when specific conditions are met. This technique allows for dynamic rendering of content within a component, providing flexibility and customization options. Conditional content projection can be achieved using Angular’s built-in directives, such as ngIf, combined with content projection mechanisms.
Generate a new component for conditional content projection:
ng generate component conditional-content
Folder Structure:
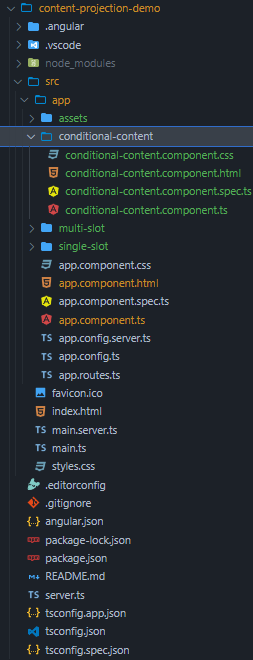
project structure after adding conditional-content component
Example:
HTML
<!-- app.component.html -->

<app-conditional-content>
    <div true-content>This content will be displayed when showContent is true.</div>
    <div false-content>This content will be displayed when showContent is false.</div>
</app-conditional-content>
<!-- conditional-content.component.html -->

<div>
    <h2>Conditional Content Projection</h2>
    <ng-container *ngIf="showContent; else elseBlock">
        <ng-content select="[true-content]"></ng-content>
    </ng-container>
    <ng-template #elseBlock>
        <ng-content select="[false-content]"></ng-content>
    </ng-template>
</div>
// conditional-content.component.ts

import { Component } from '@angular/core';

@Component({
    selector: 'app-conditional-content',
    templateUrl: './conditional-content.component.html',
    styleUrls: ['./conditional-content.component.css']
})
export class ConditionalContentComponent {
    showContent = true;
}
Output:
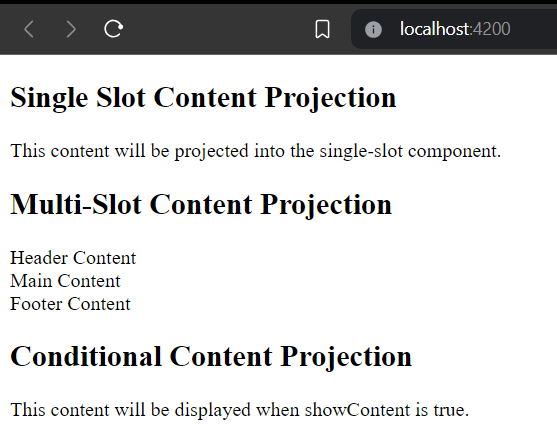
Conditional Content Projection
Share your thoughts in the comments
Please Login to comment...