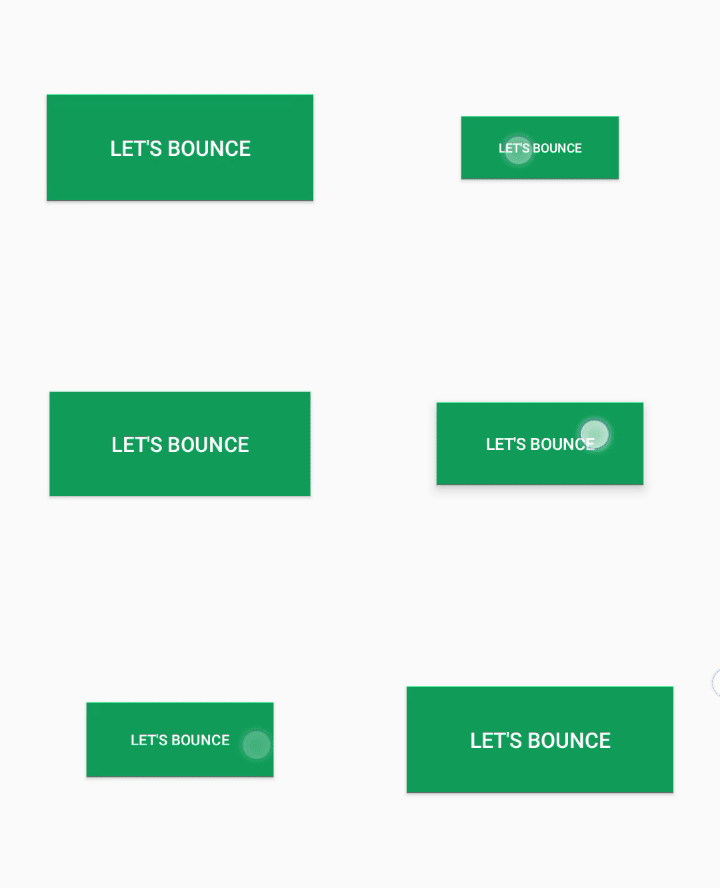
Bounce Animation in Android
Last Updated :
23 Feb, 2021
To make the android app more attractive we add many things and animation is one of the best things which makes the app more attractive and engages the user with the app. So in this article, we will add a bounce animation to the Button. One can use this tutorial to add Bounce animation to any View in android studio such as ImageView, TextView, EditText, etc. A sample GIF is given below to get an idea about what we are going to do in this article.

Steps for Creating Bounce Animation
Step 1: Creating a New Project
To create a new project in Android Studio please refer to How to Create/Start a New Project in Android Studio. Note that choose Java as language though we are going to implement this project in Java language.
Step 2: Designing the UI
- Go to the app -> res right click on res folder then New -> Android Resource Directory and create an anim Directory.
- Then right-click on anim folder then go to New -> Animation Resource File and create a bounce.xml file.
- bounce.xml file contains the animation which is used to animate the Button in the next step. The complete code for bounce.xml is given below.
bounce.xml
<?xml version="1.0" encoding="utf-8"?>
<set
android:fillAfter="true"
android:interpolator="@android:anim/bounce_interpolator">
<scale
android:pivotX="50%"
android:pivotY="50%"
android:fromXScale="0.5"
android:toXScale="1.0"
android:fromYScale="0.5"
android:toYScale="1.0"
android:duration="500"/>
</set>
|
- Now Go to the app -> res -> layout -> activity_main.xml file and add a simple Button, which we want to animate. Here is the code for the activity_main.xml file.
activity_main.xml
<?xml version="1.0" encoding="utf-8"?>
<RelativeLayout
android:layout_width="match_parent"
android:layout_height="match_parent"
tools:context=".MainActivity">
<Button
android:id="@+id/button"
android:layout_centerInParent="true"
android:background="@color/colorPrimary"
android:textColor="#ffffff"
android:text="Let's Bounce"
android:layout_width="200dp"
android:layout_height="80dp"/>
</RelativeLayout>
|
Step 3: Working with MainActivity.java file
- Open the MainActivity.java call and inside the onCreate() method get the animation from the anim folder.
// loading Animation from
final Animation animation = AnimationUtils.loadAnimation(this,R.anim.bounce);
- Get the reference of the Button which we created in the activity_main.xml file
// getting the Button from activity_main.xml file
final Button button= findViewById(R.id.button);
- Create an OnClickListener for the Button and startAnimation inside onClick().
// clickListener for Button
button.setOnClickListener(new View.OnClickListener() {
@Override
public void onClick(View view) {
// start the animation
button.startAnimation(animation);
}
});
- The complete code for the MainActivity.java file is given below.
MainActivity.java
import android.os.Bundle;
import android.view.View;
import android.view.animation.Animation;
import android.view.animation.AnimationUtils;
import android.widget.Button;
import androidx.appcompat.app.AppCompatActivity;
public class MainActivity extends AppCompatActivity {
@Override
protected void onCreate(Bundle savedInstanceState) {
super.onCreate(savedInstanceState);
setContentView(R.layout.activity_main);
final Animation animation = AnimationUtils.loadAnimation(this, R.anim.bounce);
final Button button = findViewById(R.id.button);
button.setOnClickListener(new View.OnClickListener() {
@Override
public void onClick(View view) {
button.startAnimation(animation);
}
});
}
}
|
Output: Run on Emulator
Resources:
Share your thoughts in the comments
Please Login to comment...