Android ViewPager in Kotlin
Last Updated :
21 Apr, 2021
ViewPager allows the users to swipe left or right through the pages containing data or see an entirely new screen. You can find this feature in all most many social media apps. WhatsApp also shows users three tabs in their app when it is opened: chats, status, and calls. It would be exciting to learn this feature as we have seen the real-world applications of this feature. It is also used to help the user to know about the app and its features while installing the app for the first time. We will be using TabLayout as an example for applying the ViewPager concept in the app. After reading this article, it would be easy for you to apply this feature in any app.
Brief Go Through
We will start by adding the TabLayout and ViewPager in the activity_main.xml. After doing this, we will add three blank fragments to the app. We will change the text as per our needs in all the three XML files of the fragments. Now, we will create PageAdapter.kt class in which we have to work with three functions getCount(), getItem() and getPageTitle(). Finally, we just need to call the Adapter and the TabLayout. A sample gif is given below to get practical knowledge about the idea that we are implementing.

Important Functions used in the Page Adapter
- getCount() – Returns the number of fragments to show.
- getItem() – Returns the fragment at the position index.
- getPageTitle – Returns the title given to the page(in our case, the title which is given to each page like tab1, tab2, tab3)
Step by Step Implementation
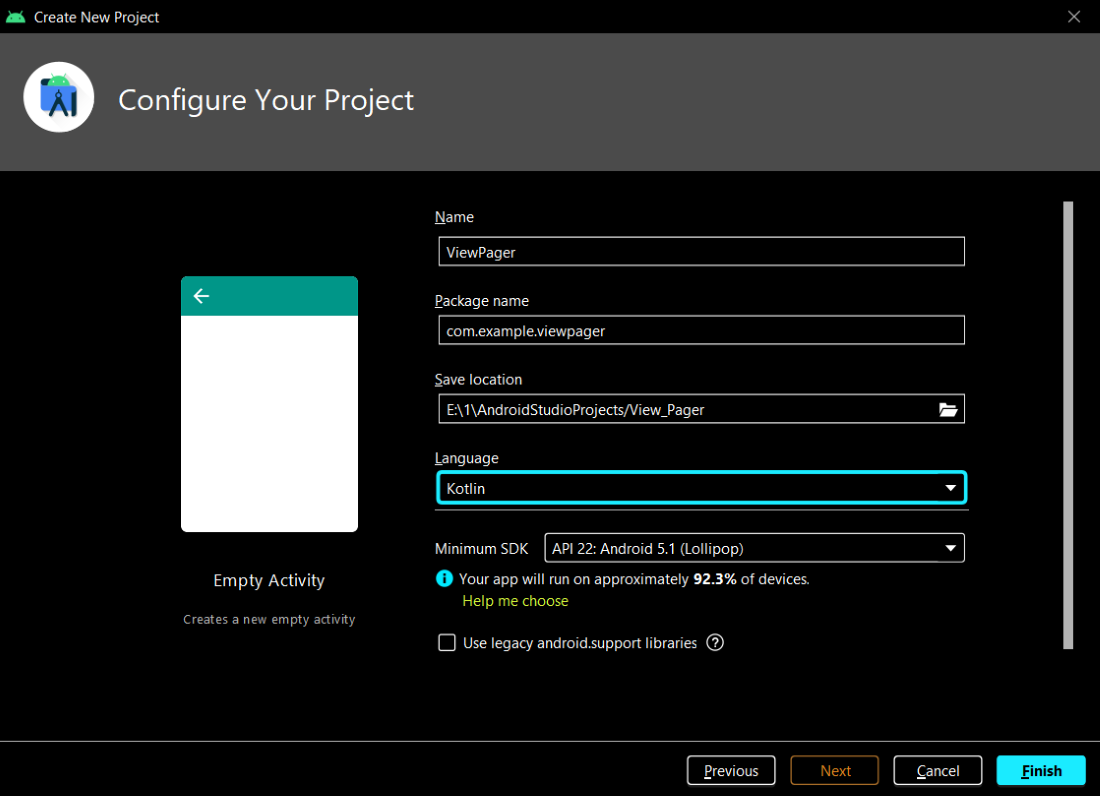
Step 1: Create a project with the Empty Activity
To create a new project in Android Studio please refer to How to Create/Start a New Project in Android Studio. Make sure you have chosen Kotlin as the language while creating the project.
Step 2: Working with the activity_main.xml file
Navigate to the app > res > layout > activity_main.xml and add the below code to that file. Below is the code for the activity_main.xml file. Here we have just added the TabLayout and ViewPager.
XML
<?xml version="1.0" encoding="utf-8"?>
<androidx.constraintlayout.widget.ConstraintLayout
android:layout_width="match_parent"
android:layout_height="match_parent"
tools:context=".MainActivity">
<com.google.android.material.tabs.TabLayout
android:id="@+id/tabLayout"
android:layout_width="409dp"
android:layout_height="wrap_content"
android:layout_marginTop="1dp"
android:layout_marginBottom="1dp"
app:layout_constraintBottom_toTopOf="@+id/viewPager"
app:layout_constraintEnd_toEndOf="parent"
app:layout_constraintStart_toStartOf="parent"
app:layout_constraintTop_toTopOf="parent" >
</com.google.android.material.tabs.TabLayout>
<androidx.viewpager.widget.ViewPager
android:id="@+id/viewPager"
android:layout_width="0dp"
android:layout_height="0dp"
android:layout_marginStart="1dp"
android:layout_marginEnd="1dp"
android:layout_marginBottom="1dp"
app:layout_constraintBottom_toBottomOf="parent"
app:layout_constraintEnd_toEndOf="parent"
app:layout_constraintStart_toStartOf="parent"
app:layout_constraintTop_toBottomOf="@+id/tabLayout" />
</androidx.constraintlayout.widget.ConstraintLayout>
|
Step 3: Adding the blank fragments
This is the path to create a blank fragment in Android Studio.
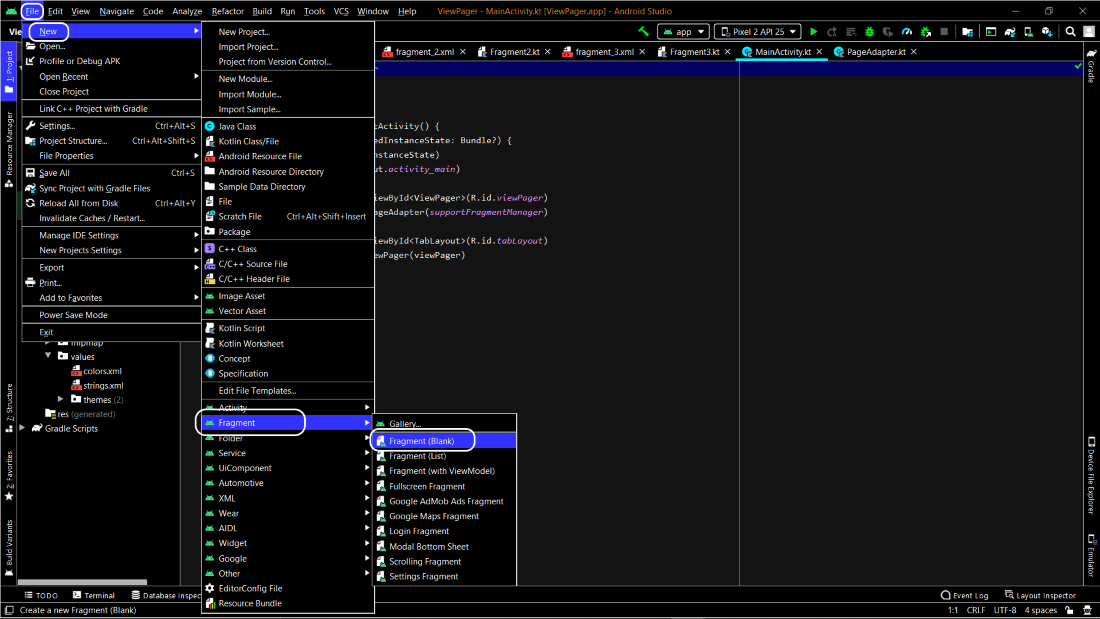
After clicking on the Blank Fragment, name the fragment and click on finish. Make three fragments in total.
Step 4: Working with the XML files of fragments
In each fragment, we have changed the text and added the basic things to our XML file like textColor, textSize, etc.
Fragment 1
XML
<?xml version="1.0" encoding="utf-8"?>
<FrameLayout
android:layout_width="match_parent"
android:layout_height="match_parent"
tools:context=".Fragment1">
<TextView
android:layout_width="match_parent"
android:layout_height="match_parent"
android:textColor="@color/green"
android:textSize="50dp"
android:text="GFG 1" />
</FrameLayout>
|
Fragment 2
XML
<?xml version="1.0" encoding="utf-8"?>
<FrameLayout
android:layout_width="match_parent"
android:layout_height="match_parent"
tools:context=".Fragment2">
<TextView
android:layout_width="match_parent"
android:layout_height="match_parent"
android:textColor="@color/green"
android:textSize="50dp"
android:text="GFG 2" />
</FrameLayout>
|
Fragment 3
XML
<?xml version="1.0" encoding="utf-8"?>
<FrameLayout
android:layout_width="match_parent"
android:layout_height="match_parent"
tools:context=".Fragment3">
<TextView
android:layout_width="match_parent"
android:layout_height="match_parent"
android:textColor="@color/green"
android:textSize="50dp"
android:text="GFG 3" />
</FrameLayout>
|
Step 5: Adding a Page Adapter
Kotlin
import androidx.fragment.app.Fragment
import androidx.fragment.app.FragmentManager
import androidx.fragment.app.FragmentPagerAdapter
class PageAdapter(fm:FragmentManager) : FragmentPagerAdapter(fm) {
override fun getCount(): Int {
return 3;
}
override fun getItem(position: Int): Fragment {
when(position) {
0 -> {
return Fragment1()
}
1 -> {
return Fragment2()
}
2 -> {
return Fragment3()
}
else -> {
return Fragment1()
}
}
}
override fun getPageTitle(position: Int): CharSequence? {
when(position) {
0 -> {
return "Tab 1"
}
1 -> {
return "Tab 2"
}
2 -> {
return "Tab 3"
}
}
return super.getPageTitle(position)
}
}
|
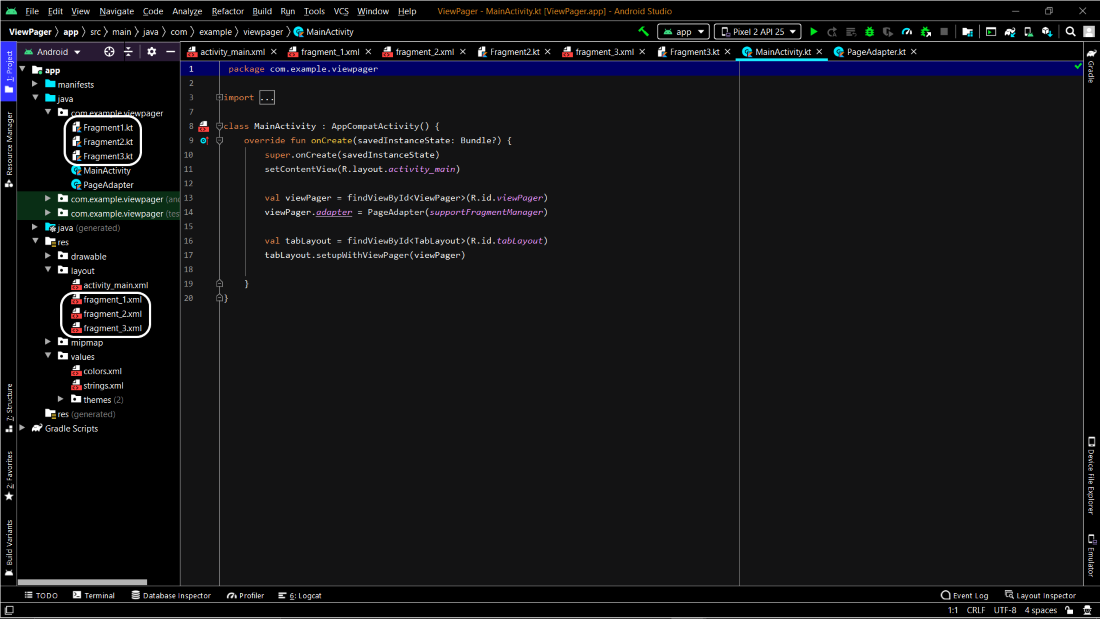
Step 6: Working with MainActivity.kt
Go to the MainActivity.kt file and refer to the following code. Below is the code for the MainActivity.kt file. Comments are added inside the code to understand the code in more detail.
Kotlin
import androidx.appcompat.app.AppCompatActivity
import android.os.Bundle
import androidx.viewpager.widget.ViewPager
import com.google.android.material.tabs.TabLayout
class MainActivity : AppCompatActivity() {
override fun onCreate(savedInstanceState: Bundle?) {
super.onCreate(savedInstanceState)
setContentView(R.layout.activity_main)
val viewPager = findViewById<ViewPager>(R.id.viewPager)
viewPager.adapter = PageAdapter(supportFragmentManager)
val tabLayout = findViewById<TabLayout>(R.id.tabLayout)
tabLayout.setupWithViewPager(viewPager)
}
}
|
Output:
You can also try to do use this concept to make a similar thing in java. Click here to get the article.
Share your thoughts in the comments
Please Login to comment...