Amazon RDS – Deleting a DB Snapshot
Last Updated :
27 Mar, 2023
As we all are aware of this new branch of cloud computing in the information technology(IT) sector. AWS or Amazon Web Services is one of the leading companies in this domain. AWS basically provides users on-demand cloud computing platforms to individuals, companies, and governments, on a paid subscription basis. There are unlimited resources available for the clients based on their run time demands. The best thing about this platform is that, the user has the maximum liberty.
For more detailed information about AWS and its architecture read here.
What is Amazon RDS?
Amazon RDS or Amazon Relational Database Service makes it easier to set up, operate, and scale a relational database in the cloud. It is nothing but a standard database along with some extra versatility due to the flexible architecture of the cloud.
It provides cost-efficient and resizable capacity while automating time-consuming administration tasks such as hardware provisioning, database setup, patching, and backups. It frees you to focus on your applications so you can give them the fast performance, high availability, security, and compatibility they need.
Now, let’s head towards the process of Deleting a DB Snapshot
What is a DB Snapshot?
A database snapshot is an automated read-only type backup of database instance securely saved in amazon S3 for a user-specified period of time or by default it stays in the memory for 7 days.
Let’s look at the step-by-step procedure of deleting a DB Snapshot.
This article is directly jumping to the concept of deletion of snapshots, assuming that you already have databases created on your AWS account.
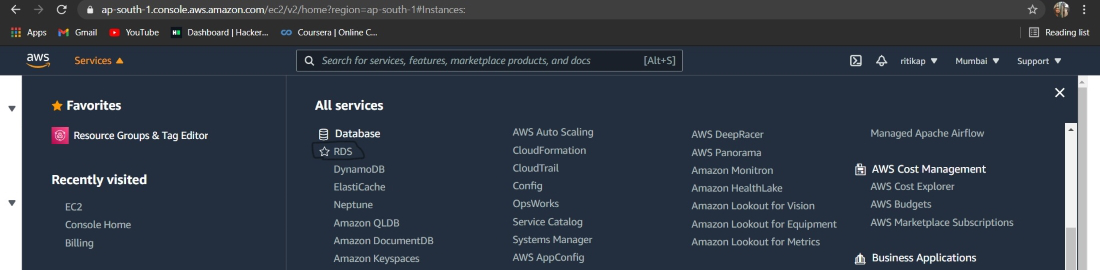
Step 1: First login to your account on the AWS (Amazon Web Service), as your main screen appears, then you have to go to the services section, and at the bottom, there is an option of the database, here we have the RDS amazon relation database services and then click on the RDS.
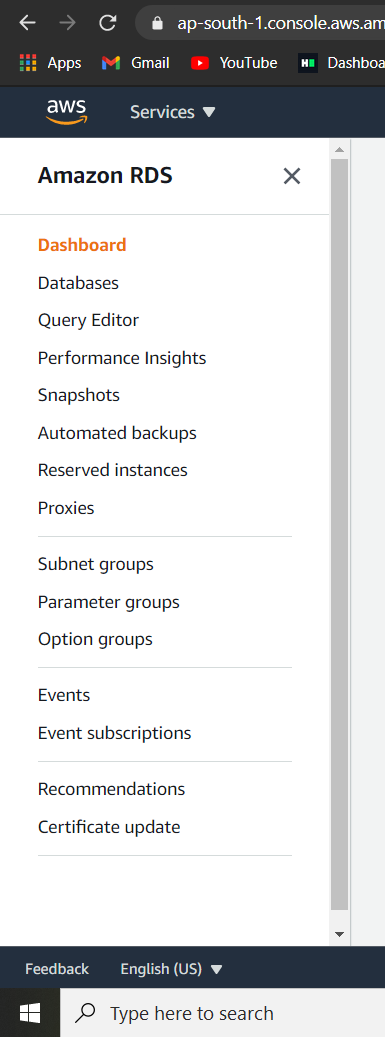
Step 2: Once the next page is loaded you’ll see a list of options on the left as follows. Click on snapshots.
NOTE: Our ultimate goal is to delete but we need to understand the difference between deleting a snapshot and an instance.
There are major two differences between deleting a snapshot and an instance.
1. We can delete multiple snapshots at a time by selecting them all together but multiple instances cannot be deleted like this. Each instance is deleted one by one.
2. While deleting an instance at the last step it asks the user whether to create the final snapshot or not? But while deleting a snapshot no such issue occurs. Thus, for deleting the final snapshot you need to delete the database and give permission to create the final snapshot.
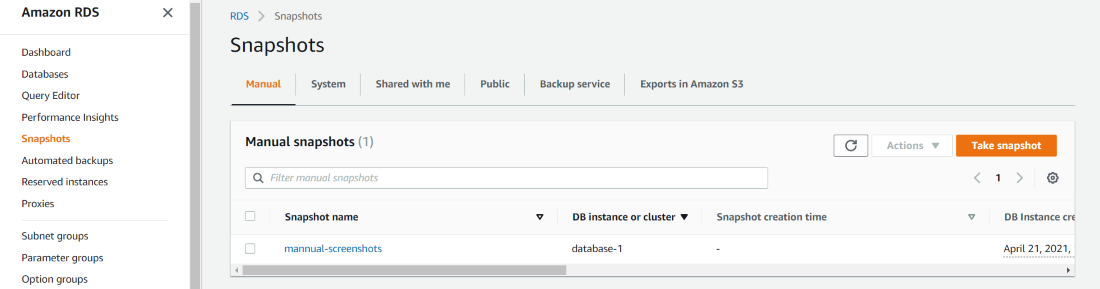
Step 3: After clicking on snapshot an array of snapshots along with their names and other details are visible on the screen. Please refer to the image attached ahead.
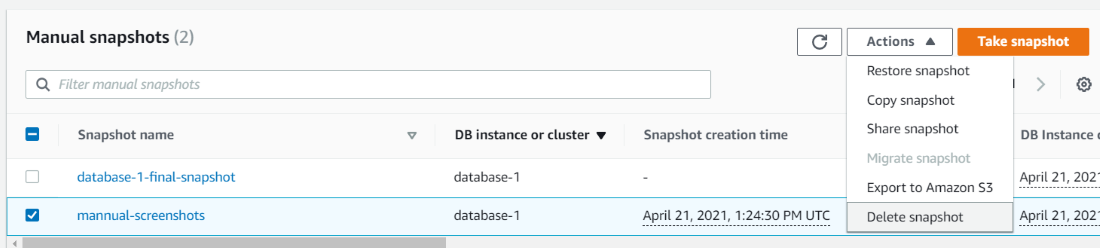
Step 4: Now, select the snapshot you want to delete and click on actions. From the drop-down list select “Delete Snapshot” option. Take reference from the image attached ahead.
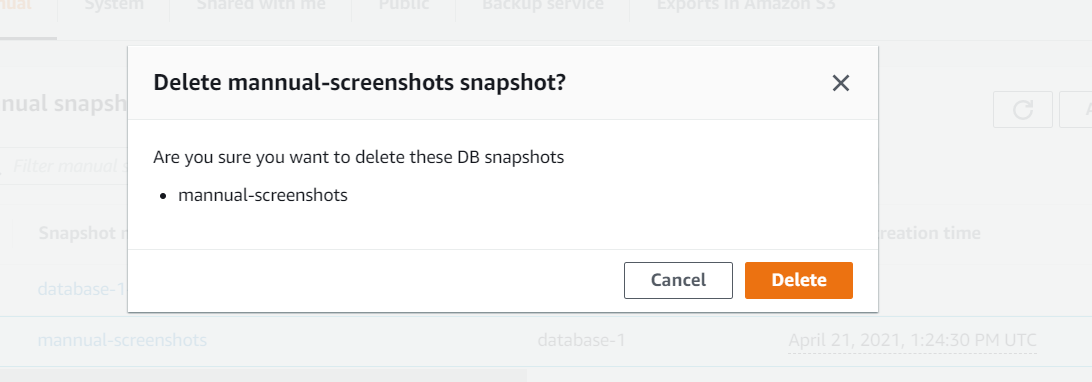
Step 5: Wait for the next page to be loaded. Once loading is completed select delete option again. Please refer to the image for better understanding.
Step 6: Your desired snapshot has been deleted. You can go back and verify whether it’s present or not.
It may take a while in deleting the snapshot, depending upon the network and other simultaneously running processes on the cloud at that particular frame of time.
Share your thoughts in the comments
Please Login to comment...