BeanDefinitionOverrideException in Spring Boot
Last Updated :
29 Apr, 2024
The BeanDefinitionOverrideException is a type of exception in Spring Boot. This occurs in Spring Boot when we try to override a bean definition that already exists in our application. If we have two beans with the same name, Spring throws an exception to prevent developers from overriding the existing bean. If we want to override a bean, we need to write the allow-bean-definition-overriding property to true in our application.properties file. This allows us to override a bean in a Spring application.
In this article, we explain how to troubleshoot the BeanDefinitionOverrideException in Spring Boot with sample examples.
Reasons for BeanDefinitionOverrideException:
- We have multiple configuration classes and are defining beans with the same name.
- We have a bean with the same name in our code and an external library.
- We accidentally redefine the same bean name in our Spring application context.
Troubleshooting BeanDefinitionOverrideException:
- Use different bean names in the application context
- Avoid Unintended Bean Scans
- Use Conditional Annotations
- Enable Bean Overriding
- Use stereotype annotations
- Use the @Autowired annotation to inject beans into your classes then It will help spring to resolve bean dependency.
- Use @Qualifier annotation to specify the name of the bean that you want to inject.
Prerequisites:
- Spring Framework
- Spring Auto Configuration
- Beans in Spring
- Spring Annotations
- Spring Dependency Management System
Project Folder Structure:
After creating the Spring Boot Project, the folder structure will look like below:

Example For BeanDefinitionOverrideException in Spring Boot
Below, we provide a sample example to demonstrate the BeanDefinitionOverrideException in Spring Boot when we use two beans with the same names. Here, we created two configuration classes and defined two beans in those classes with the same name. Then, we run the Spring Application, and we encounter this BeanDefinitionOverrideException.
BeanOne.java
Java
package com.app;

import org.springframework.context.annotation.Bean;
import org.springframework.context.annotation.Configuration;

@Configuration
public class BeanOne {
    @Bean
    public String sampleBean() {
        return "This is Bean One";
    }
}
BeanTwo.java
Java
package com.app;

import org.springframework.context.annotation.Bean;
import org.springframework.context.annotation.Configuration;

@Configuration
public class BeanTwo {
    @Bean
    public String sampleBean() {
        return "This is Bean Two";
    }
}
Log File:
Now we need to write the allow-bean-definition-overriding property to true in our application.properties file.

Fixing the BeanDefinitionOverrideException
To fix this BeanDefinitionOverrideException in Spring Boot, we need to change the bean names in any of them. As you can see in the code above, there are two configuration classes with the same bean names. Now we change the bean name in the BeanTwo configuration class. Then this BeanDefinitionOverrideException disappears.
BeanOne.java
Java
package com.app;

import org.springframework.context.annotation.Bean;
import org.springframework.context.annotation.Configuration;

@Configuration
public class BeanOne {
    @Bean
    public String sampleBean() {
        return "This is Bean One";
    }
}
BeanTwo.java
Java
package com.app;

import org.springframework.context.annotation.Bean;
import org.springframework.context.annotation.Configuration;

@Configuration
public class BeanTwo {
    @Bean
    public String secondBean() {
        return "This is Bean Two";
    }
}
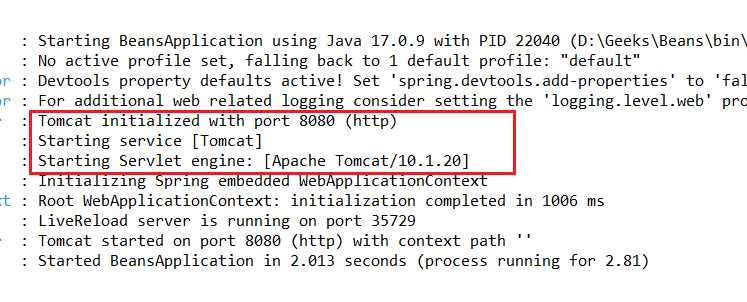
Output:
Now we run this Spring application. If there are no exceptions, then this application runs on server 8080 by default with the help of the Tomcat Apache server.
Share your thoughts in the comments
Please Login to comment...