Python | Database management in PostgreSQL
Last Updated :
28 Nov, 2022
PostgreSQL is an open source object-relational database management system. It is well known for its reliability, robustness, and performance. PostgreSQL has a variety of libraries of API (Application programmable interface) that are available for a variety of popular programming languages such as Python. It provides a lot of features for Database management such as Views, Triggers, Indexes (using B-Trees), etc.
There are several python modules that allow us to connect to and manipulate the database using PostgreSQL:
- Psycopg2
- pg8000
- py-postgresql
- PyGreSQL
Psycopg2 is one of the most popular python drivers for PostgreSQL. It is actively maintained and provides support for different versions of python. It also provides support for Threads and can be used in multithreaded applications. For these reasons, it is a popular choice for developers.
In this article, we shall explore the features of PostgreSQl using psycopg2 by building a simple database management system in python.
Installation:
sudo pip3 install psycopg2
Note: if you are using Python2, use pip install instead of pip3
Once psycopg has been installed in your system, we can connect to the database and execute queries in Python.
Creating the database
before we can access the database in python, we need to create the database in postgresql. To create the database, follow the steps given below:
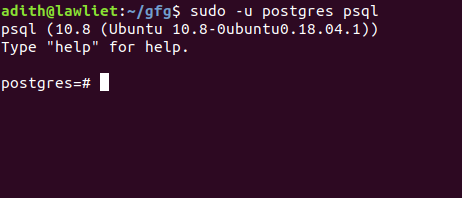
- Log in to PostgreSQL:
sudo -u postgres psql
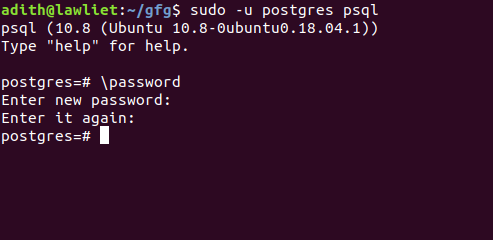
- Configure the password:
\password
You will then be prompted to enter the password. remember this as we will use it to connect to the database in Python.
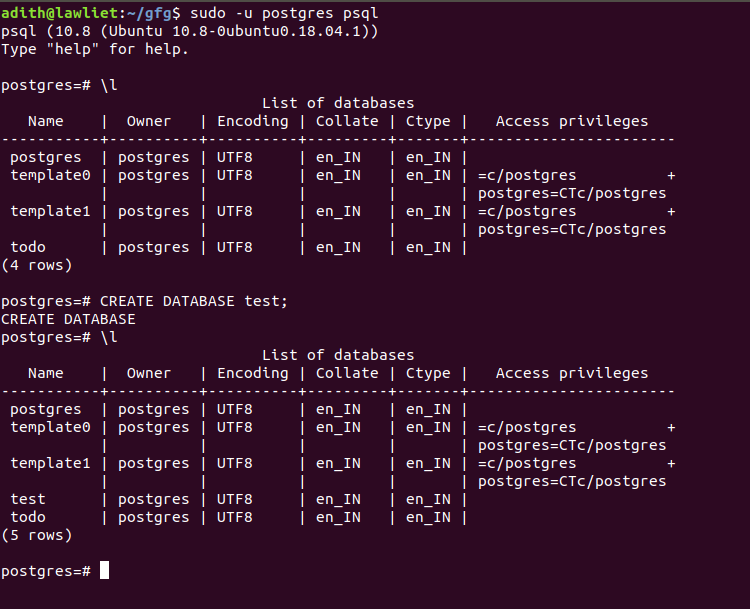
- Create a database called “test”. we will connect to this database.
CREATE DATABASE test;
Once the database and password have been configured, exit the psql server.
Connecting to the database
The connect() method is used to establish connection with the database. It takes 5 parameters:
- database: The name of the database you are connecting to
- user: the username of your local system
- password: the password to log in to psql
- host: The host, which is set to localhost by default
- port: The port number which is 5432 by default
conn = psycopg2.connect(
            database="test",
            user = "adith",
            password = "password",
            host = "localhost",
            port = "5432")
Once the connection has been established, we can manipulate the database in python.
The Cursor object is used to execute sql queries. we can create a cursor object using the connecting object (conn)
cur = conn.cursor()
Using this object, we can make changes to the database that we are connected to.
After you have executed all the queries, we need to disconnect from the connection. Not disconnecting will not cause any errors but it is generally considered a good practice to disconnect.
conn.close()
Executing queries
The execute() method takes in one parameter, the SQL query to be executed. The SQL query is taken in the form of a string that contains the SQL statement.
cur.execute("SELECT * FROM emp")
Fetching the data
Once the query has been executed, the results of the query can be obtained using the fetchall() method. This method takes no parameters and returns the result of select queries.
res = cur.fetchall()
The result of the query is stored in the res variable.
Putting it all together
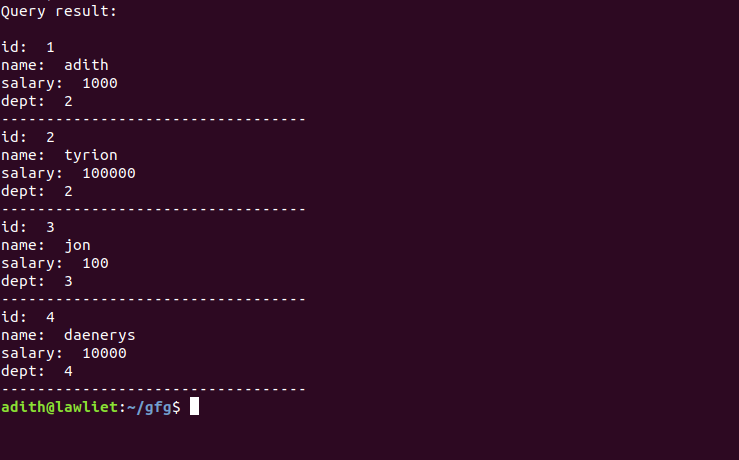
Once we have created the database in PostgreSQL, we can access that database in python. We first create an emp table in the database called test with the schema: (id INTEGER PRIMARY KEY, name VARCHAR(10), salary INT, dept INT). Once the table is created without any errors, we insert values into the table.
Once the values are inserted, we can query the table to select all the rows and display them to the user using the fetchall() function.
import psycopg2
def connect():
try:
conn = psycopg2.connect(database ="test",
user = "adith",
password = "password",
host = "localhost",
port = "5432")
cur = conn.cursor()
except (Exception, psycopg2.DatabaseError) as error:
print ("Error while creating PostgreSQL table", error)
return conn, cur
def create_table():
conn, cur = connect()
try:
cur.execute('CREATE TABLE emp (id INT PRIMARY KEY, name VARCHAR(10),
salary INT, dept INT)')
except:
print('error')
conn.commit()
def insert_data(id = 1, name = '', salary = 1000, dept = 1):
conn, cur = connect()
try:
cur.execute('INSERT INTO emp VALUES(%s, %s, %s, %s)',
(id, name, salary, dept))
except Exception as e:
print('error', e)
conn.commit()
def fetch_data():
conn, cur = connect()
try:
cur.execute('SELECT * FROM emp')
except:
print('error !')
data = cur.fetchall()
return data
def print_data(data):
print('Query result: ')
print()
for row in data:
print('id: ', row[0])
print('name: ', row[1])
print('salary: ', row[2])
print('dept: ', row[3])
print('----------------------------------')
def delete_table():
conn, cur = connect()
try:
cur.execute('DROP TABLE emp')
except Exception as e:
print('error', e)
conn.commit()
if __name__ == '__main__':
create_table()
insert_data(1, 'adith', 1000, 2)
insert_data(2, 'tyrion', 100000, 2)
insert_data(3, 'jon', 100, 3)
insert_data(4, 'daenerys', 10000, 4)
data = fetch_data()
print_data(data)
delete_table()
|
Output :
Share your thoughts in the comments
Please Login to comment...