Power BI – Excel Integration
Last Updated :
05 Feb, 2023
Power BI and Excel Integration use to make connections between Power BI Files and Excel Files. If the user wants to see data of Power BI in excel files then he can analyze and see this data in excel.
Following are steps to perform Integration of Power BI with Excel:
Step 1: Open the Power BI Workspace and select create data. Next Click to Paste or manually enter.
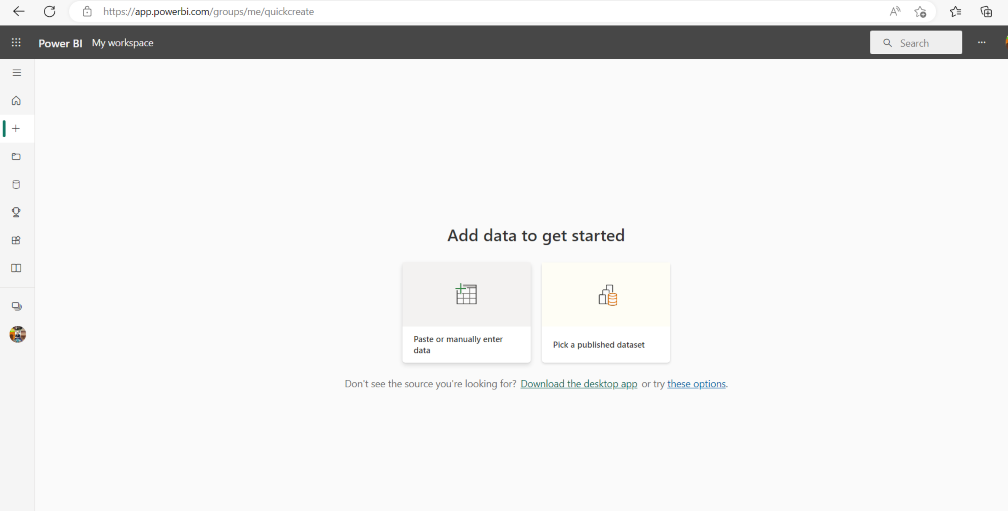
Figure-01 : Create data
Step 2: It will show the following Interface. now enter data in rows in columns respectively whatever you want and Click to create a report.
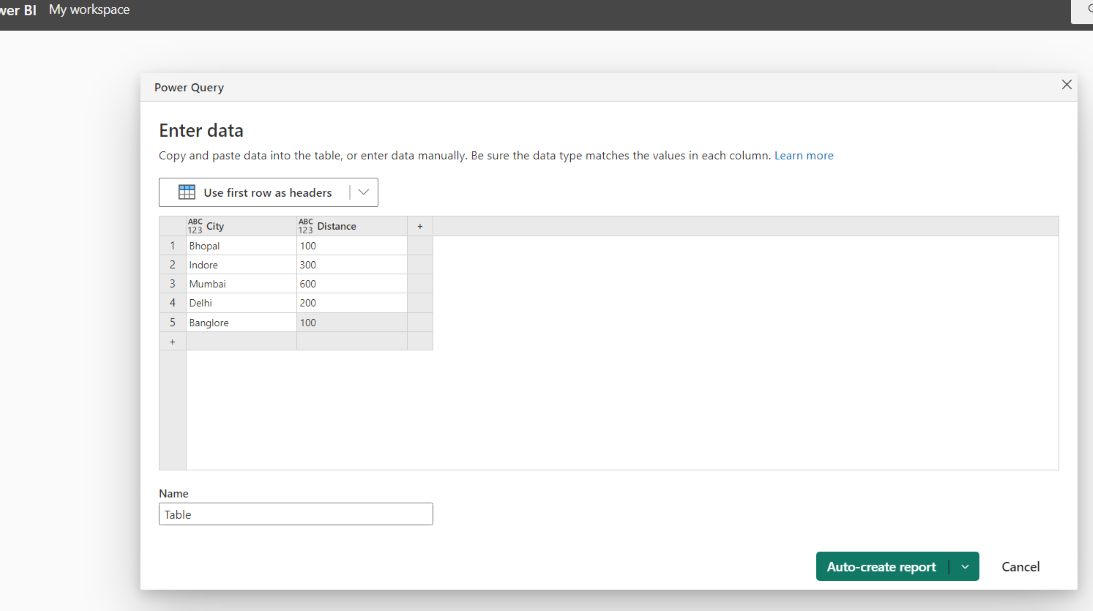
Figure-02 : Enter Data
Step 3: It will show Report is created and Based on the data entry it will analyze using Power BI Function and Graphics. Check the results.
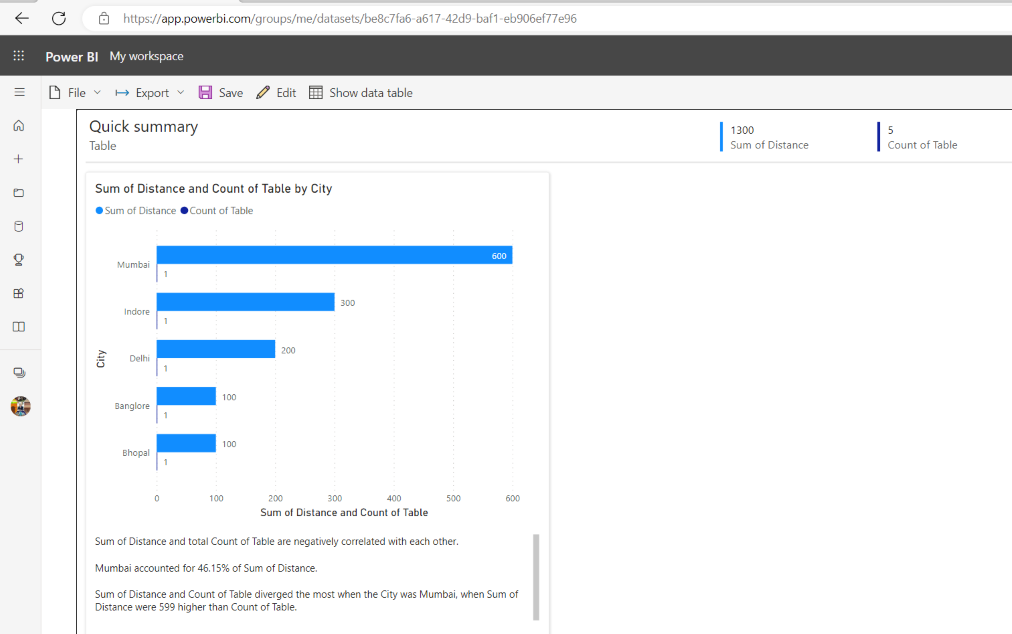
Figure-03 : Quick Summary
Step 4: Now Click on Export Option and select analyze in excel and click.
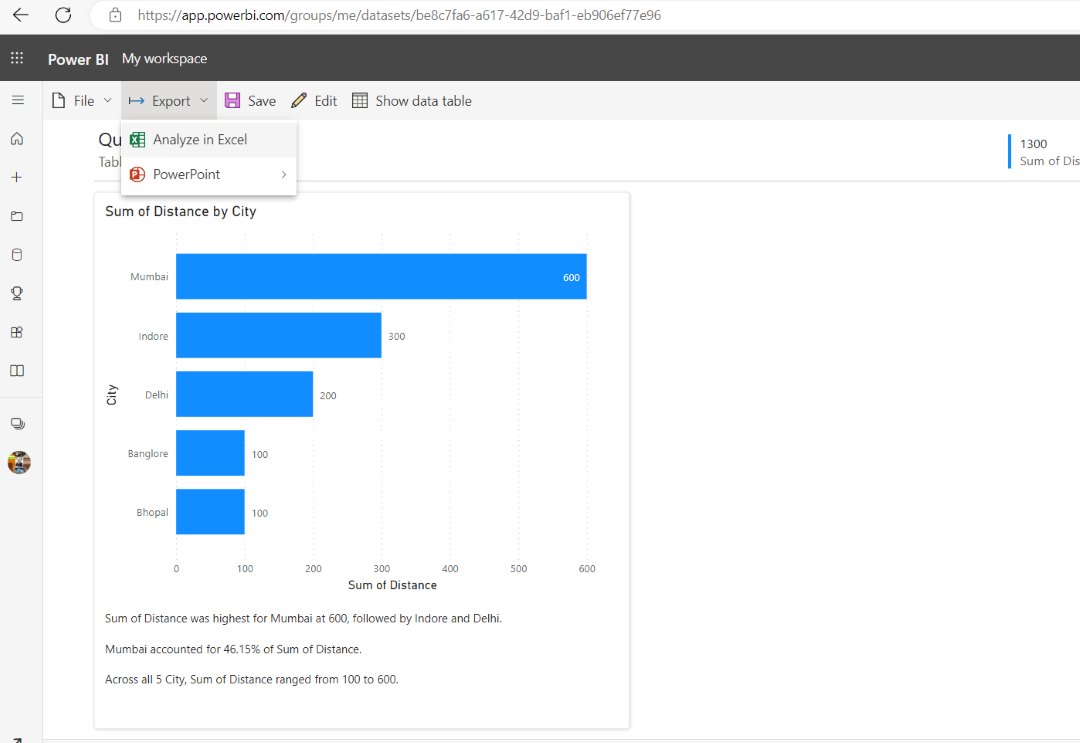
Figure-04: Analyze in Excel
Step 5: It will Show Excel is ready. Now Click on Open in Excel for the web.
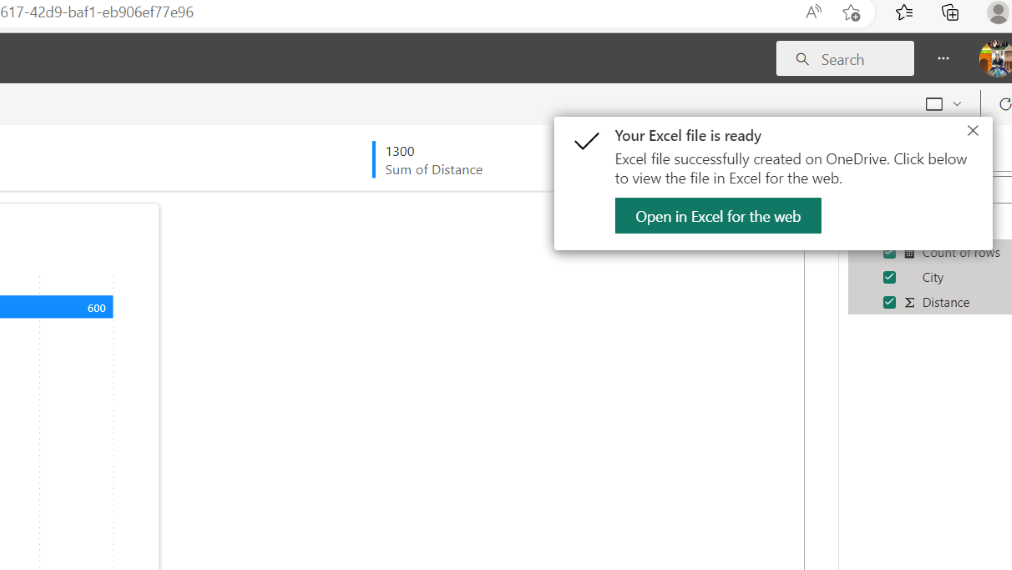
Figure-05 : Ready excel
Step 6: In the next window, it will show one alert. Simply select Yes.
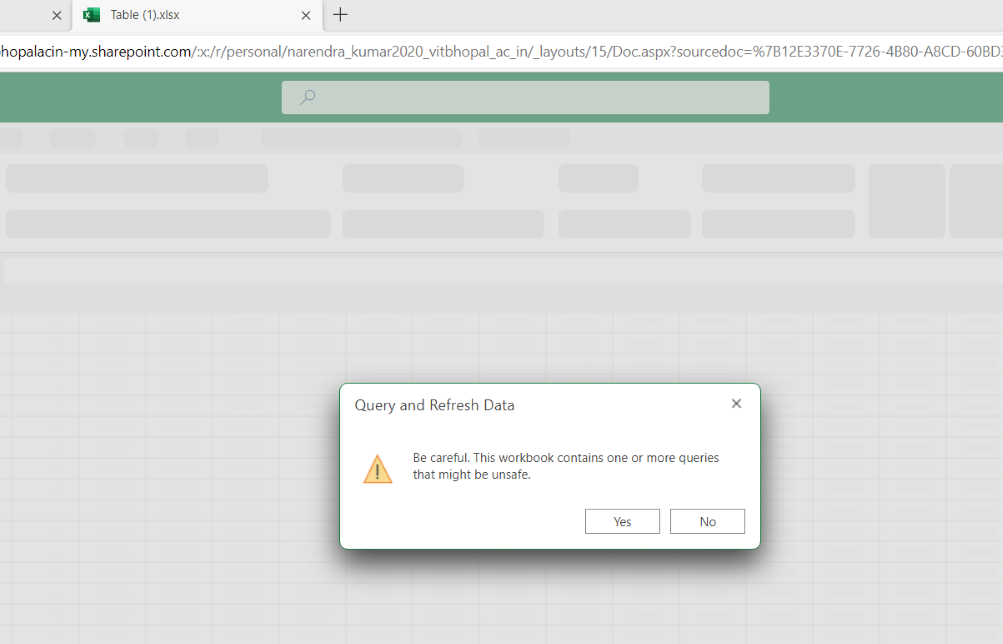
Figure-06 : Refresh Query
Step 7: Now Our Excel is integrated and it is ready to see data in an excel file. Click on any column name and it will show respective data . Here we are selecting the City column.
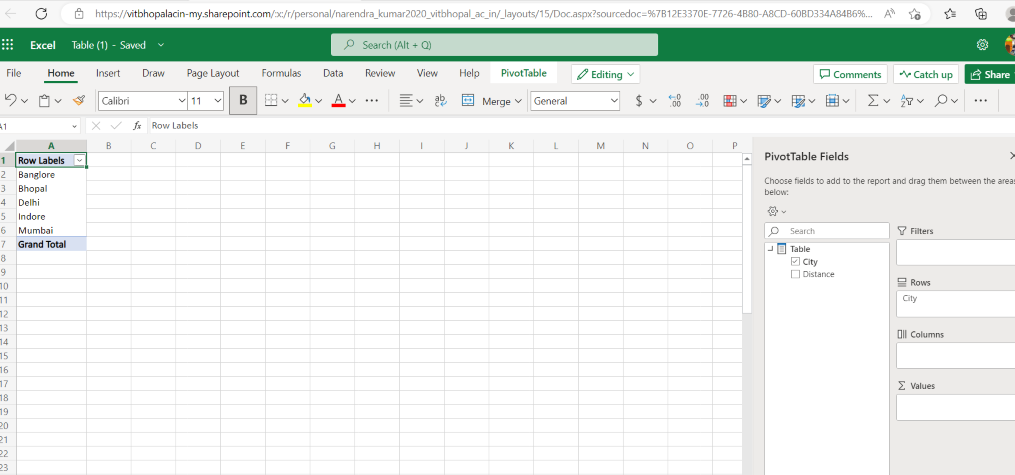
Figure-07 : Column data
Step 8: If we want to change row data into a column we can change it by selecting and entering both names in the column box.
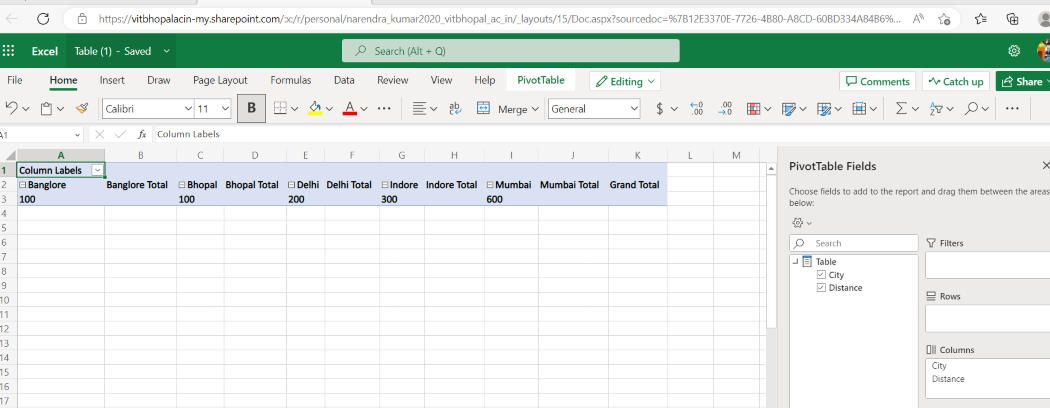
Figure-08 : Row to column
In this above way, we can do Integration of Power BI and Excel.
Share your thoughts in the comments
Please Login to comment...