Microsoft Azure – Automating Azure Blobs Lifecycle Management
Last Updated :
30 Mar, 2023
In this article, we will learn how to automatically manage Azure Blobs lifecycles. Azure Blob Storage offers different access tiers to reduce storage costs. A Blob in the hot tier costs the most and can be accessed very fast, while a Blob in the archive tier is cheaper and is slower. Let’s use Lifecycle Management to automatically move Blobs between access tiers.
To do so follow the below steps:
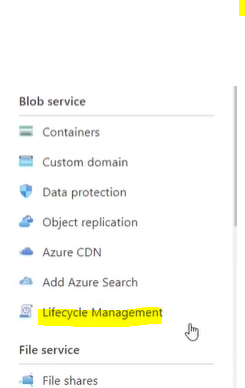
Step 1: In the Azure Portal, we already have a general-purpose Azure Storage account. There click on the Lifecycle Management.
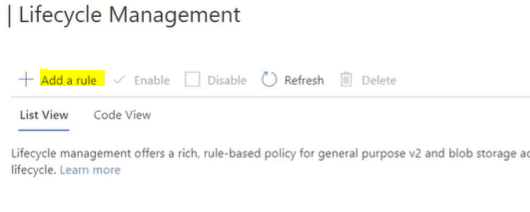
Step 2: We can create a new rule here. For that click on Add a rule:
Step 3: First, we need to give the rule a Rule name, and then select to only apply this rule to blobs that adhere to a filter that we define later. Then select “Block blobs” and “Base blobs”.
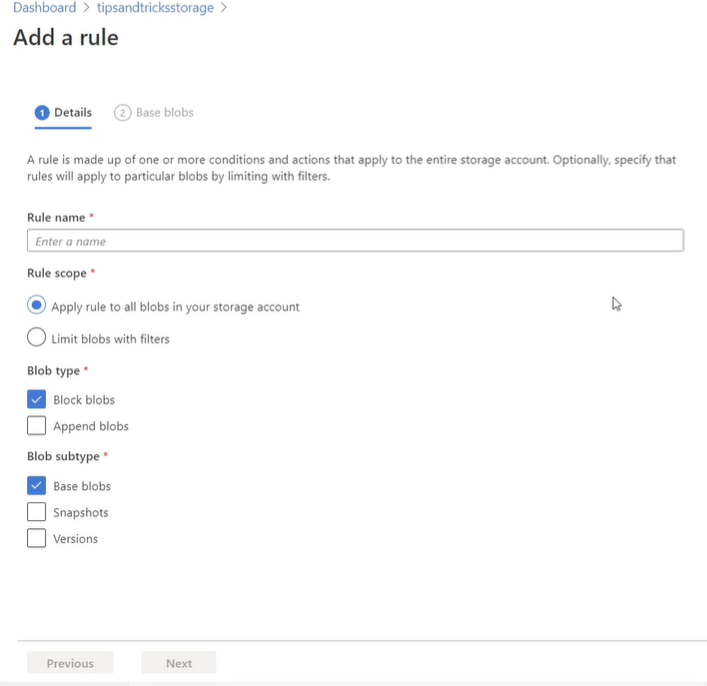
As you can see in the above image, you can also include snapshots and versions of blobs.
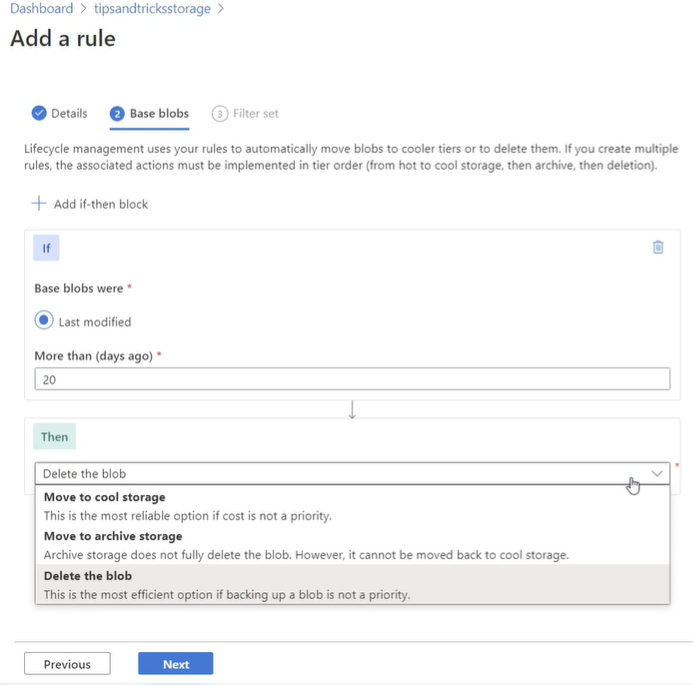
Step 4: For the rule, if the base blobs were last modified more than 20 days ago, then we’ll move the blobs to cool storage. As you can see, we can also delete them if we want.
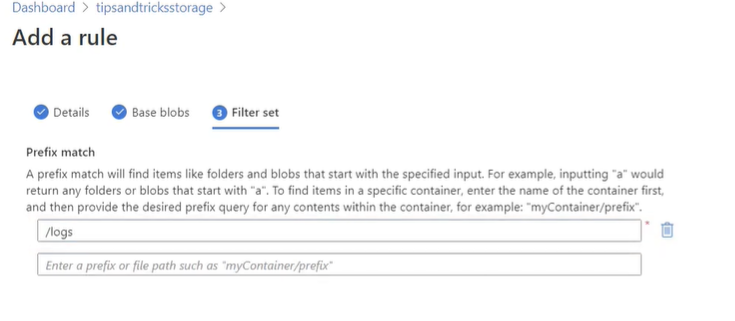
Step 5: Now for the filter, we only want this rule to apply to blobs in the logs container. Then click on Add rule.
At this point, you have successfully managed to automate the Blob lifecycle in Azure.
Azure Blob Storage access tiers are great to reduce your storage costs. You just saw how easy it is to use Azure Blob Storage Lifecycle Management to automatically move blobs to their appropriate access tiers based on their usage.
Share your thoughts in the comments
Please Login to comment...