JavaScript Program to Get the Dimensions of an Image
Last Updated :
28 Sep, 2023
In this article, we need to retrieve the dimensions of an Image. The dimension of the image is nothing but the height and width of the image. This task is to be performed using JavaScript language. As it is a completely interactive statement, we will use HTML and CSS to make the application GUI-based for better understanding and concept understanding.
We can get the dimensions of an image in JavaScript using two different approaches:
So, let’s see each of the approaches with its implementation in terms of examples.
Approach 1: Using ‘width’ and ‘height’ properties in JavaScript
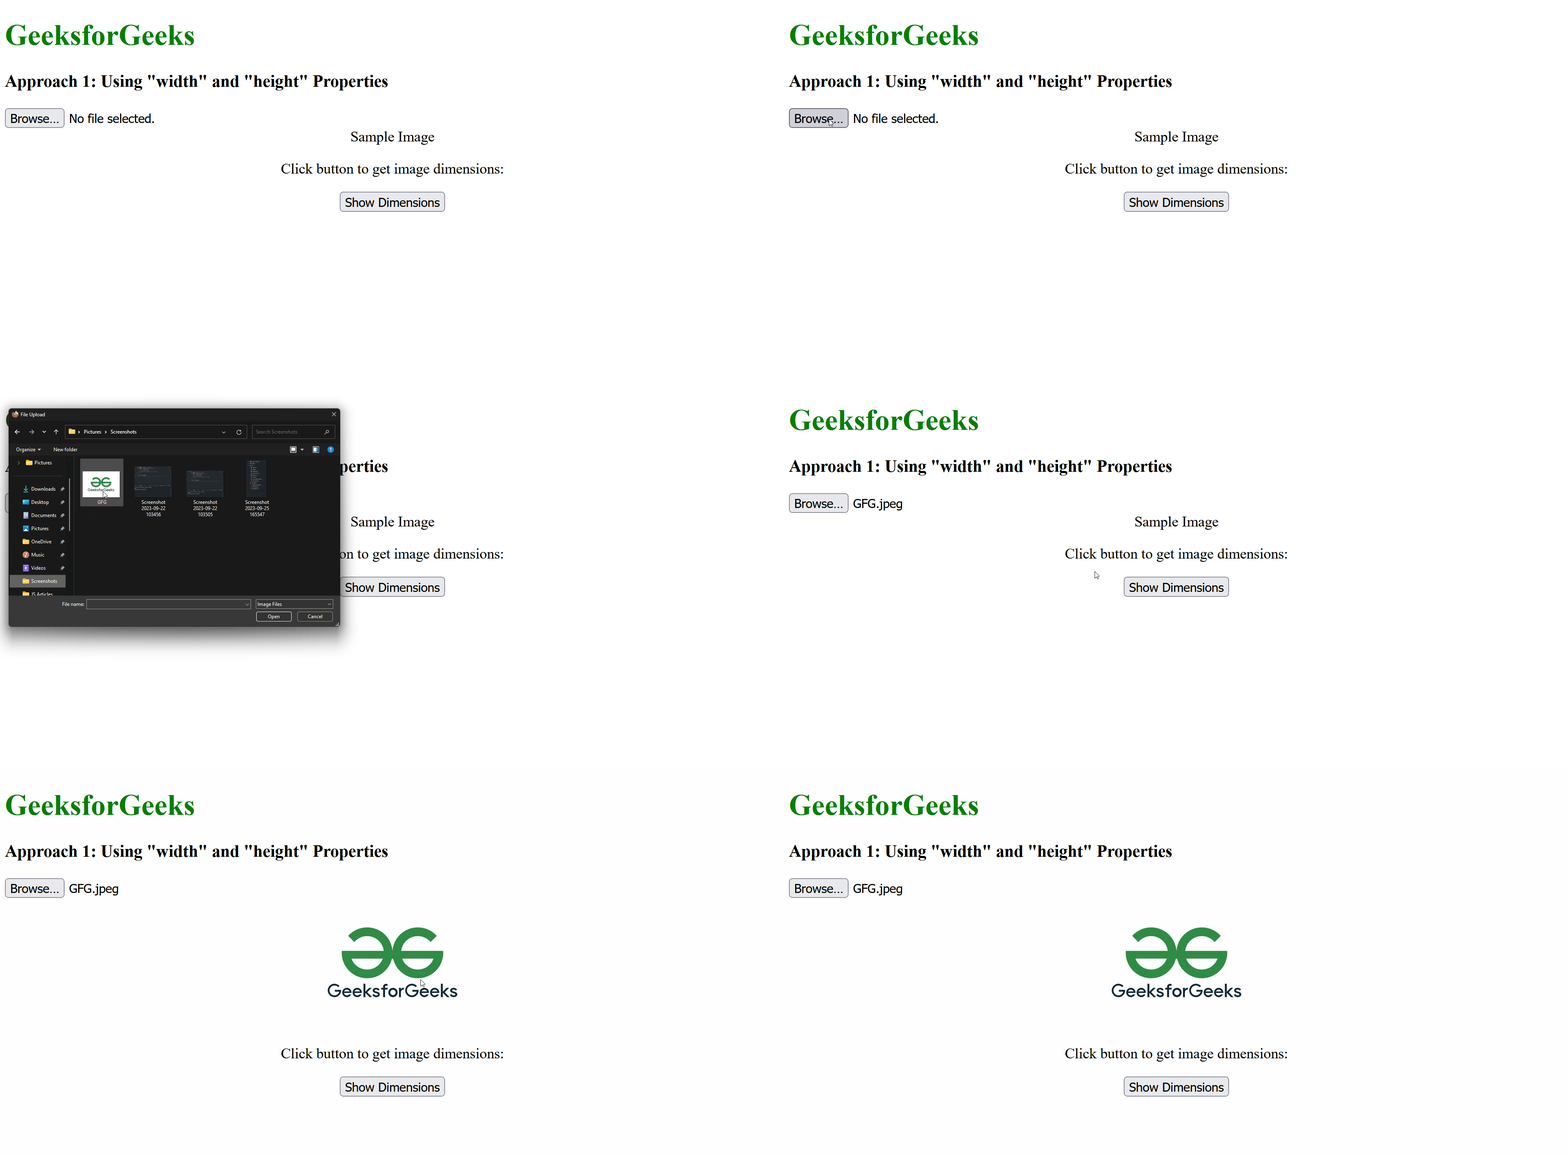
In this approach, we will dynamically display the dimensions or height and width of the uploaded image on the HTML page. In the HTML structure, there is a file upload option through which the user can upload the file and JavaScript is used to load the selected image and extract the dimensions when the file is completely loaded. Once the image gets loaded, the dimensions of the image are displayed to the user in terms of an alert box. We have also used some styling properties to align the components properly.
Example: In the below HTML code, we have used the width and height properties of JavaSctipt that are used to specify and also used to manipulate the dimensions of images and containers.
HTML
<!DOCTYPE html>
<html>
<head>
<title>GeeksforGeeks</title>
<style>
#container {
text-align: center;
}
#image {
max-width: 200px;
max-height: 200px;
}
</style>
</head>
<body>
<h1 style="color: green;">
GeeksforGeeks
</h1>
<h3>
Approach 1: Using "width"
and "height" Properties
</h3>
<input type="file" id="imageInput"
accept="image/*">
<div id="container">
<img id="image" alt="Sample Image">
<p>
Click button to
get image dimensions:
</p>
<button id="getDimensionsButton">
Show Dimensions
</button>
</div>
<script src="./script.js"> </script>
</body>
</html>
|
Javascript
let imgInput =
document.getElementById('imageInput');
let btn =
document.
getElementById('getDimensionsButton');
let previewImage =
document.getElementById('image');
btn.addEventListener('click', () => {
let file = imgInput.files[0];
if (file) {
let newImage = new Image();
newImage.src =
URL.createObjectURL(file);
newImage.onload =
function () {
let w = newImage.width;
let h = newImage.height;
alert(`Image Dimensions:
${w} x ${h} pixels`);
previewImage.src = newImage.src;
};
} else {
previewImage.src = '';
alert('No image selected.');
}
});
|
Output:

Approach 2: Using HTML “naturalWidth” and “naturalHeight” Attributes
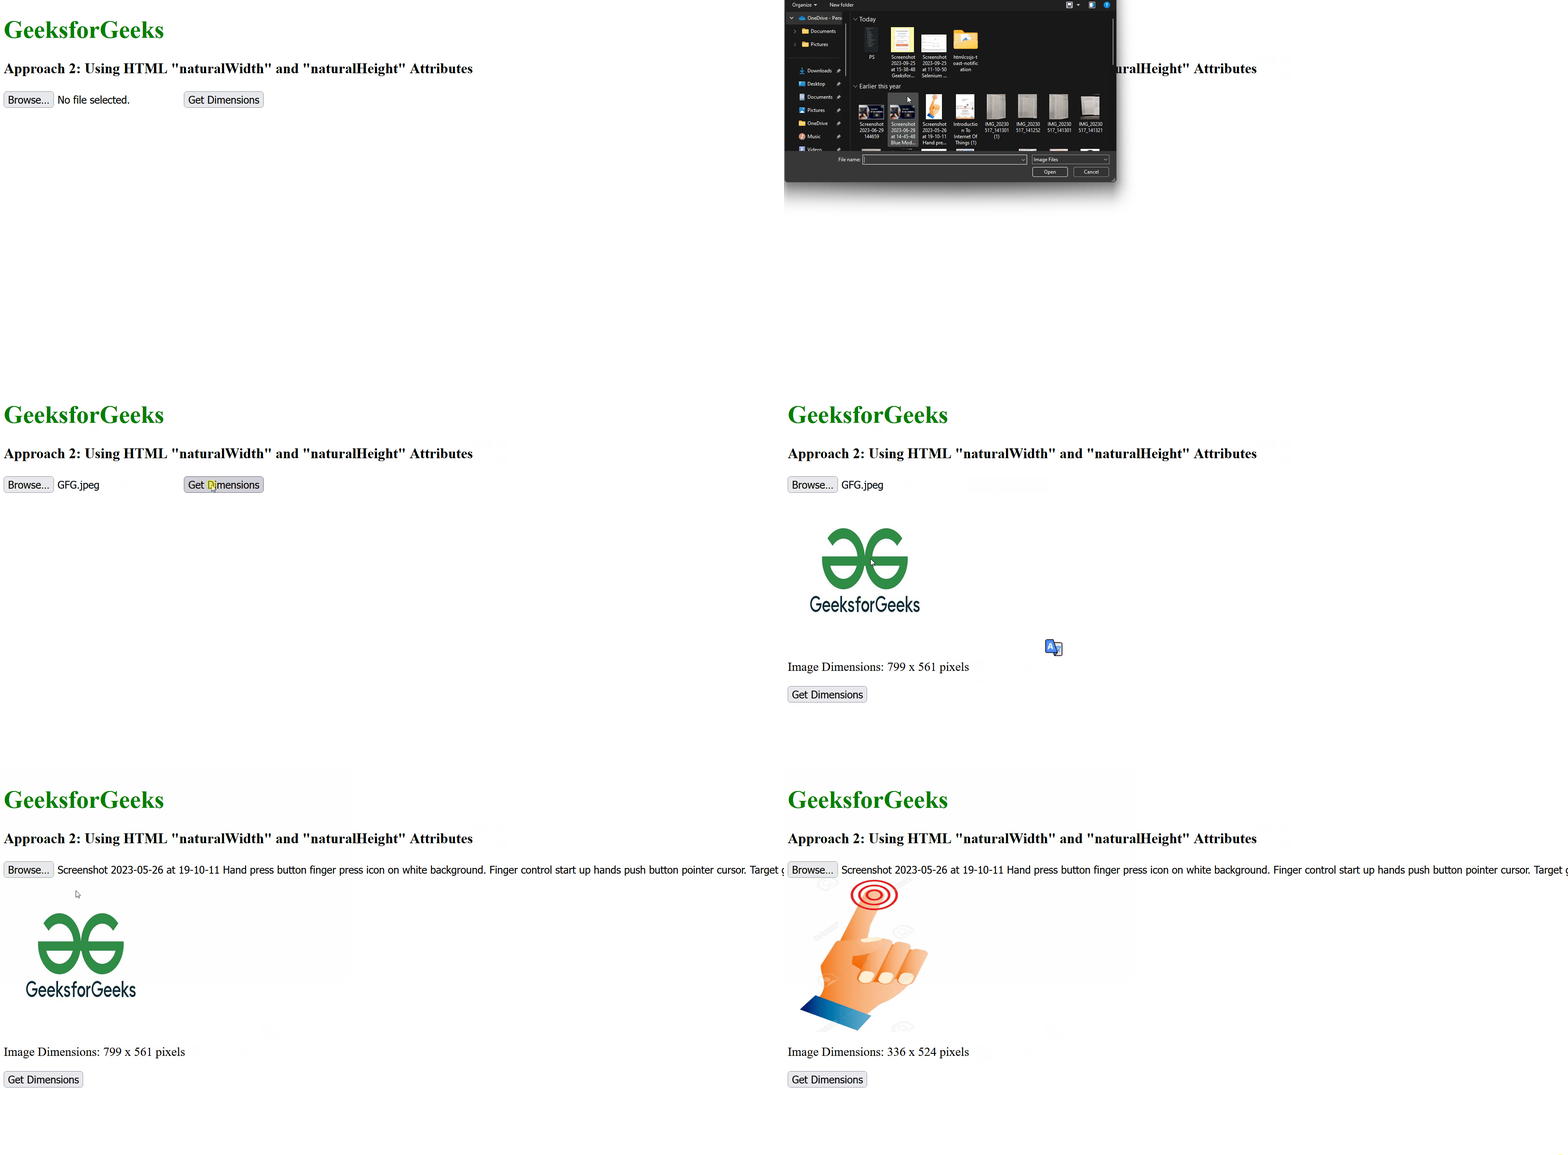
In this approach, we are extracting and displaying the dimensions or height and width of the uploaded image by the user using the HTML “naturalWidth” and “naturalHeight” attributes. In JavaScript code, the img,natrualWidth, and img.naturalHeughr are used to get the dimensions of the image, and these values are updated in the DOM element to show the dimensions of the loaded image when the button is been clicked.
Example: In this example, same as Approach 1, we are inputting the image from the user and there is a button once clicked by the user, the dimensions of the image are shown in the textual form rather than an alert box like approach 1.
HTML
<!DOCTYPE html>
<html>
<head>
<title>GeeksforGeeks</title>
</head>
<body>
<h1 style="color: green;">GeeksforGeeks</h1>
<h3>
Approach 2: Using HTML "naturalWidth"
and "naturalHeight" Attributes
</h3>
<input type="file" id="imageInput" accept="image/*">
<div id="dimensionsDiv" style="display: none;">
<div style="width: 200px;
height: 200px;
overflow: hidden;">
<img id="image" src="" alt="Sample Image"
width="200" height="200">
</div>
<p>
Image Dimensions:
<span id="dimensions">
</span>
</p>
</div>
<button id="getDimensionsButton">
Get Dimensions
</button>
<script src="./script.js"></script>
</body>
</html>
|
Javascript
let imgInput =
document.getElementById('imageInput');
let dimDiv =
document.getElementById('dimensionsDiv');
let dimSpan =
document.getElementById('dimensions');
let img =
document.getElementById('image');
let btn =
document.getElementById('getDimensionsButton');
btn.addEventListener('click', () => {
let file = imgInput.files[0];
if (file) {
let url =
URL.createObjectURL(file);
img.src = url;
img.onload = () => {
URL.revokeObjectURL(url);
let width = img.naturalWidth;
let height = img.naturalHeight;
dimSpan.textContent =
`${width} x ${height} pixels`;
dimDiv.style.display = 'block';
};
} else {
dimDiv.style.display = 'none';
alert('No image selected.');
}
});
|
Output:

Share your thoughts in the comments
Please Login to comment...