How to Upload Archive Data to the Amazon S3 Glacier?
Last Updated :
17 Mar, 2023
Pre-requisites: AWS
Amazon S3 is an object storage service that stores data as objects within buckets. A bucket is like a folder available in S3 that stores the files. Amazon S3 provides many features such as Storage class, Storage Management, Access Management, and many more. Amazon S3 glacier is one of the S3 storage classes.
Amazon S3 Glacier:
Amazon S3 (Simple Storage Services) is a type of AWS cloud S3 service. Amazon S3 service is a low-cost, secure, and durable cloud storage service for long-term backup.
It is quite an effective solution for keeping prolonged unused data for a long time. It is a nice choice company that possesses a lot of not-so-often unused electronic documents and keeps its rarely used and outdated electronic documentation.
Amazon S3 glacier provides three different archive storage classes based on their access pattern and storage duration. These storage classes are as follows:
- S3 Glacier Instant Retrieval
- S3 Glacier Flexible Retrieval
- S3 Glacier Deep Achieve
1. S3 Glacier Instant Retrieval: Use for archiving data that is rarely accessed and requires milliseconds retrieval. It has a minimum storage duration of 90 days.
2. S3 Glacier Flexible Retrieval: Use archives where portions of the data might need to be retrieved in minutes. This recovers large amounts of data in a 5 to 12 hours window, this is the lowest cost option. Expedited(1 to 5 minutes), Standard(t to 5 hours), Bulk which is free(5 to 12 hours). It also has a minimum storage duration of 90 days.
3. S3 Glacier Deep Archive: Deep Archive which is meant for long-term storage. So, we have two tiers of retrieval – Standard(132 hours), and Bulk(48 hours). It is used for archiving data that rarely need to be accessed. Data stored in the S3 Glacier Deep Achieve storage class has a default retrieval time of 12 hours.
Users have to set up jobs to download archives or archive lists in vault snapshots. These jobs run in the background and usually take several hours to complete. There are two ways to upload data –
- Upload to glacier from the user’s instance
- Using Amazon S3 lifecycle policies to move data from S3 to Glacier.
1. Upload to glacier from the user’s instance:
Step 1: First go to the search bar and search “S3 GLACIER”.THEN click on “create vault” to create a new vault.
Step 2: Now give a name to your vault and check the boxes shown in the figure.
THEN click on the “CREATE VAULT” option.
And now you have successfully created a vault.
Step 3: Again go to the search bar and search ” Simple Notification Service” and on your left click on “Topics”.
NOTE: For further steps of uploading an archive you must have “AWS CLI” installed on your computer.
Now open the command line and write a command to create a vault
This below command will create a vault with the name ‘my vault’:
aws glacier create-vault --vault-name
 my vault --account-id -
Command to upload a file in the vault:
aws glacier upload-archive --account-id
- --vault-name my vault --body ONE.txt
ONE.txt is the name of the file to be uploaded on the vault and you can use the same command for uploading files for other files.
2. Using Amazon S3 lifecycle policies to move data from S3 to Glacier:
Step 1: To upload archive data to S3 glacier using Amazon S3 lifecycle policies then you must have an S3 bucket and an EC2(Amazon Elastic Compute Cloud). To transfer your data from S3 to the glacier then there should be a file uploaded in the bucket.
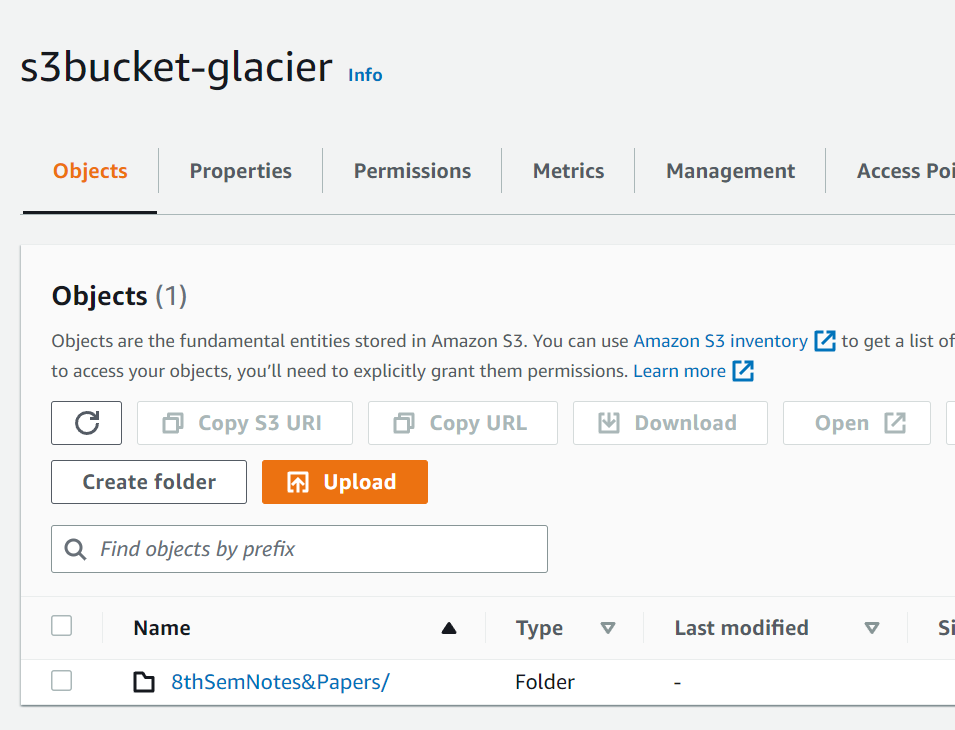
A file in the S3 bucket
As you can see we have this file in the S3 bucket. So you upload any file to S3 by clicking on ‘Upload’. After uploading you’ll get a ” Successfully uploaded” popup on the top of your screen.
Step 2: Now go to the management section to create a new lifecycle rule for the transition of data from S3 to the glacier. Accordingly, Name the “Life Cycle” rule and change the default setting to “Apply to all objects in the bucket”.
Step 3: Now select “Move current version of objects between storage classes” then insert the day of transition of data from S3 to glacier that should be a minimum of 30 days.
Then click on “Create Rule” and your lifecycle rule is created.
Step 4: The “Lifecycle rule” has been created and according to the day of transition data will move to the glacier and “Current Versions actions” will get updated to “Glacier”.
So, this is how you can move your archive data to Amazon S3 Glacier.
Share your thoughts in the comments
Please Login to comment...