How to make an element width: 100% minus padding ?
Last Updated :
03 Oct, 2023
In this article, we will see different examples to make an element’s width: of 100% minus padding. We have a few methods to make an element width: 100% minus padding which are described in detail below.
Approach 1: Using ‘calc()’ and ‘box-sizing’
Here, we are using CSS properties like ‘calc()’ and ‘box-sizing’ for creating responsive and adjusting proper element width ‘100% minus padding’. These properties also assure consistent and visually appealing layouts across various devices and screen sizes.
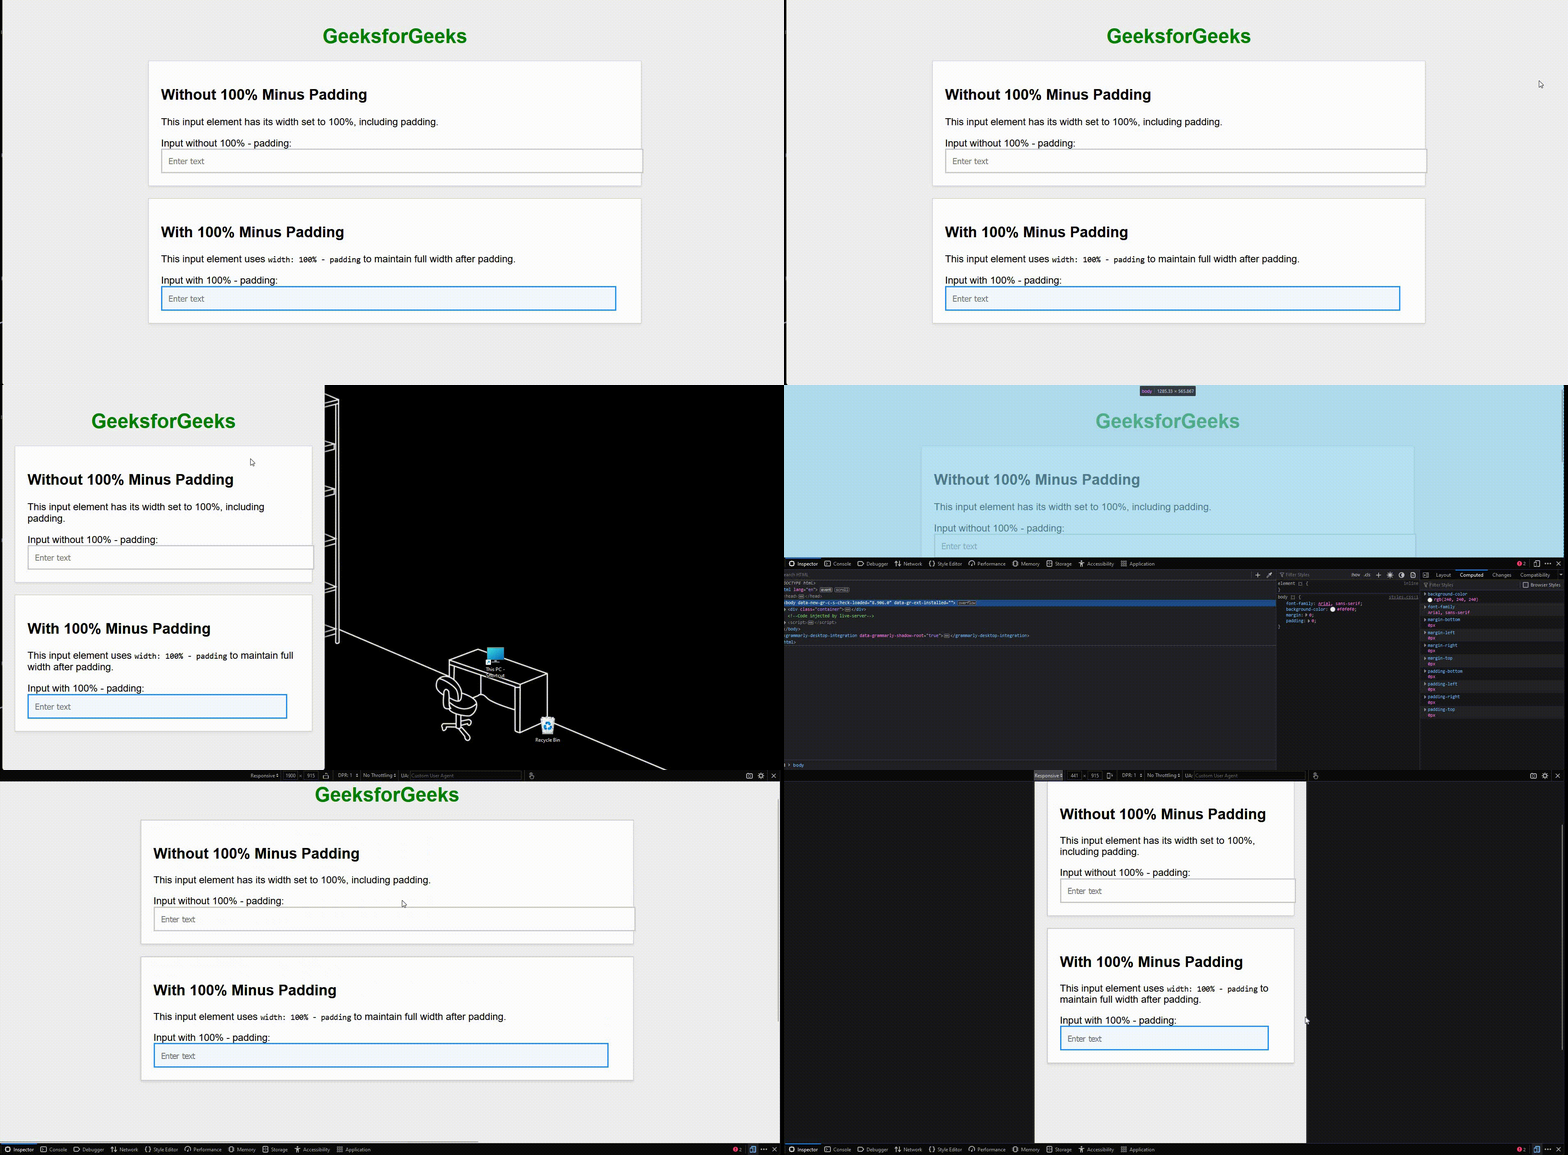
Example: In this example, we are using the ‘calc()‘ and ‘box-sizing‘ to make an element width: 100% minus padding.
HTML
<!DOCTYPE html>
<html lang="en">
<head>
<meta charset="UTF-8">
<meta name="viewport"
content="width=device-width, initial-scale=1.0">
<link rel="stylesheet" href="styles.css">
<title>Element Width Examples</title>
</head>
<body>
<div class="container">
<h1 class="geeks-title">
GeeksforGeeks
</h1>
<div class="example">
<h2>Without 100% Minus Padding</h2>
<p>
This input element has its width set
to 100%, including padding.
</p>
<div class="input-container">
<label for="input-with-padding">
Input without 100% - padding:
</label>
<input type="text" id="input-with-padding"
class="input-with-padding"
placeholder="Enter text">
</div>
</div>
<div class="example">
<h2>With 100% Minus Padding</h2>
<p>
This input element uses
<code>width: 100% - padding</code>
to maintain full width after padding.
</p>
<div class="input-container">
<label for="input-minus-padding">
Input with 100% - padding:
</label>
<input type="text"
id="input-minus-padding"
class="input-minus-padding"
placeholder="Enter text">
</div>
</div>
</div>
</body>
</html>
|
CSS
body {
font-family: Arial, sans-serif;
background-color: #f0f0f0;
margin: 0;
padding: 0;
}
.container {
max-width: 800px;
margin: 0 auto;
padding: 20px;
}
.geeks-title {
color: green;
text-align: center;
}
.example {
margin: 20px 0;
padding: 20px;
background-color: #fff;
border: 1px solid #ccc;
box-shadow: 0 2px 4px rgba(0, 0, 0, 0.1);
}
.input-container {
margin-top: 15px;
}
.input-with-padding,
.input-minus-padding {
padding: 10px;
border: 2px solid #ccc;
width: 100%;
transition: border-color 0.3s;
}
.input-minus-padding {
width: calc(100% - 20px);
box-sizing: border-box;
border-color: dodgerblue;
background-color: #f5faff;
}
.input-with-padding:focus,
.input-minus-padding:focus {
border-color: dodgerblue;
}
|
Output:

Approach 2: Using Flexbox Container Method
Here, we are achieving the “width: 100% – padding” for an element by involving the flex container (‘display: flex’) with the centered content alignment of (‘justify-content: center’). This assures that the element’s width is the full width of its parent while taking the specified padding.
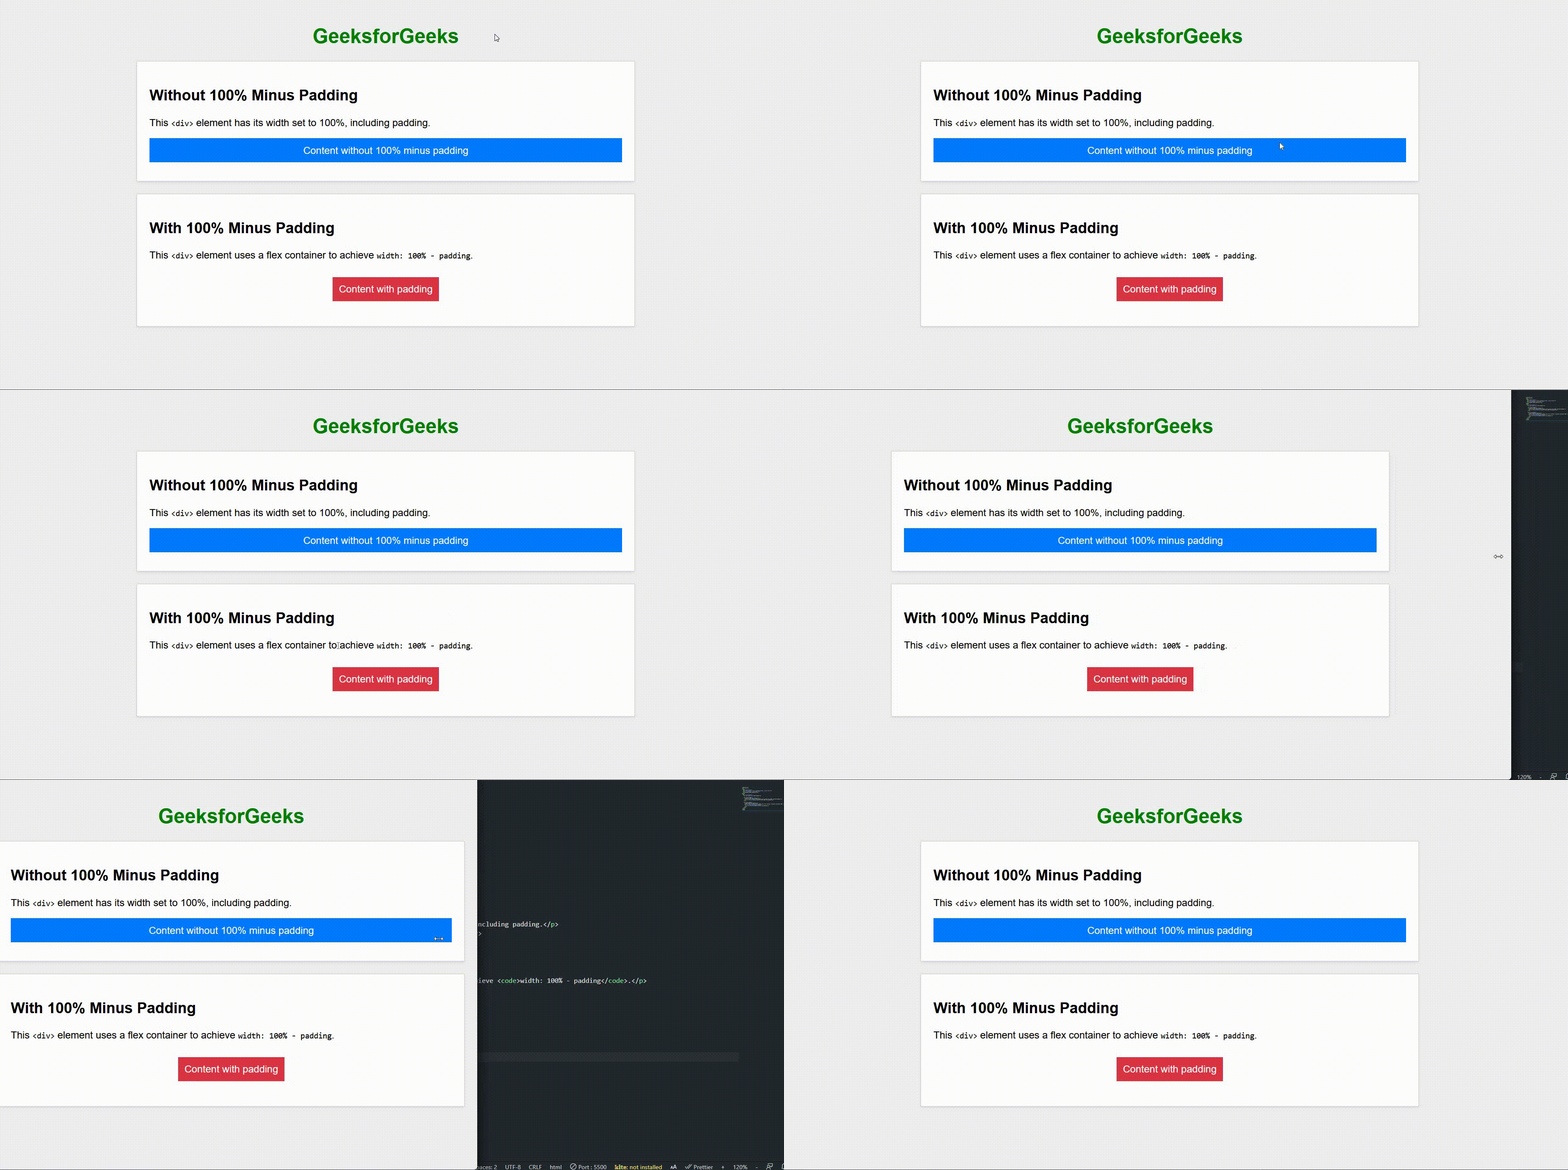
Example: In this example, we are using Flexbox Container Method to make an element width: 100% minus padding.
HTML
<!DOCTYPE html>
<html lang="en">
<head>
<meta charset="UTF-8">
<meta name="viewport"
content="width=device-width, initial-scale=1.0">
<link rel="stylesheet" href="styles.css">
<title>Element Width Examples</title>
</head>
<body>
<div class="container">
<h1 class="geeks-title">
GeeksforGeeks
</h1>
<div class="example">
<h2>Without 100% Minus Padding</h2>
<p>
This <code><div></code>
element has its width set to 100%,
including padding.
</p>
<div class="box-with-padding">
Content without 100% minus padding
</div>
</div>
<div class="example">
<h2>With 100% Minus Padding</h2>
<p>
This <code><div></code>
element uses a flex container to achieve
<code>width: 100% - padding</code>.
</p>
<div class="box-minus-padding-container">
<div class="box-minus-padding">
Content with padding
</div>
</div>
</div>
</div>
</body>
</html>
|
CSS
body {
font-family: Arial, sans-serif;
background-color: #f0f0f0;
margin: 0;
padding: 0;
}
.container {
max-width: 800px;
margin: 0 auto;
padding: 20px;
}
.geeks-title {
color: green;
text-align: center;
}
.example {
margin: 20px 0;
padding: 20px;
background-color: #fff;
border: 1px solid #ccc;
box-shadow: 0 2px 4px rgba(0, 0, 0, 0.1);
}
.box-with-padding,
.box-minus-padding {
padding: 10px;
margin-bottom: 10px;
color: white;
text-align: center;
}
.box-with-padding {
background-color: #007bff;
}
.box-minus-padding-container {
width: 100%;
padding: 10px;
box-sizing: border-box;
background-color: #ffffff;
}
.box-minus-padding {
background-color: #dc3545;
}
.box-minus-padding-container {
display: flex;
justify-content: center;
}
|
Output:

Share your thoughts in the comments
Please Login to comment...