How to Install MongoDB Java Driver?
Last Updated :
15 Mar, 2022
MongoDB is a platform-independent open-source database program. It is also classified as a non-sql database program. It was released in 2009. It represents a hierarchical relationship using a single record. It is also schema-free which means it has lesser data migration. Its schema has fewer models.
Features of MongoDB is as follows:
- It is widely used for its flexibility & flexible query model.
- It is usable for its native aggregation. It helps users to extract & transform data from MongoDB.
Downloading & Installation
It is depicted below sequentially as follows:
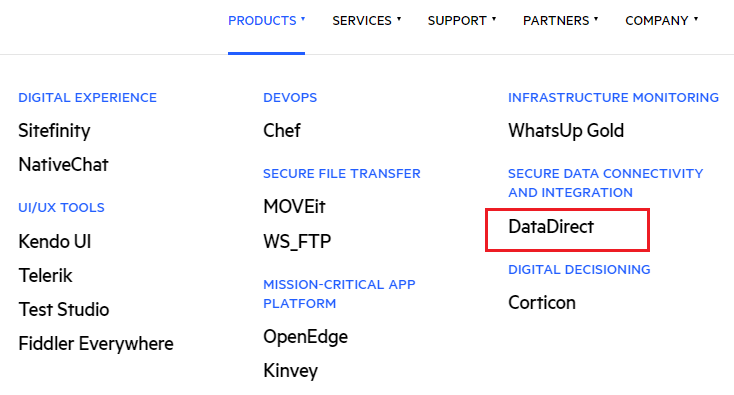
Step 1: One needs to install the proper driver for MongoDB from here and then at the top of the site, you will find Products. Click on it. Then you will find one option i.e. DataDirect. Click on it for further steps.
Step 2: After clicking you will redirect to another webpage. There you will find Data Connectivity on the topmost side. Click on it. There you will find one option JDBC. Click on JDBC as it is the proper version we need for MongoDB.
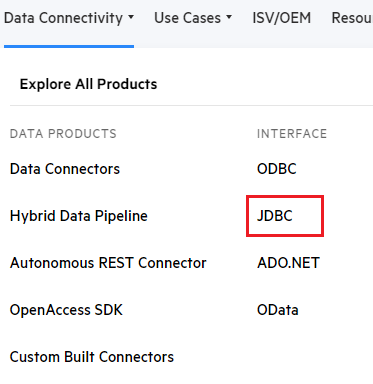
After clicking on it, another page will open.
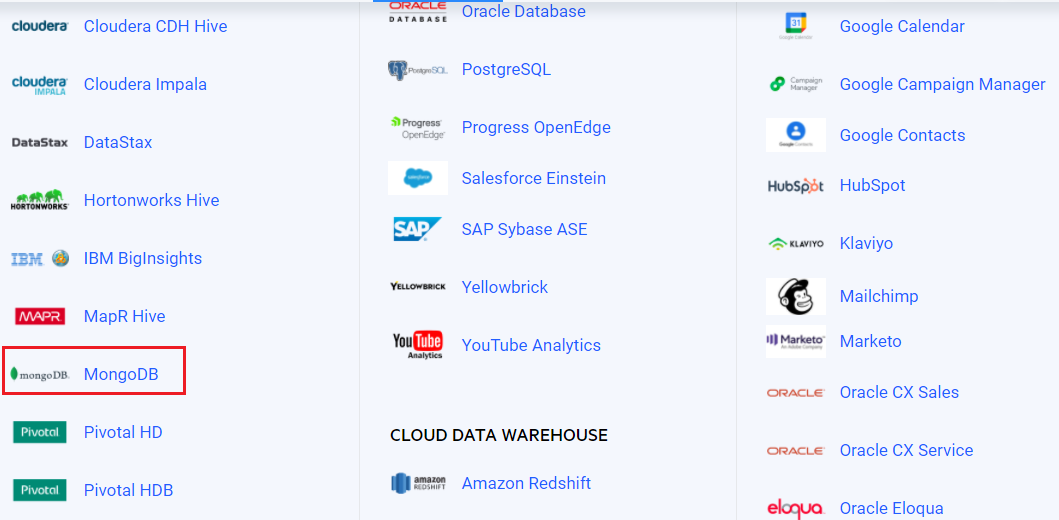
Step 3: Now search for MongoDB from the given list. After that click on it to move forward.
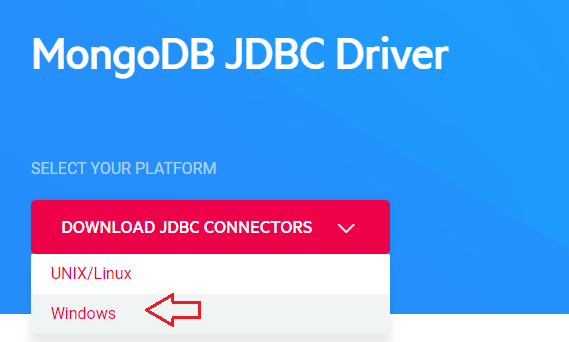
Step 4: In the new page a ‘Download’ option will be visible, click on that.
It provides two means of options.
- One for Windows
- Another for Linux.
Here Download it for windows.
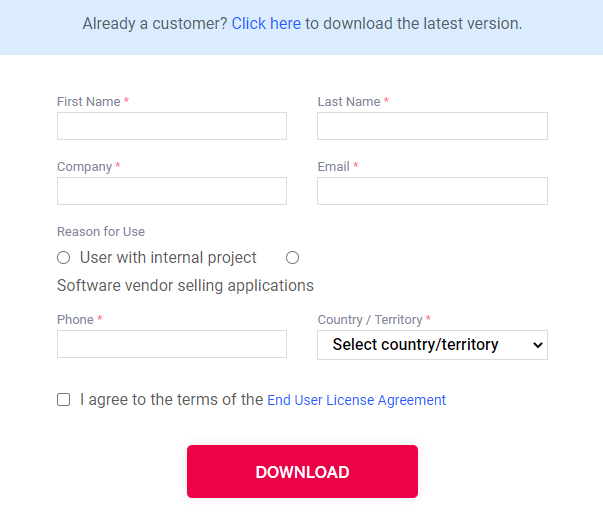
Then a form will appear depicted below via visual aid as follows:
Step 5: Fill up the form & click on ‘Download’.
If you are using it for your personal use, you can insert your college or institution name as company name. Else you can give your company name there. It is suggestive that go for the reason, User with internal project.
Step 6: After clicking on Download, extract the downloaded file.
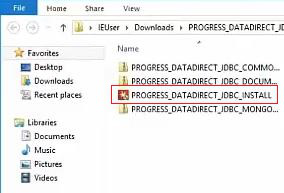
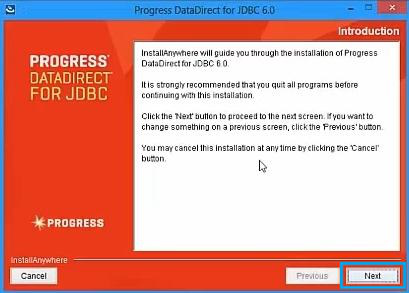
Step 7: Open it to start the installation. After this window appears click on ‘Next’.
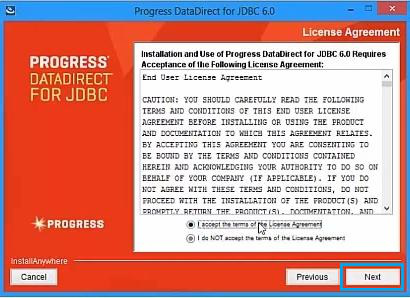
Step 8: It is mandatory to accept all terms & conditions. Otherwise, it will not move forward. Click on Next.
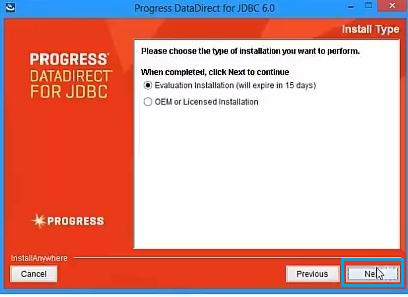
Step 9: Do not change anything here. It may hamper installation. Click on Next.
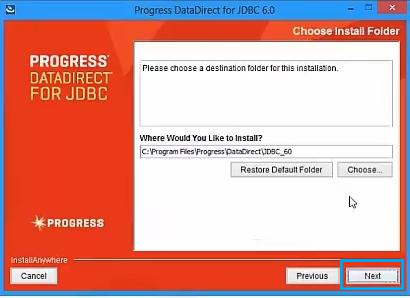
Step 10: Here also, don’t make any changes. Click on Next for further process.
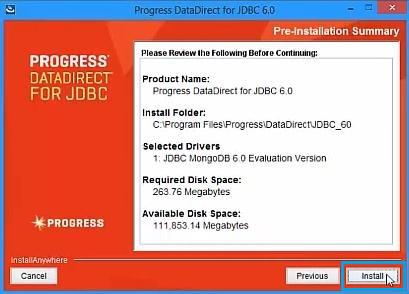
Step 11: Finally, click on Install. It will start the installation.
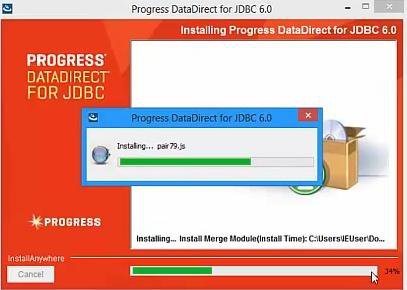
Step 12: Wait till the installation is complete.
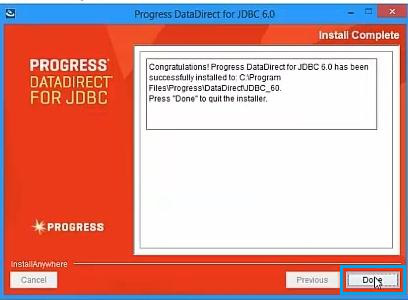
Step 13: Now, your installation is successful. Then click on Done to finish the process.
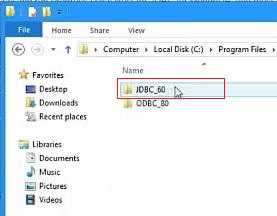
Step 14: Open C drive & follow below path. In that path, there you will find a JDBC folder. So, you have successfully installed Java Driver for MongoDB.
C:\Program Files\progress\DataDirect
Share your thoughts in the comments
Please Login to comment...