How To Edit Videos with YouTube Studio
Last Updated :
04 Feb, 2024
Ever wondered about editing videos using YouTube Studio well it is possible as YouTube Studio allows you to edit your video with the exciting tools present in YouTube Studio. Let’s dive into YouTube Studio and explore how to use YouTube Studio to edit videos.
Tips for editing your videos for YouTube
Before editing your video on YouTube you must know some factors which are important for your video such as:
- Clear your Content: Before uploading your content, you should be clear about your content and plan your content in a specific manner to be uploaded.
- Use YouTube Studio: YouTube gives you an in-built feature of editing which is YouTube Studio, it helps you in editing your video more consistently.
- Cut Unnecessary Part: While editing cut the unnecessary part of the video which is not important as it can affect to the viewer’s experience.
- Use Clear Audio: If you want to add audio to your video then use some clear and balanced audio which can give a tremendous experience to the viewers.
- Add Attractive Thumbnails: The main part of the video is the thumbnail of the video so make it wisely use some eye-catching pictures on your thumbnail video so that viewers can engage to watch.
How to edit videos using YouTube Studio
Follow these steps to edit videos for YouTube using the YouTube Studio editor program:
Step 1: Open YouTube
Open YouTube by visiting youtube.com on any of your web browsers.
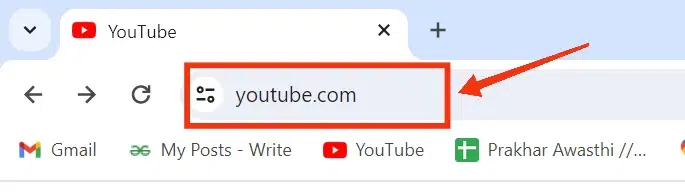
Visit youtube.com
Step 2: Click on your Profile and Select “YouTube Studio”
After opening YouTube on your Desktop click on your Profile and select “YouTube Studio” from the menu.
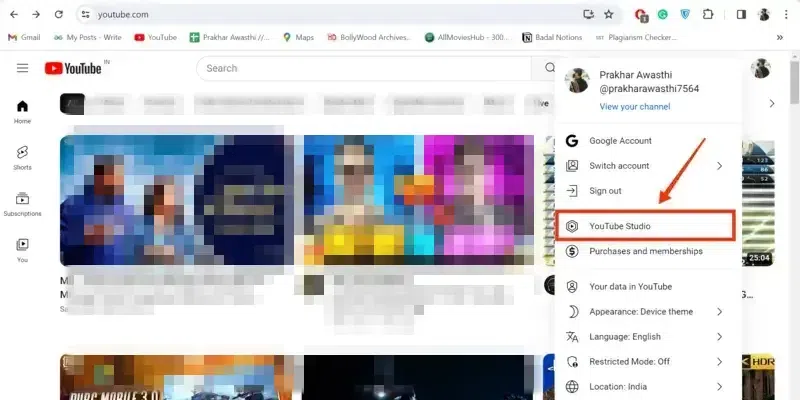
Click on your Profile >> Select “YouTube Studio”
Step 3: Select “Content” Tab and Click on your Video
After encountering the YouTube Studio click on the “Content” tab located at the left panel, it will show all of your content present on YouTube. Select the video which you want to edit in YouTube Studio.
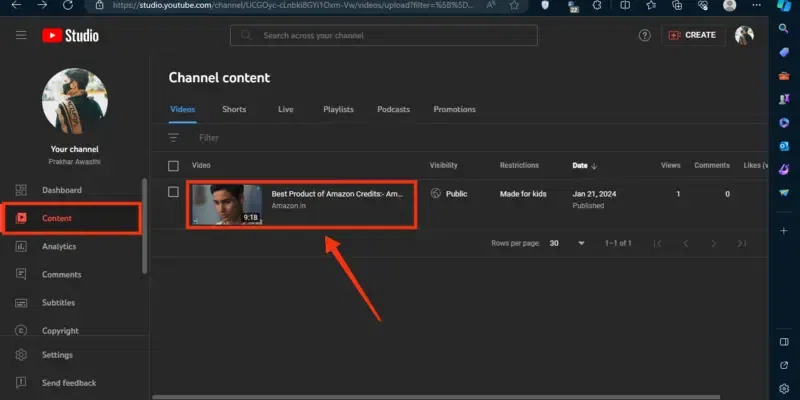
Select “Content” Tab >> Click on your Video
Step 4: Select “Editor” Tab
When you select your video to edit then every detail about your video will appear on the screen and you will be entered into the Details tab, now select the “Editor” option from the Details tab.
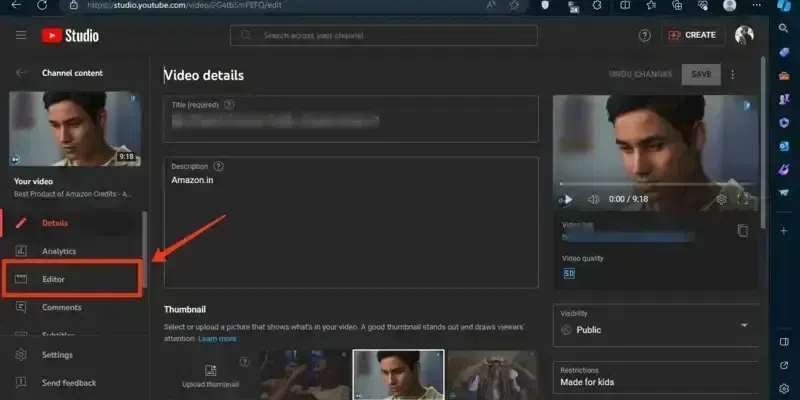
Select “Editor Tab”
Step 5: Click on “Get Started”
Click on the “Get Started” button, this will take you to the Editing section of YouTube Studio and then you can edit your video.
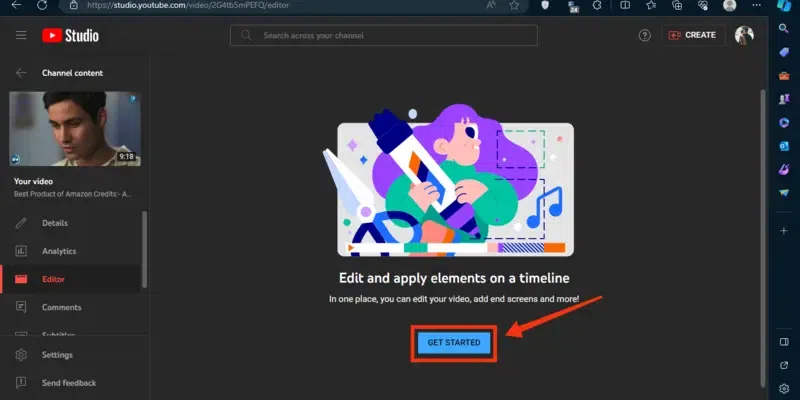
Click on “Get Started”
Step 6: Start Editing and Trim Video
In case you want to remove any extra part from your video you can use the Trim & Cut feature of YouTube, to use it click on the “+” icon present next to the Trim & Cut.
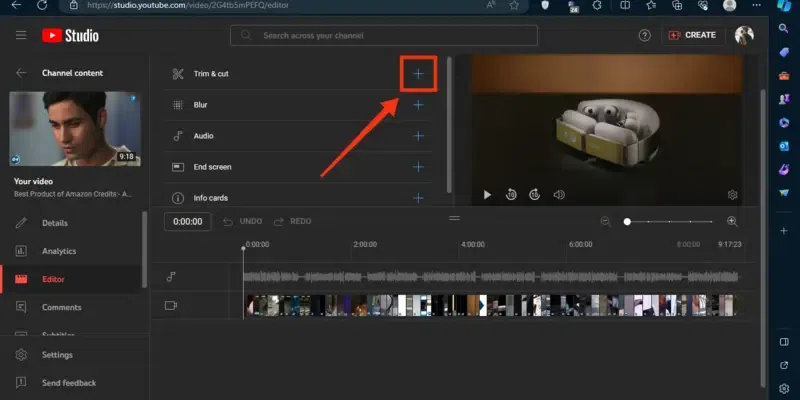
Click on Trim & Cut
Step 7: Use Handles and Start Trimming
To cut the extra part from your video use the handles present start moving at your desired position and then click “Save”.

Use Handles to Trim your Video
Step 8: Click on “Blur”, Select “Face Blur” or ” Custom Blur
You can also blur your video using the Blur feature of YouTube Studio, to use it click on the “Blur” option and select whether you want to add a Face Blur or Custom in the video.
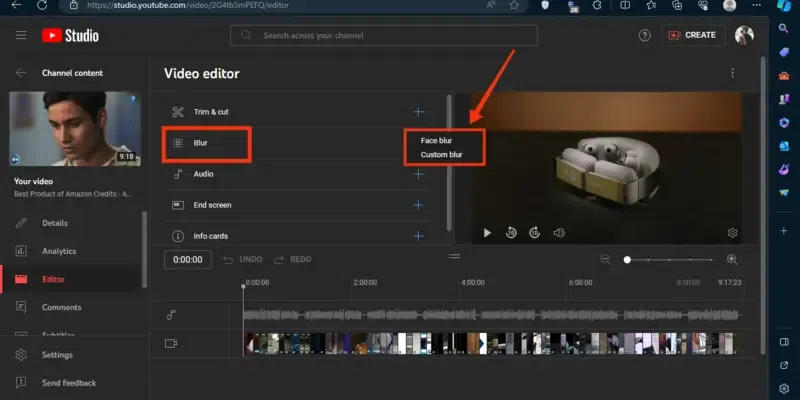
Click on “Blur” >> Select “Face Blur” or ” Custom Blur
Step 9: Choose Blur Shape & Behavior and Select Blur Area
Now customize the Blur according to your needs such as you can customize the shape of the Blur and customize the behavior whether you need a fixed blur or Object tracking blur. After customizing your blur settings specify the Blur area you want to make blur by moving the box present on the video.
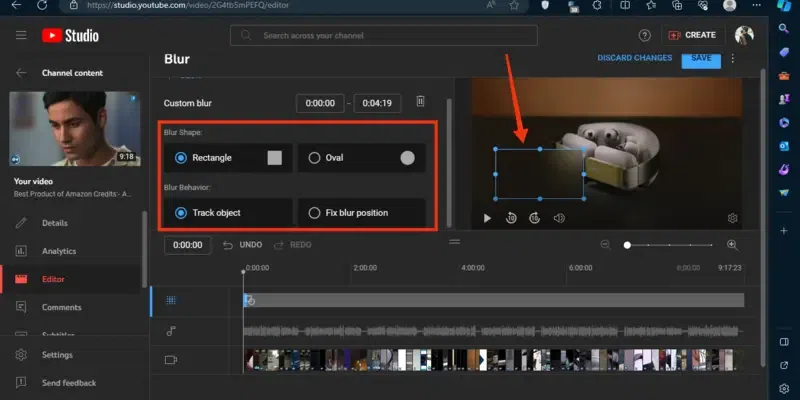
Choose Blur Shape & Behavior >> Select Blur Area
Step 10: Adding Audio
After saving your Blur settings come back to Editor and select the Audio button to add an audio to your video.
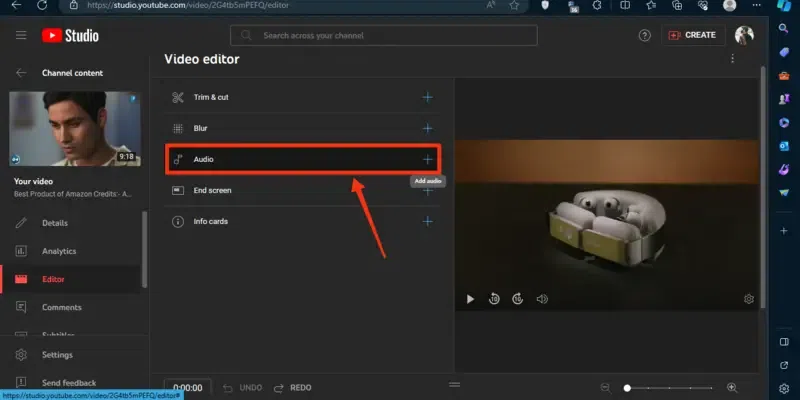
Click on Audio
Step 11: Choose your Audio
When you click on the Audio then a list of music and audio will appear on the screen from which you can choose your desired audio to add it to your video.
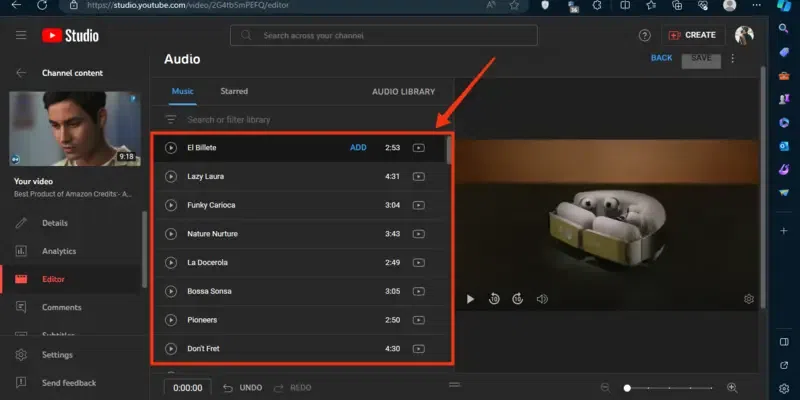
Choose your Audio
Step 12: Click on “End Screen” and Choose End Screen Material or Template
The end screen plays an important role in your video as you can refer your more videos to the viewers to apply an end screen to your video click on the “End Screen” and select what you want to add to your end screen such as Template, Video, Audio, Channel and Link.
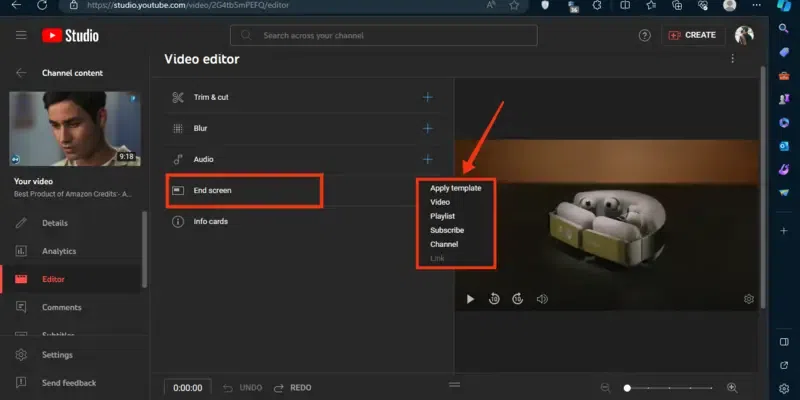
Click on “End Screen” >> Choose End Screen Material or Template
Step 13: Choose Template
The template will be the best idea for referring your next video at the end screen so just choose you desired template that you want to apply on your end screen.
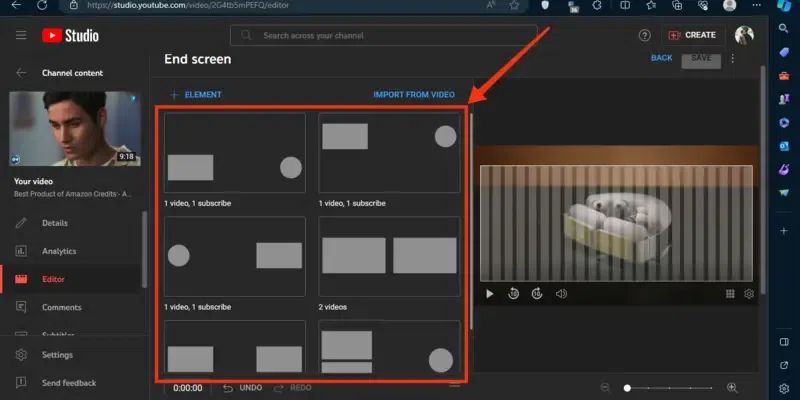
Choose Template
Step 14: Set Info Card
Info Cards are the buttons which appears at the top-right corner while the video is playing, and you can put any Video, Channel, List, and Link to the Info Cards through which users can use. So just click on the “Info Cards” option and select the item you want to refer.
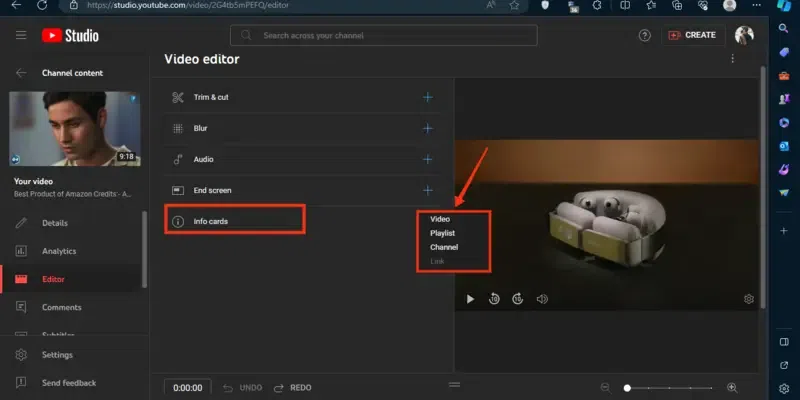
Click on Info Card
Step 15: Choose Video
If you have selected a video in Info Cards, then all the videos of your channel will appear on the screen, and you can select any of them. You can also go with the other items such as Playlist, Channel, and Link.
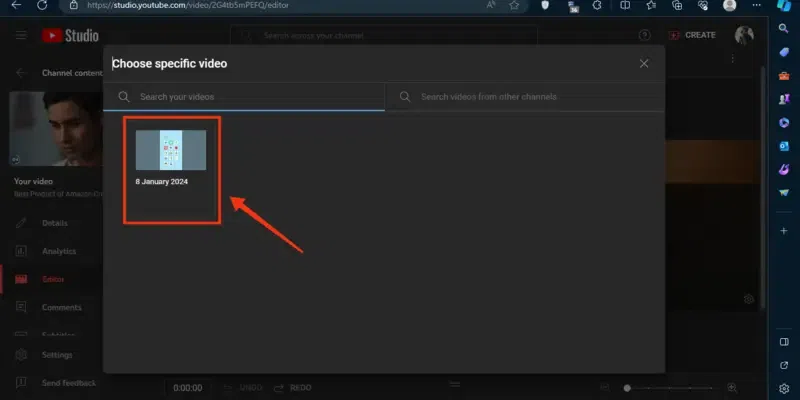
Choose Video
Conclusion
YouTube Studio uses advanced tools which are used to edit video in, and you can easily go through YouTube Studio to edit the video by the steps mentioned above. All you have to do is open YouTube Studio on your Desktop or you can go through YouTube, move to the Content Tab and select the video you want to edit, and then go to the Editor tab to use the editing tools. Now you can use editing tools such as Trim & Cut, Blur, Audio, End Screen, and Info Cards.
FAQS
Can I use YouTube Studio to edit videos?
Yes, you can use YouTube Studio for editing your videos as YouTube allows you to use its exciting editing features, you can go through the YouTube Studio by the following steps:
- Open YouTube
- Click on your Profile >> Select “YouTube Studio”
- Select “Content” Tab >> Your Video
- Select Editor Tab and Start Editing
How do you use YouTube Studio for beginners?
YouTube Studio is generally used for managing the YouTube Channels, beginners can also use the YouTube Studio for managing their channels. You can go through the YouTube Studio by visiting the YouTube and can use it for Editing, Video Uploading, Live Streaming, etc.
How do I trim a video in YouTube Studio?
Follow the steps to trim your video:
- Open YouTube
- Click on your Profile >> select YouTube Studio
- Go to the Content tab and select your video
- Select Edito Tab and click on the “Trim & Cut” Button
- Start Trimming
How do I edit a YouTube video on my phone?
To edit a video on your mobile phone you cans use YouTube Studio Mobile App, install the YouTube Studio Mobile App and follow the steps given below:
- Open YouTube Studio Mobile App
- Access your Videos
- Start Editing
- Trim your Videos
- Add Sounds
- Click “Save Changes”
Share your thoughts in the comments
Please Login to comment...