How to change an input button image using CSS?
Last Updated :
29 Apr, 2019
The default button in HTML can be changed to an image using CSS. The required button is selected using the respective CSS selector. The background property can then be set to include a background image and change the image type as required. The border of the button can also be removed to show only the image itself.
Example-1: Setting an image to the button.
<!DOCTYPE html>
<html>
<head>
<title>
How to change an input
button image using CSS?
</title>
<style>
button {
background-image: url(
background-size: cover;
width: 300px;
height: 200px;
font-size: 2rem;
}
</style>
</head>
<body>
<h1 style="color: green">
GeeksForGeeks
</h1>
<b>
How to change an input
button image using CSS?
</b>
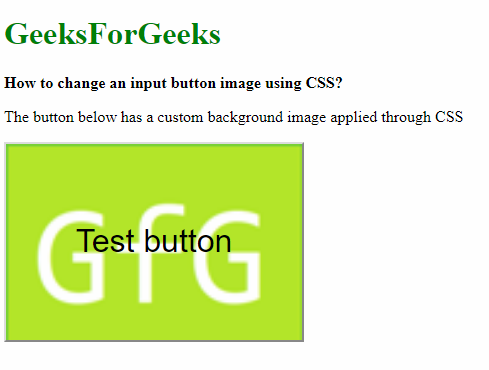
<p>
The button below has a custom
background image applied through CSS
</p>
<button type="submit">
Test button
</button>
</body>
</html>
|
Output:
Example-2: Applying the image when the button is hovered upon. This effect can be useful in making buttons that react to the mouse.
<!DOCTYPE html>
<html>
<head>
<title>
How to change an input
button image using CSS?
</title>
<style>
button {
width: 300px;
height: 200px;
border: 0;
cursor: pointer;
font-size: 2rem;
}
button:hover {
background-image: url(
background-size: cover;
}
</style>
</head>
<body>
<h1 style="color: green">
GeeksForGeeks
</h1>
<b>How to change an input
button image using CSS?</b>
<p>The button below has a custom
background image applied
through CSS when hovered over it</p>
<button type="submit">
Test button
</button>
</body>
</html>
|
Output:
Before hovering on the button:

After hovering on the button:
Share your thoughts in the comments
Please Login to comment...