Flask – (Creating first simple application)
Last Updated :
15 Apr, 2023
Building a webpage using python.
There are many modules or frameworks which allow building your webpage using python like a bottle, Django, Flask, etc. But the real popular ones are Flask and Django. Django is easy to use as compared to Flask but Flask provides you with the versatility to program with.
To understand what Flask is you have to understand a few general terms.
- WSGI Web Server Gateway Interface (WSGI) has been adopted as a standard for Python web application development. WSGI is a specification for a universal interface between the web server and the web applications.
- Werkzeug It is a WSGI toolkit, which implements requests, response objects, and other utility functions. This enables building a web framework on top of it. The Flask framework uses Werkzeug as one of its bases.
- jinja2 jinja2 is a popular templating engine for Python. A web templating system combines a template with a certain data source to render dynamic web pages.
Flask is a web application framework written in Python. Flask is based on the Werkzeug WSGI toolkit and Jinja2 template engine. Both are Pocco projects.
Installation:
We will require two packages to set up your environment. virtualenv for a user to create multiple Python environments side-by-side. Thereby, it can avoid compatibility issues between the different versions of the libraries and the next will be Flask itself.
virtualenv
pip install virtualenv
Create Python virtual environment
virtualenv venv
Activate virtual environment
windows > venv\Scripts\activate
linux > source ./venv/bin/activate
For windows, if this is your first time running the script, you might get an error like below:
venv\Scripts\activate : File C:\flask_project\venv\Scripts\Activate.ps1 cannot be loaded because running scripts is disabled on this system. For
more information, see about_Execution_Policies at https:/go.microsoft.com/fwlink/?LinkID=135170.
At line:1 char:1
+ venv\Scripts\activate
+ FullyQualifiedErrorId : UnauthorizedAccess
This means that you don’t have access to execute the scripts.
To solve this error, run the powershell as admin, when you right click on powershell icon, choose the option ‘Run as adminstrator’. Now, the powershell will open in the admin mode.
Type the following command in Shell
set-executionpolicy remotesigned
Now, you will be prompted to change the execution policy. Please type A. This means Yes to all.
Flask
pip install Flask
After completing the installation of the package, let’s get our hands on the code.
Python3
from flask import Flask
app = Flask(__name__)
@app.route('/')
def hello_world():
return 'Hello World'
if __name__ == '__main__':
app.run()
|
Save it in a file and then run the script we will be getting an output like this.
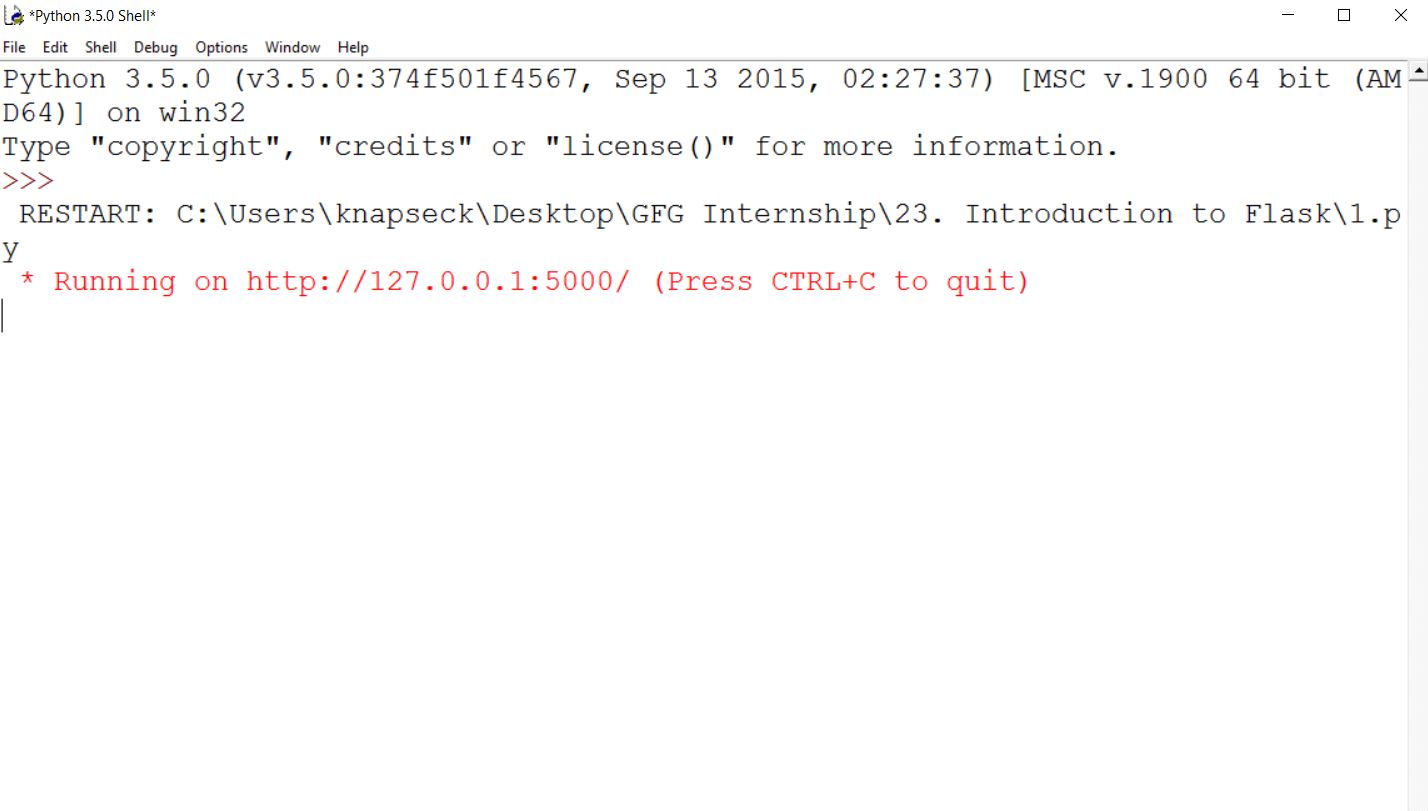
Then go to the URL given there you will see your first webpage displaying hello world there on your local server.
Digging further into the context, the route() decorator in Flask is used to bind a URL to a function. Now to extend this functionality our small web app is also equipped with another method add_url_rule() which is a function of an application object that is also available to bind a URL with a function as in the above example, route() is used.
Example:
def gfg():
   return ‘geeksforgeeks’
app.add_url_rule(‘/’, ‘g2g’, gfg)
Output:
geeksforgeeks
You can also add variables in your web app, well you might be thinking about how it’ll help you, it’ll help you to build a URL dynamically. So let’s figure it out with an example.
Python3
from flask import Flask
app = Flask(__name__)
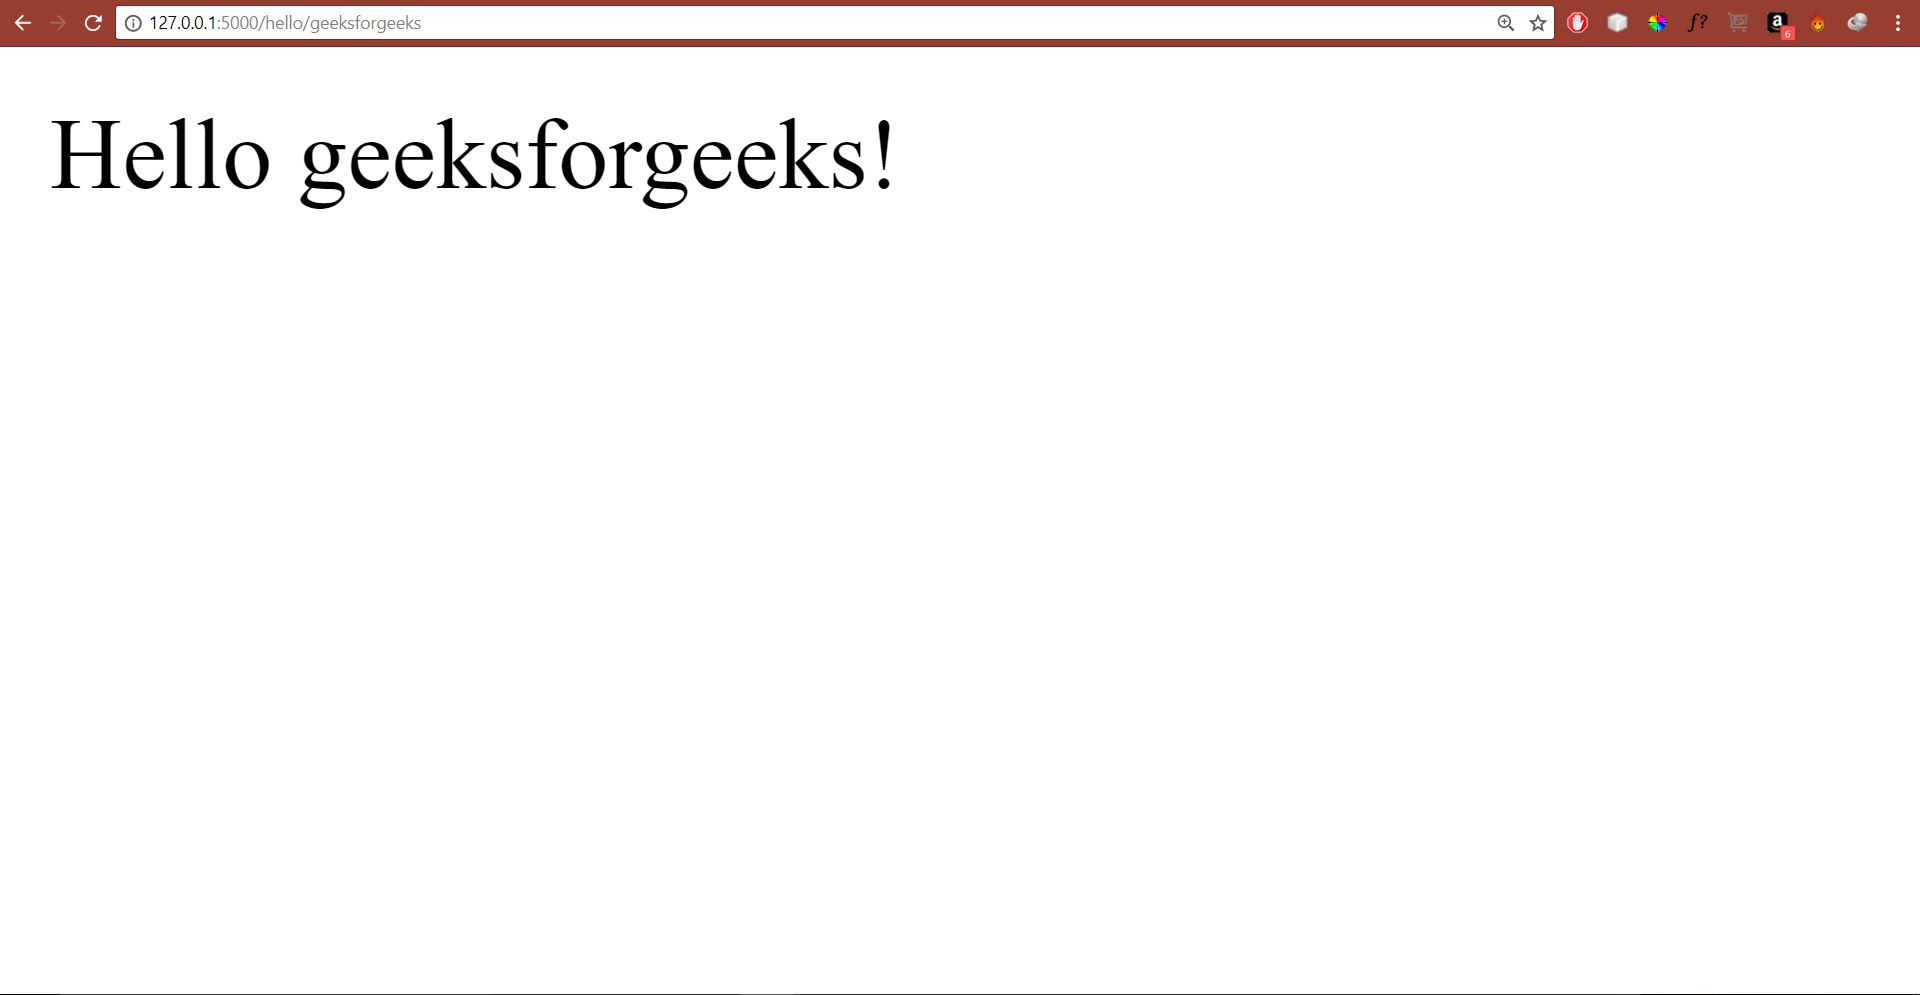
@app.route('/hello/<name>')
def hello_name(name):
return 'Hello %s!' % name
if __name__ == '__main__':
app.run()
|
And go to the URL http://127.0.0.1:5000/hello/geeksforgeeks it’ll give you the following output.
We can also use HTTP methods in Flask let’s see how to do that
The HTTP protocol is the foundation of data communication on the world wide web. Different methods of data retrieval from specified URL are defined in this protocol. The methods are described down below.
GET : Sends data in simple or unencrypted form to the server.
HEAD : Sends data in simple or unencrypted form to the server without body.
HEAD : Sends form data to the server. Data is not cached.
PUT : Replaces target resource with the updated content.
DELETE : Deletes target resource provided as URL.
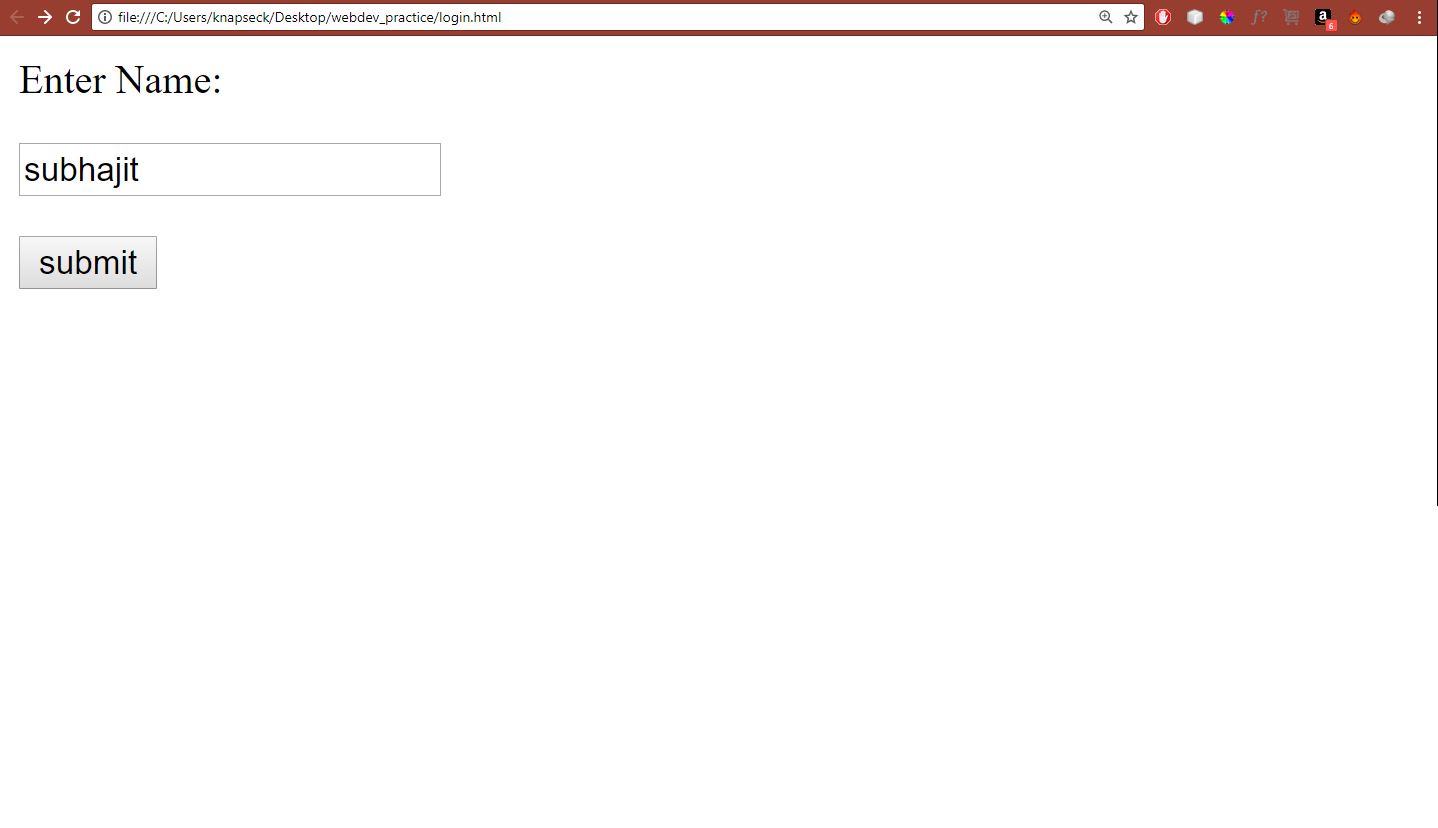
By default, the Flask route responds to the GET requests. However, this preference can be altered by providing methods argument to route() decorator. In order to demonstrate the use of the POST method in URL routing, first, let us create an HTML form and use the POST method to send form data to a URL. Now let’s create an HTML login page.
Below is the source code of the file:
HTML
<html>
<body>
<p>Enter Name:</p>
<p><input type = "text" name = "nm" /></p>
<p><input type = "submit" value = "submit" /></p>
</form>
</body>
</html>
|
Now save this file HTML and try this python script to create the server.
Python3
from flask import Flask, redirect, url_for, request
app = Flask(__name__)
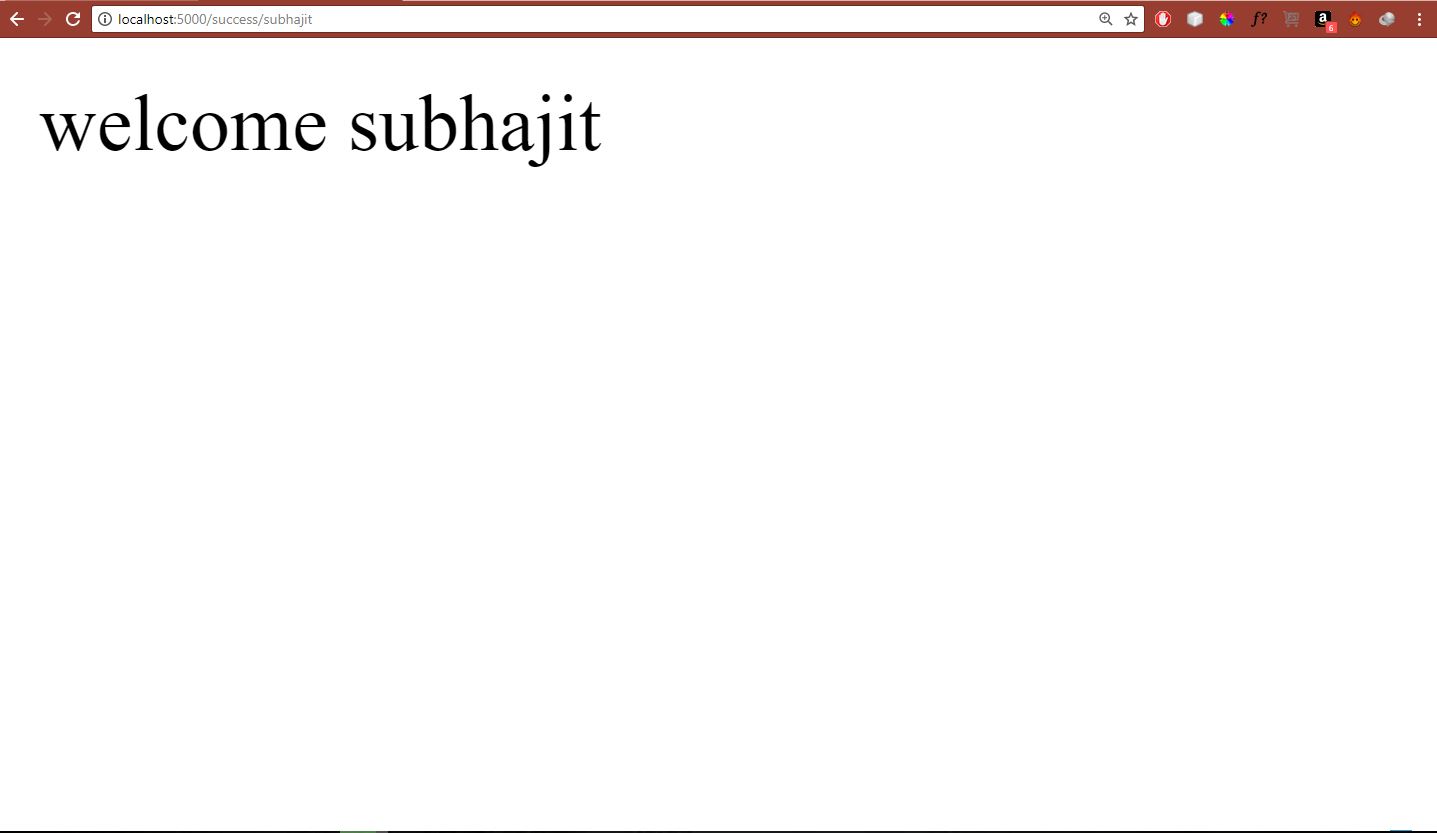
@app.route('/success/<name>')
def success(name):
return 'welcome %s' % name
@app.route('/login', methods=['POST', 'GET'])
def login():
if request.method == 'POST':
user = request.form['nm']
return redirect(url_for('success', name=user))
else:
user = request.args.get('nm')
return redirect(url_for('success', name=user))
if __name__ == '__main__':
app.run(debug=True)
|
After the development server starts running, open login.html in the browser, enter your name in the text field and click submit button. The output would be the following.
The result will be something like this
And there’s much more to Flask than this. If you are interested in this web framework of Python you can dig into the links provided down below for further information.
Share your thoughts in the comments
Please Login to comment...