How to Use Sass with CSS?
Last Updated :
19 Apr, 2024
SASS (Syntactically Awesome Style Sheets) is a pre-processor for CSS that provides various features such as nesting and mixins. SASS compiles to regular CSS and that CSS is used in your project and finally by the browser to style the web page.
How SASS Works?
Let’s understand how Sass works:
- The SASS code is written in the files with .sass or .scss extension based on the syntax preference.
- You can use various features like variables, mixins, and nesting in Sass.
- SASS pre-processor processes the SASS code into standard CSS code in a new CSS file.
- This CSS code is the actual code that is being used by the HTML and rendered by the browser.
Why use SASS?
Let’s understand why developers prefer Sass:
- Reduced repetition: Sass provides mixins feature which allows reuse of similar properties to any selector.
- Increased Maintainability: The code in SASS is nested and easier to understand and maintain due to it resembling the hierarchy of the browser.
- Powerful Features: It provides various features such as for loops, mixins, functions etc which are used for cleaner, efficient and maintainable code.
Steps to install and run SASS
The following steps provides the way of installing Sass using npm:
Step 1: Download NodeJS
Download and install Node.js from the official site. The installer will also install the npm command. To verify the presence of npm use the npm command along with the version flag as shown below.
npm -version
Step 2: Install SASS
Install the SASS package globally so that you can use it in all your projects without manually installing it.
npm install -g sass
Step 3: Watch SASS
Use the SASS command to watch or generate the CSS code from the SASS code. The command also generates a file_name.css.map file which is a source map used by browsers for generated CSS code from the SCSS code.
sass file_name.scss any_name.css
Alternatively you can use the watch option to generate the CSS code every time any changes made to the SASS file.
sass --watch file_name.scss any_name.css
How to use SASS with CSS
The below example shows a SASS file having both the basic CSS syntax and additional features of SASS. Create a HTML file named as index.html and a SASS file name as input.scss. Paste the following code into these file then run the watch SASS command explained above to create the CSS file but if you want to change the name then do not forget to change the name in the link tag in the HTML file.
Example: The below code will show how you can use SASS with CSS.
HTML
<!-- index.html file -->

<!DOCTYPE html>
<html lang="en">

<head>
    <meta charset="UTF-8">
    <meta name="viewport" content=
"width=device-width, initial-scale=1.0">
    <link rel="stylesheet" href="output.css">
    <title>
        Use Sass with CSS
    </title>
</head>

<body>
    <main>
        <div class="heading">
            Hey Geek, <br />
            Welcome to GFG!!
        </div>
        <p>
            Use Sass with CSS
        </p>
    </main>
</body>

</html>
// output.scss file

@mixin basic-styles($size) {
    font-size: $size;
    padding: $size;
    border-radius: $size + 10rem;
}

$primary-color: lightgreen;

body {
    background-color: $primary-color;
}

main {
    display: flex;
    flex-direction: column;
    align-items: center;

    .heading {
        @include basic-styles(3rem);
        color: white;
        background-color: darken($primary-color, 40%);
    }

    p {
        @include basic-styles(2rem);
        background-color: white;
        color: darken($primary-color, 40%);
    }
}
/* Generated CSS code */

body {
  background-color: lightgreen;
}

main {
  display: flex;
  flex-direction: column;
  align-items: center;
}

main .heading {
  font-size: 3rem;
  padding: 3rem;
  border-radius: 13rem;
  color: white;
  background-color: #189a18;
}

main p {
  font-size: 2rem;
  padding: 2rem;
  border-radius: 12rem;
  background-color: white;
  color: #189a18;
}
Output:
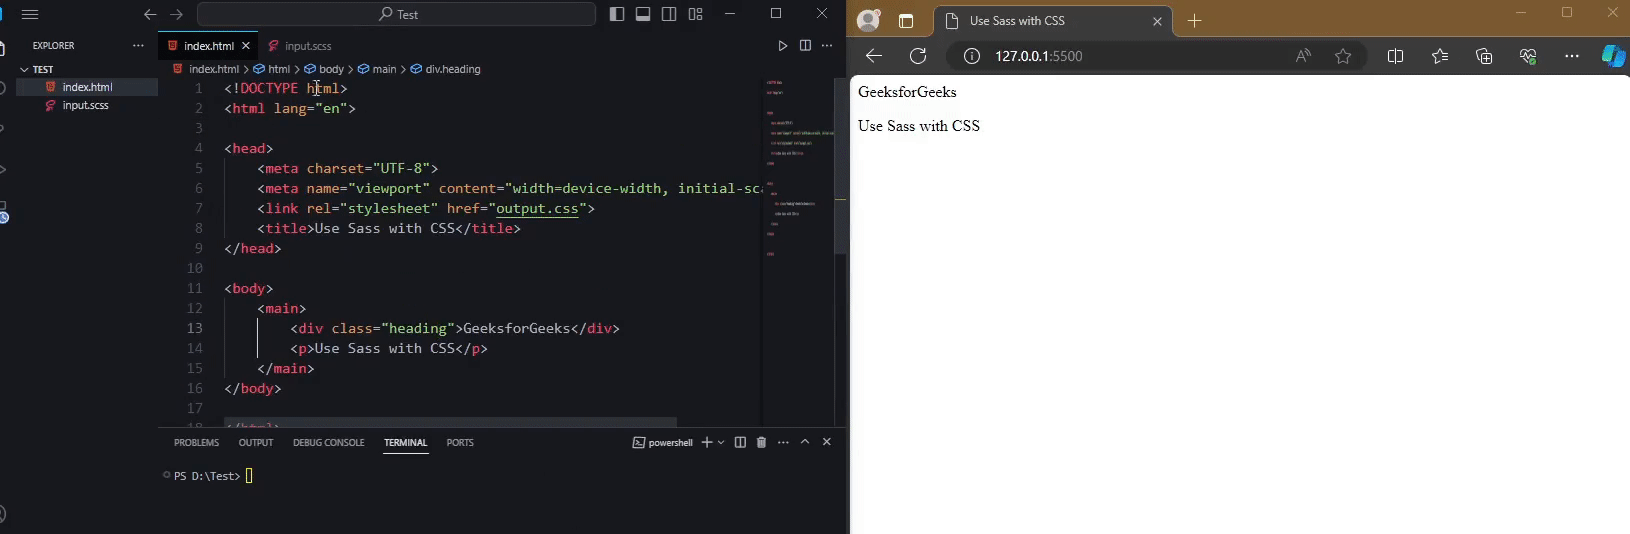
Output
Share your thoughts in the comments
Please Login to comment...