How to Include CSS Files in Vue2 ?
Last Updated :
09 Jan, 2024
VueJS is one of the greatest frameworks for JavaScript similar to ReactJS. The user interface layer is designed with VueJS. When working with Vue2, styling your components is an essential aspect of creating a visually appealing and user-friendly application. In Vue2 you can include CSS files in various ways to apply styles to your components. In this article, we will explore different methods to include CSS files in a Vue2 project.
Steps to Setup the Project Environment
Step 1: Install Vue using the below command
npm install vue@2.x.x
Step 2: Create a VueJS application using the below command.
vue create my-vue-project
Step 3: Navigate to the project that you have just created by this command.
cd your-project-name
Step 4: Start development server
npm run serve
Project Structure:

By importing CSS files inside script tag
In this method the import statement is used within the script section of the Vue component to directly import an external CSS file.
Syntax:
<script>
    import "your_CSS_file_path";
</script>
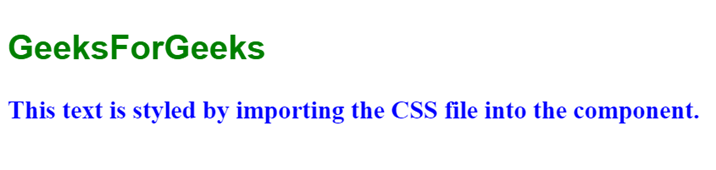
Example: The below JavaScript and CSS will help you in importing the CSS file to your component.
Javascript
<script>
import "./style.css";
export default {
name: "#app"
}
</script>
<template>
<h1 class="headings">
GeeksForGeeks
</h1>
<h2 class="heading">
This text is styled by
importing the CSS file
into the component.
</h2>
</template>
<style></style>
|
CSS
.headings {
font-family: Arial, sans-serif;
color: green;
line-height: 1.5;
text-align: left;
}
.heading {
color: blue;
}
|
Output:
By importing CSS files inside style tag
This approach uses the <style> tag within the Vue component to import an external CSS file using the @import rule.
Syntax:
<style>
    @import "your_CSS_file_path"
</style>
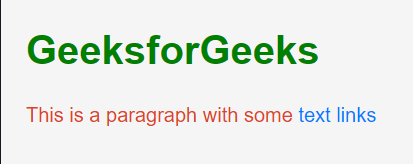
Example: The below JavaScript and CSS will help you implement the above approach to include CSS file.
Javascript
<script>
export default {
name: "#app"
}
</script>
<template>
<h1>
GeeksforGeeks
</h1>
<p>
This is a paragraph with some
<a href="#">text links</a>
</p>
</template>
<style>
@import "./style.css";
</style>
|
CSS
body {
font-family: Arial, sans-serif;
background-color: #f5f5f5;
margin: 0;
padding: 20px;
}
h1 {
color: green;
}
p {
line-height: 1.5;
margin-bottom: 15px;
color: rgb(221, 67, 36);
}
a {
color: #007bff;
text-decoration: none;
}
a:hover {
text-decoration: underline;
}
|
Output:
Defining CSS directly inside style tag
Write your CSS rules directly in between the style tags. This approach allows you to specify the visual appearance of your component by applying the color, font size, alignment and other styling attributes directly in the component file.
Syntax:
<styles>
    // Your styles
</styles>
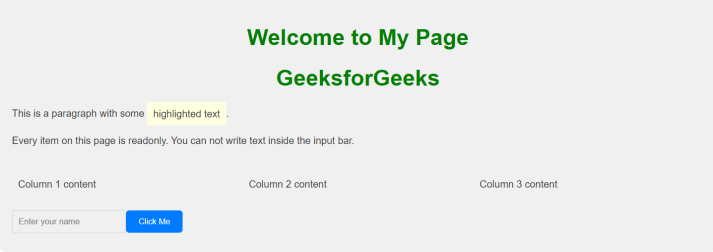
Example: The below JavaScript and CSS will help you implement the above method to include CSS file.
Javascript
<script>
export default {
name: '#app',
};
</script>
<template>
<div class="main-container">
<h1>Welcome to My Page</h1>
<h1>GeeksforGeeks</h1>
<p>
This is a paragraph with some
<span class="highlight">
highlighted text
</span>.
</p>
<p>
Every item on this page is readonly.
You can not write text inside the
input bar.
</p>
<div class="row">
<div class="column">
<p>Column 1 content</p>
</div>
<div class="column">
<p>Column 2 content</p>
</div>
<div class="column">
<p>Column 3 content</p>
</div>
</div>
<input type="text"
disabled
placeholder=
"Enter your name" />
<button type="button">
Click Me
</button>
</div>
</template>
<style>
body {
font-family: Helvetica, sans-serif;
font-size: 16px;
color: #333;
}
h1 {
font-size: 36px;
font-weight: bold;
text-align: center;
color: green;
}
p {
line-height: 1.5;
margin-bottom: 20px;
}
.main-container {
background-color: #f0f0f0;
padding: 20px;
border-radius: 10px;
}
.highlight {
background-color: #ffffe0;
padding: 10px;
}
.row {
display: flex;
justify-content: space-between;
align-items: center;
}
.column {
flex-basis: 33%;
padding: 10px;
}
button {
background-color: #007bff;
color: #fff;
border: none;
padding: 10px 20px;
border-radius: 5px;
cursor: pointer;
}
button:hover {
background-color: #0062cc;
}
input[type='text'] {
border: 1px solid #ccc;
padding: 10px;
border-radius: 5px;
margin-bottom: 10px;
}
input[type='text']:focus {
outline: none;
border-color: #007bff;
}
</style>
|
Output:
Conclusion
In conclusion, integrating CSS styles into your Vue 2 project can be achieved by either using the @import rule inside <style> tags or the import statement within the script section. Both methods offers flexibility in managing and organizing styles allowing you to choose an approach that aligns with your project structure.
Share your thoughts in the comments
Please Login to comment...