Create a Small CRM using PHP and MySQL
Last Updated :
29 Jan, 2024
CRM stands for Customer Relationship Management, which is a strategy for a set of practices, and a technology designed to manage and analyze customer interactions and data throughout the customer lifecycle. Manage contacts by adding, updating, and deleting information such as name, email, phone, and company. The system includes a date-filtering feature for sorting contacts.
Approach
- Define Database Requirements, which will identify the data your CRM needs to store, such as contacts.
- Database Design that designs the database schema with tables like contacts (fields: id, name, email, phone, company, created_at).
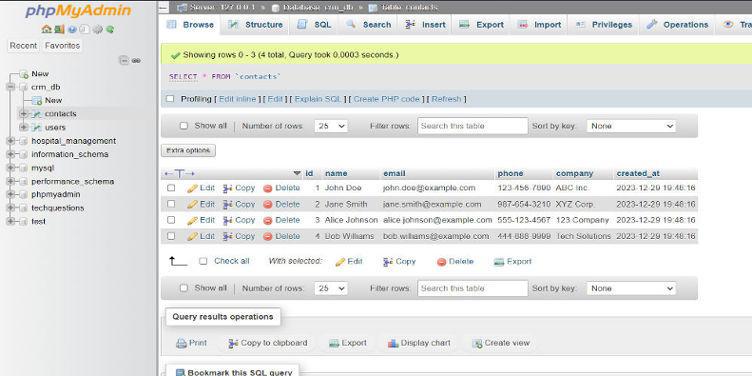
- Set Up MySQL Database, and create a new database (e.g., crm_db) using a tool like phpMyAdmin.
- Create Tables, and use SQL to create tables.
- Create db_connection.php to connect to the MySQL database
Here, we need to demonstrate the creation of a simple Customer Relationship Management (CRM) system using PHP and MySQL. The goal is to build a basic application where users can register, log in, and manage contacts.
Steps to create and configure the Project
Step 1: Set Up XAMPP Server
- Download and install XAMPP from https://www.apachefriends.org/index.html.
- Open XAMPP Control Panel and start Apache and MySQL services.
Step 2: Create Project Directory
- Navigate to the htdocs folder in the XAMPP directory.
- Create a folder named ‘project1’. This folder will contain all project files.
Step 3: Database Configuration
- Go to localhost/phpMyAdmin and create a new database named ‘crm_db’.
- Execute the following SQL queries to create the necessary tables:
-- Contacts Table
CREATE TABLE contacts (
    id INT AUTO_INCREMENT PRIMARY KEY,
    name VARCHAR(100) NOT NULL,
    email VARCHAR(100) NOT NULL,
    phone VARCHAR(15),
    company VARCHAR(100),
    created_at TIMESTAMP DEFAULT CURRENT_TIMESTAMP
);
-- Users Table
CREATE TABLE users (
    id INT AUTO_INCREMENT PRIMARY KEY,
    username VARCHAR(50) NOT NULL,
    password VARCHAR(255) NOT NULL
);
Step 4: Insert dummy data into the tables using the provided queries.
-- Contacts Table
INSERT INTO contacts (name, email, phone, company) VALUES
    ('John Doe', 'john.doe@example.com', '123-456-7890', 'ABC Inc.'),
    ('Jane Smith', 'jane.smith@example.com', '987-654-3210', 'XYZ Corp.'),
    ('Alice Johnson', 'alice.johnson@example.com', '555-123-4567', '123 Company'),
    ('Bob Williams', 'bob.williams@example.com', '444-888-9999', 'Tech Solutions');

-- User Table
INSERT INTO users (username, password) VALUES
    ('user1', '$2y$10$YqJDXBGf57s5Uz7INveu6uTbfXvdf4NzjXEEDp5j86f/h9kGj.4uK'),
    ('user2', '$2y$10$R4eBLPpZ4E8a0ZG8lxMQVOP7NCCf8ww0PQ7jDy/FwOZ2jhksKbU1u'),
    ('user3', '$2y$10$5/xgKedP/uJbPzdCN/TI2.GgMz5d2PhGUV1TLE8L3G5IR6veK5n3i'),
    ('user4', '$2y$10$ap6T9AZm5pumRx/8D9/x7uRUJ01sM/G9Wj2Opgk7jbjFWkWXpVXx2');
Step 5: Inside the ‘project1’ folder, create the following files. Establishes a connection to the MySQL database using the provided host, username, password, and database name. Checks for a successful connection, and if an error occurs, it terminates the script and displays an error message.
PHP
<?php
$host = "localhost";
$username = "your_username";
$password = "your_password";
$database = "crm_db";
$conn = new mysqli($host, $username, $password, $database);
if ($conn->connect_error) {
die("Connection failed: " . $conn->connect_error);
}
?>
|
Step 6: Define two essential functions for user authentication: registerUser and loginUser. The registerUser inserts a new user into the ‘users’ table with a hashed password. The loginUser retrieves a user from the ‘users’ table, compares the provided password with the hashed password, and returns a boolean indicating successful login.
PHP
<?php
function registerUser($username, $password)
{
global $conn;
$hashedPassword = password_hash($password, PASSWORD_DEFAULT);
$sql = "INSERT INTO users (username, password)
VALUES ('$username', '$hashedPassword')";
return $conn->query($sql);
}
function loginUser($username, $password)
{
global $conn;
$sql = "SELECT * FROM users WHERE username = '$username'";
$result = $conn->query($sql);
if ($result->num_rows == 1) {
$user = $result->fetch_assoc();
if (password_verify($password, $user["password"])) {
return true;
}
}
return false;
}
?>
|
Step 7: Includes the necessary files (db_connection.php and auth_functions.php) for database connection and user authentication functions. Processes the user registration form when submitted, capturing the username and password. Calls the registerUser function to insert the new user into the ‘users’ table. Displays a success or failure message based on the registration outcome.
PHP
<?php
include "db_connection.php";
include "auth_functions.php";
if ($_SERVER["REQUEST_METHOD"] == "POST") {
$username = $_POST["username"];
$password = $_POST["password"];
if (registerUser($username, $password)) {
echo '<p style="color: green;">Registration successful.'.
' <a href="login.php">Login</a></p>';
} else {
echo '<p style="color: red;">Registration failed.</p>';
}
}
?>
<style>
body {
font-family: Arial, sans-serif;
background-color: #f4f4f4;
margin: 0;
padding: 0;
}
form {
max-width: 400px;
margin: 20px auto;
padding: 20px;
background-color: #fff;
border-radius: 8px;
box-shadow: 0 0 10px rgba(0, 0, 0, 0.1);
}
form input {
width: 100%;
padding: 10px;
margin-bottom: 10px;
box-sizing: border-box;
}
form input[type="submit"] {
background-color: #4caf50;
color: #fff;
cursor: pointer;
}
form input[type="submit"]:hover {
background-color: #45a049;
}
</style>
<form method="post" action="">
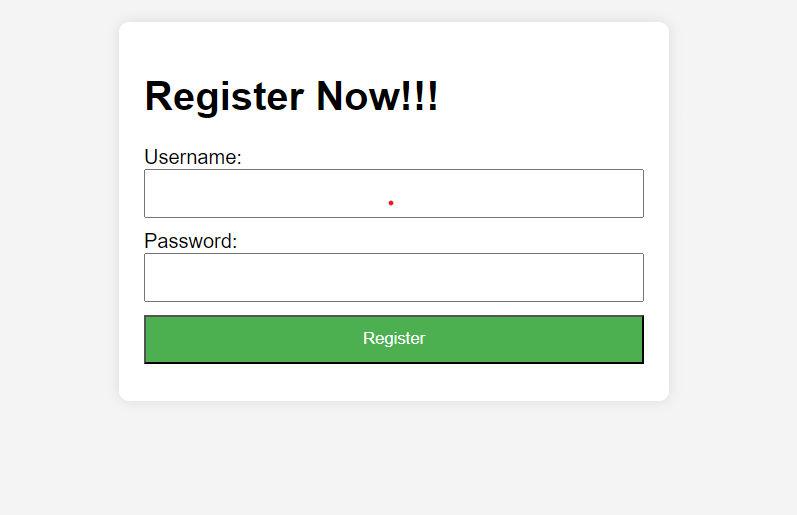
<h1>Register Now!!!</h1>
<label for="username">Username:</label>
<input type="text" name="username" required><br>
<label for="password">Password:</label>
<input type="password" name="password" required><br>
<input type="submit" value="Register">
</form>
?> ?>
|
Register page looks like given image.
Step 8: Includes the required files (db_connection.php and auth_functions.php) for database connection and user authentication functions. Initiates a session and processes the login form when submitted, capturing the username and password. Calls the loginUser function to authenticate the user against the stored credentials in the ‘users’ table. Redirects the user to contacts.php upon successful login or displays a login failure message.
PHP
<?php
include "db_connection.php";
include "auth_functions.php";
session_start();
if ($_SERVER["REQUEST_METHOD"] == "POST") {
$username = $_POST["username"];
$password = $_POST["password"];
if (loginUser($username, $password)) {
$_SESSION["username"] = $username;
header("Location: contacts.php");
exit();
} else {
echo '<p style="color: red;">Login failed.</p>';
}
}
?>
<style>
body {
font-family: Arial, sans-serif;
background-color: #f4f4f4;
margin: 0;
padding: 0;
}
form {
max-width: 400px;
margin: 20px auto;
padding: 20px;
background-color: #fff;
border-radius: 8px;
box-shadow: 0 0 10px rgba(0, 0, 0, 0.1);
}
form input {
width: 100%;
padding: 10px;
margin-bottom: 10px;
box-sizing: border-box;
}
form input[type="submit"] {
background-color: #4caf50;
color: #fff;
cursor: pointer;
}
form input[type="submit"]:hover {
background-color: #45a049;
}
</style>
<form method="post" action="">
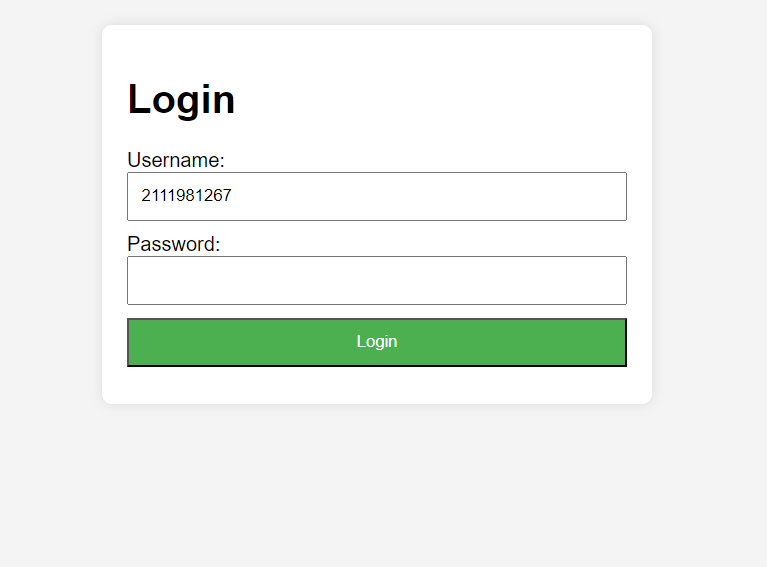
<h1>Login</h1>
<label for="username">Username:</label>
<input type="text" name="username" required><br>
<label for="password">Password:</label>
<input type="password" name="password" required><br>
<input type="submit" value="Login">
</form>
|
Login page looks like given image.
Step 9: Includes the db_connection.php file to establish a connection to the MySQL database. Initiates a session and checks if the user is authenticated; otherwise, it redirects to the login page. Retrieves the username from the session and displays a personalized welcome message. Queries the ‘contacts’ table to fetch contact information and dynamically generates an HTML table to display the contacts. Applies inline styles to enhance the visual presentation of the page, including font styles, background colors, and table formatting.
PHP
<?php
include "db_connection.php";
session_start();
if (!isset($_SESSION["username"])) {
header("Location: login.php");
exit();
}
$username = $_SESSION["username"];
$result = $conn->query("SELECT * FROM contacts");
echo '<style>
body {
font-family: Arial, sans-serif;
background-color: #f4f4f4;
margin: 0;
padding: 0;
}
h1, h2 {
color: #333;
}
table {
width: 100%;
border-collapse: collapse;
margin-top: 20px;
}
table, th, td {
border: 1px solid #ddd;
}
th, td {
padding: 12px;
text-align: left;
}
th {
background-color: #4caf50;
color: #fff;
}
a {
color: #007bff;
text-decoration: none;
}
a:hover {
text-decoration: underline;
}
</style>';
echo "<h1>Welcome, " . $username . "!</h1>";
echo "<h2>Your Contacts:</h2>";
echo "<table>";
echo "<tr>
<th>ID</th>
<th>Name</th>
<th>Email</th>
<th>Phone</th>
<th>Company</th>
<th>Created At</th>
</tr>";
while ($row = $result->fetch_assoc()) {
echo "<tr>
<td>{$row["id"]}</td>
<td>{$row["name"]}</td>
<td>{$row["email"]}</td>
<td>{$row["phone"]}</td>
<td>{$row["company"]}</td>
<td>{$row["created_at"]}</td>
</tr>";
}
echo "</table>";
?>
|
phpMyAdmin Database:
Output:
.gif)
Share your thoughts in the comments
Please Login to comment...